
“We have strict quality control” tells you nothing on its own. Every supplier says it. What actually matters is whether a stone coated roofing tile quality control process includes specific, verifiable checks at each stage. Real quality control leaves records you can ask to see.
This guide walks through what a properly run factory actually checks, step by step. It covers everything from incoming raw material to the finished pallet ready for shipment. Use it the next time a supplier claims their quality control is excellent. You’ll know exactly what to ask them to prove. Each step below includes a specific detail worth requesting evidence for, rather than accepting on trust.
Why It Helps to Understand the Production Process Before You Judge Quality Control
Quality control isn’t one inspection at the end of the line. It’s a series of checkpoints built into each stage of production. A defect caught early costs far less to fix than one discovered after a container has shipped.
Understanding this stone coated roofing tile quality control process gives you a framework for evaluating any supplier. It works regardless of what marketing language they use. If a factory can walk you through each step below with specifics, that’s a strong signal. If they can only offer general reassurance, that’s worth noting too.
This matters most when you’re placing a first order with a new supplier. You have no track record to fall back on yet. A factory tour, in person or via video, becomes far more useful once you know which checkpoints to look for. Watching machines run without knowing what to look for tells you very little.
Step 1 — Raw Material and Coated Steel Inspection
Quality control starts before production even begins. Incoming coils of galvanized or aluminum-zinc coated steel need to match the purchase specification. Factories check coating class, base metal thickness, and the mill’s own test certificate.
A responsible factory doesn’t take a supplier’s certificate at face value. Spot checks on incoming coil confirm the material actually matches the paperwork. A coating thickness gauge makes this check straightforward before the coil enters production.
This step matters more than it might seem. Every later stage builds on the assumption that the base steel meets specification. A factory that skips this check is trusting its raw material supplier completely, with no independent verification. That risk eventually passes through to you as the buyer, several steps removed from where it started.
What to ask your supplier for: A copy of the raw steel mill certificate. Also ask whether they independently verify coating thickness on incoming coil, rather than relying solely on the mill’s documentation.
Step 2 — Coating Adhesion and Granule Coverage Checks
This step is unique to stone coated tile production, and it’s where quality problems most often start. The acrylic base coat gets applied, then stone granules get embedded into it. Adhesion needs to hold up under real stress, not just look correct visually.
Industry-standard adhesion testing follows methods similar to ASTM D3359. This standard uses a cross-hatch or X-cut pattern with pressure-sensitive tape to check how well a coating bonds to its substrate. A factory running proper checks cuts a test pattern into a sample panel, applies tape, removes it, then rates the result on a standard 0-to-5 scale.
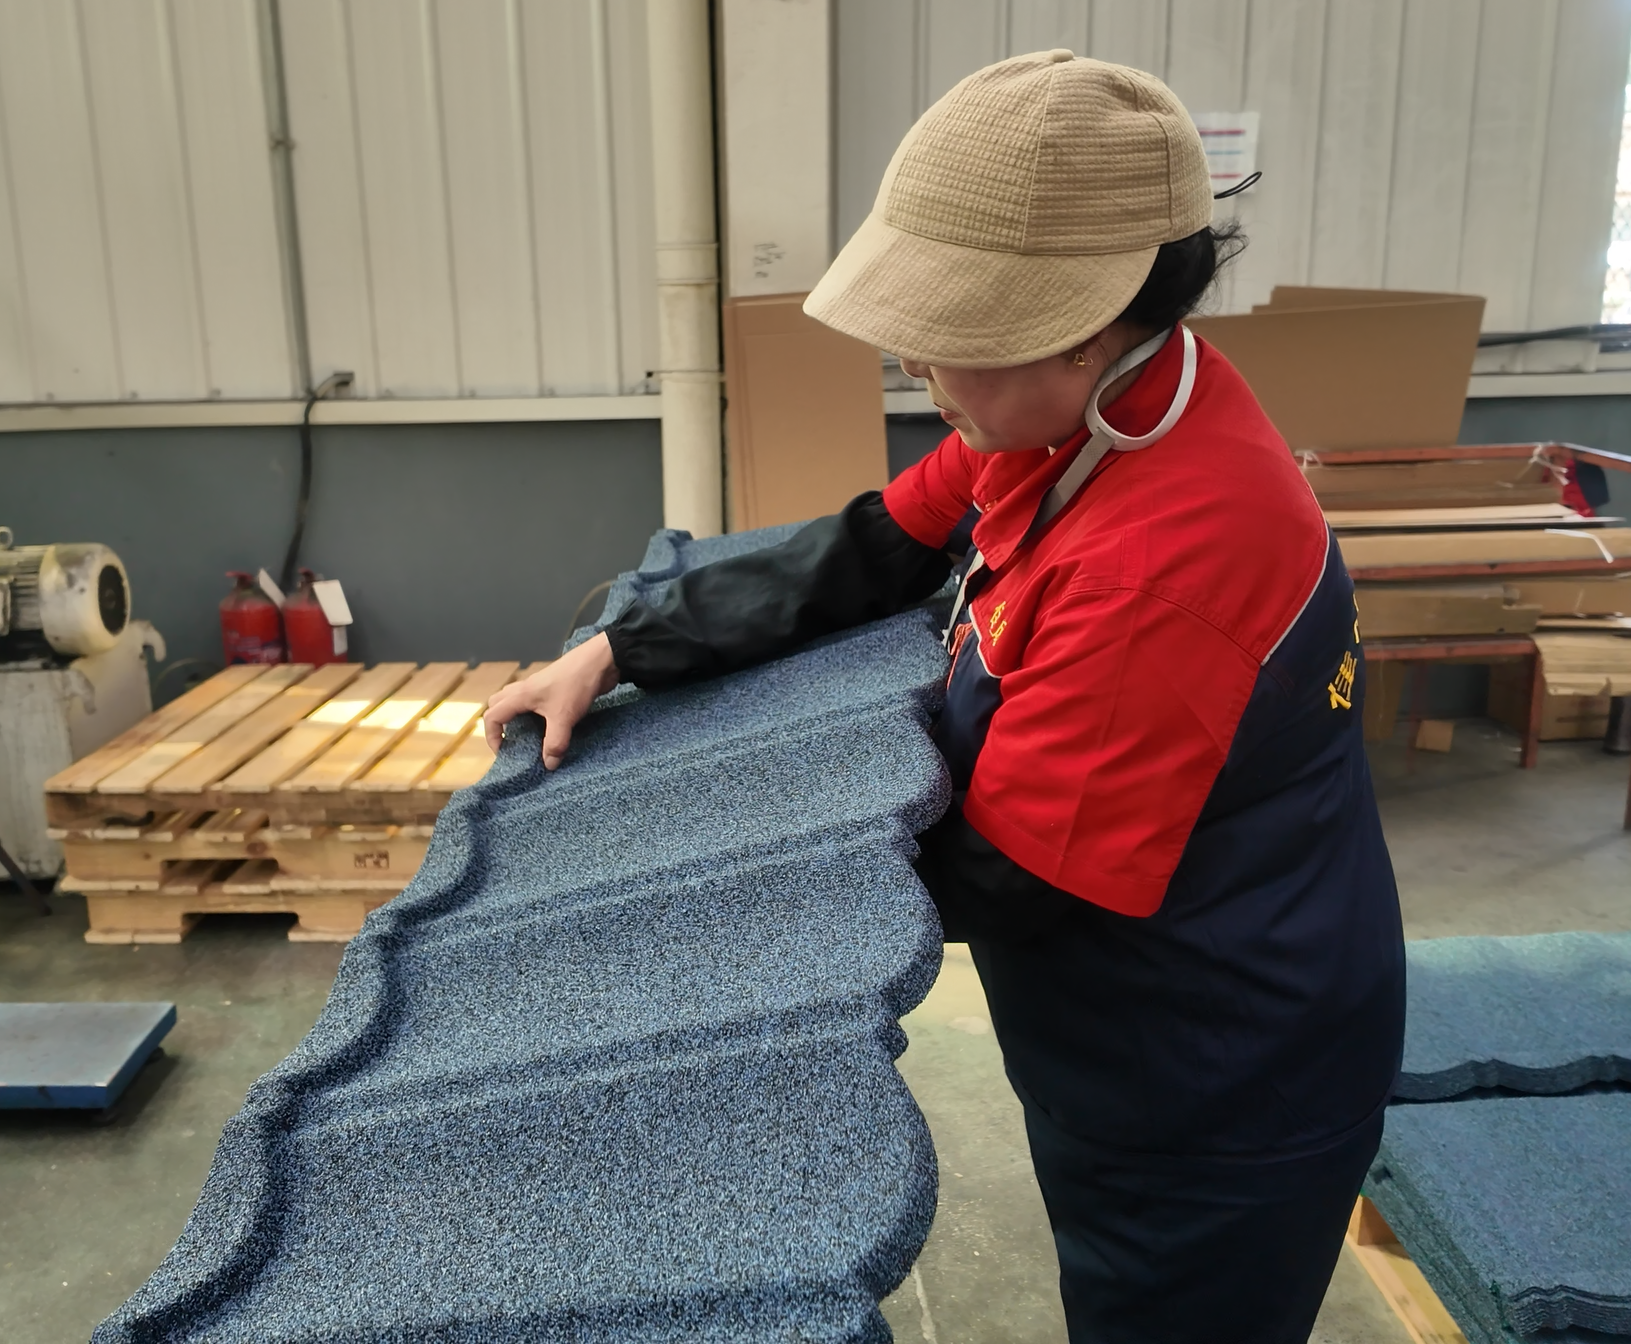
Granule coverage gets checked separately. Technicians look for bare patches, uneven density, or granules sitting loosely on the surface instead of embedded into the base coat. This check is usually visual and by touch, done on a sampling basis across each production run.
Temperature control during the sintering stage plays a direct role in adhesion quality too. This is where granules bond to the coated steel under heat. Factories with tighter temperature monitoring tend to produce more consistent adhesion results batch to batch. That’s why asking about equipment calibration frequency is a reasonable follow-up question.
What to ask your supplier for: Their adhesion test results and rating scale. Also ask how often they sample granule coverage during a production run.
Step 3 — Dimensional and Thickness Sampling
Once panels take their final tile profile, factories check dimensional accuracy against the engineering spec. This covers panel length, width, overlap measurements, and interlocking edge tolerances.
Technicians measure thickness directly on sampled pieces. Even a properly coated coil can shift slightly during the forming process. Reputable factories sample a set percentage of each production batch. Checking only the first and last piece off the line isn’t enough.
Interlocking edges deserve particular attention here. A tolerance issue at this stage doesn’t show up until installation. Tiles that should lock together cleanly instead leave gaps, or require forcing into place. This defect type stays invisible in a single sample piece. It becomes obvious once dozens of tiles sit side by side on an actual roof.
What to ask your supplier for: Their sampling rate for dimensional checks. Also ask about the tolerance range they consider acceptable for panel thickness and edge measurements.
Step 4 — Visual Defect Inspection
Visual inspection catches what dimensional checks and adhesion tests miss. This includes scratches, dents, color inconsistency, and surface defects introduced anywhere along the line.
Some factories still rely entirely on trained inspectors under proper lighting. More advanced operations use camera-based inspection systems instead. These systems scan each panel for defects at production speed, flagging anything outside acceptable parameters before packaging. Neither approach is inherently wrong. But a factory relying purely on manual inspection needs a documented process to stay consistent across shifts and inspectors.
Consistency across shifts is the part buyers often overlook. A morning-shift inspector and an overnight one can apply subtly different standards without realizing it. This happens most with judgment calls, like minor color variation or edge finishing. Factories that address this with written inspection standards, and periodic calibration between inspectors, produce more consistent results across an entire run.
What to ask your supplier for: Whether inspection is manual, automated, or both. Also ask how they track and report defect rates over time.
Step 5 — Pre-Shipment Sampling and Testing
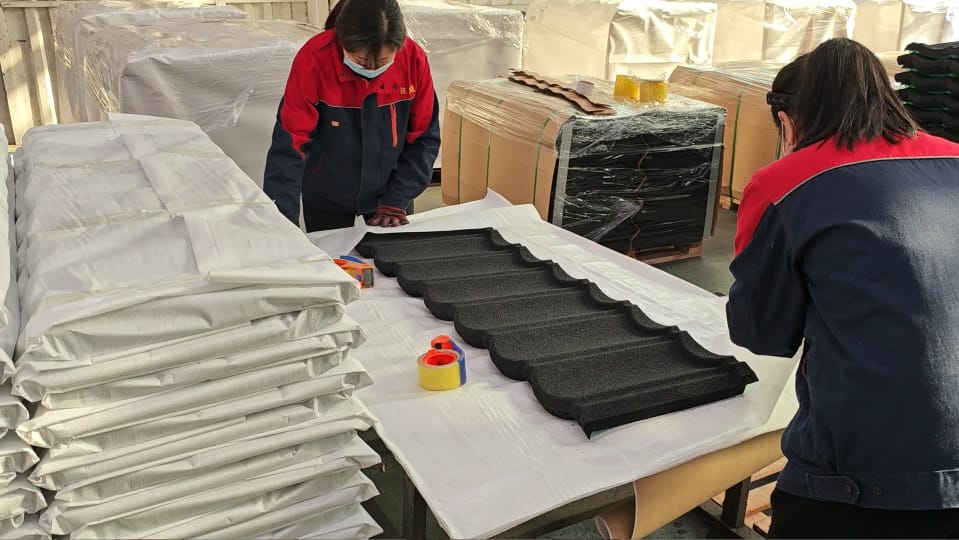
This is the step buyers should care about most. It’s the closest checkpoint to what actually gets loaded into your container. Before a batch ships, samples get pulled for salt spray testing and color consistency checks against the approved standard.
Salt spray testing on finished batches confirms the coating performance holds up in the actual finished product. That’s different from testing a raw material sample months earlier. Color checks using Delta E measurement confirm the batch matches the approved sample within an agreed tolerance. This replaces a subjective visual judgment call with a real number.
Packaging inspection happens at this stage too, though it gets far less attention than the technical tests. Panels can shift and rub against each other during a long sea voyage. That friction can create scuff marks or edge damage that had nothing to do with manufacturing. A factory that checks banding tension, corner protection, and pallet stability before loading is addressing a risk that otherwise surfaces only after the container arrives, when it’s far harder to resolve.
What to ask your supplier for: Pre-shipment test reports tied to your specific order or batch number. A generic test report from an unrelated production run tells you very little.
What to Ask For When You Want to Verify a Supplier’s QC Process
Put these five steps together, and you have a practical framework. Use it to evaluate any supplier’s stone coated roofing tile quality control process, whether during initial vetting or an ongoing relationship.
- Request documentation at each stage, not just a final inspection certificate.
- Ask whether checks happen on every batch or only periodically.
- Confirm test reports are tied to your specific order, not a generic reference sample.
- Look for consistency in how defects and test results get recorded over time.
This connects directly to two of our other guides. Our buyer’s checklist for stone coated roofing tiles covers the broader supplier vetting questions worth asking before you sign. Our sample request guide explains how to confirm a sample actually reflects what these five production steps are supposed to guarantee.
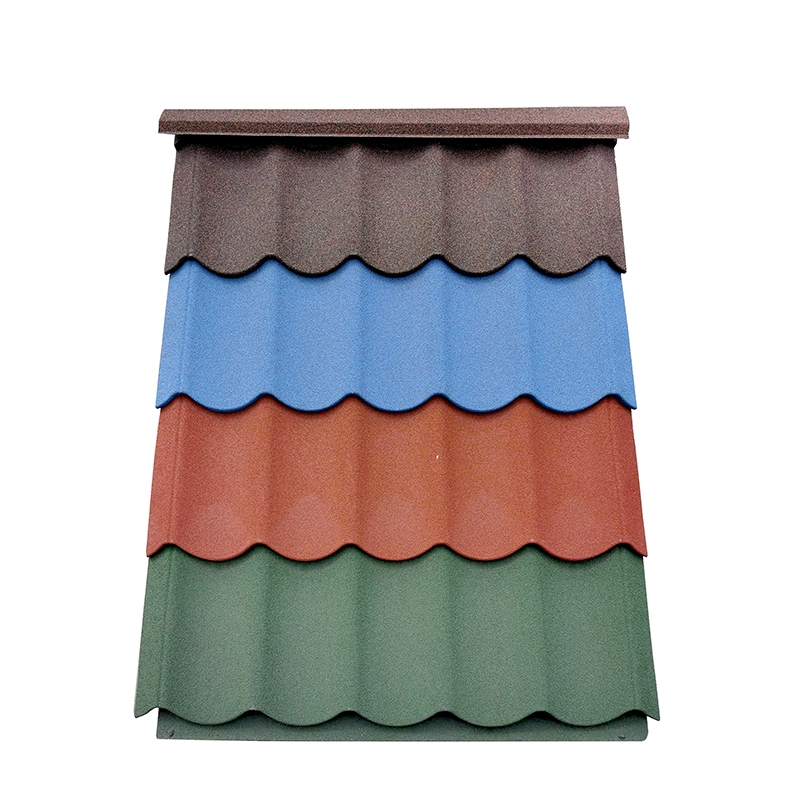
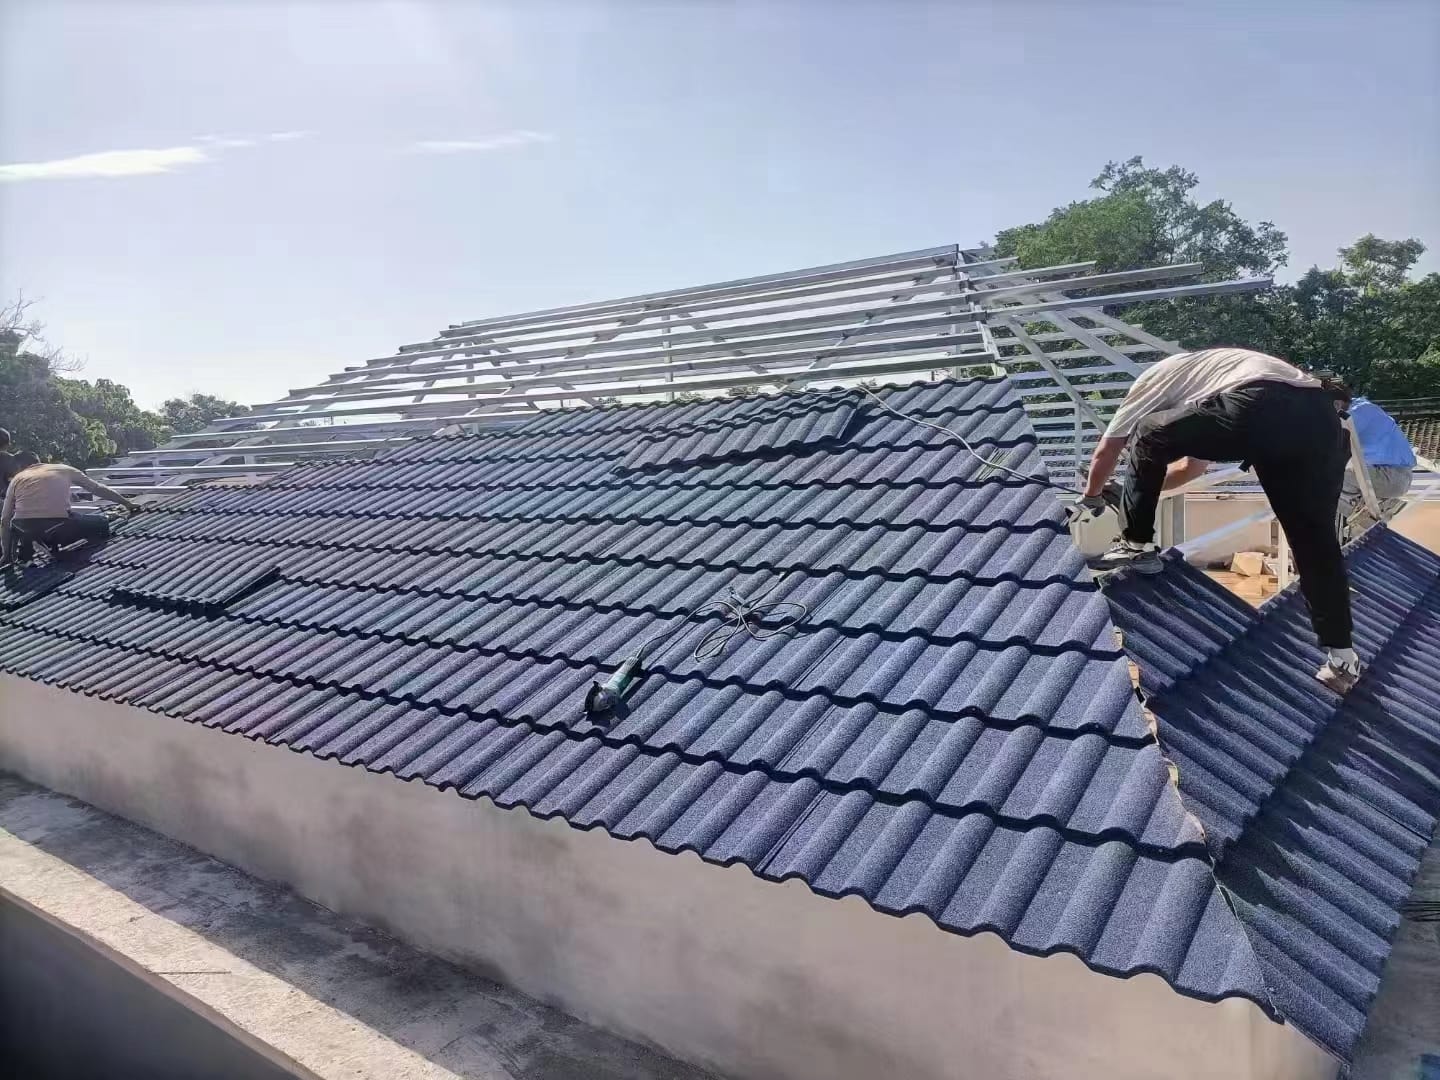
A factory that welcomes this level of scrutiny, and can produce records for each step, is worth trusting with a large order. JCROOF documents its quality control process across each of these stages for its tile profiles, including the Bond Tile and Milano Tile lines. Its project gallery reflects the consistency this process is designed to protect.
Common Questions About Roofing Tile Factory Quality Control
Q: How can I verify a supplier’s QC claims without visiting the factory in person? A: Ask for a live video walkthrough of the production line. Pair it with real test reports and certificates tied to a recent, specific production batch. Documentation without a visual walkthrough, or a walkthrough without documentation, each only tells half the story.
Q: Should every single tile get inspected, or is sampling normal? A: Sampling is standard practice across the roofing tile industry. It’s not a red flag on its own. What matters is the sampling rate, and whether it stays consistent across every batch rather than applied only when convenient.
Q: What’s the single most useful document to request from a supplier? A: A pre-shipment inspection report tied specifically to your purchase order or batch number. It’s the closest available proof that what actually shipped matches what was tested and approved.