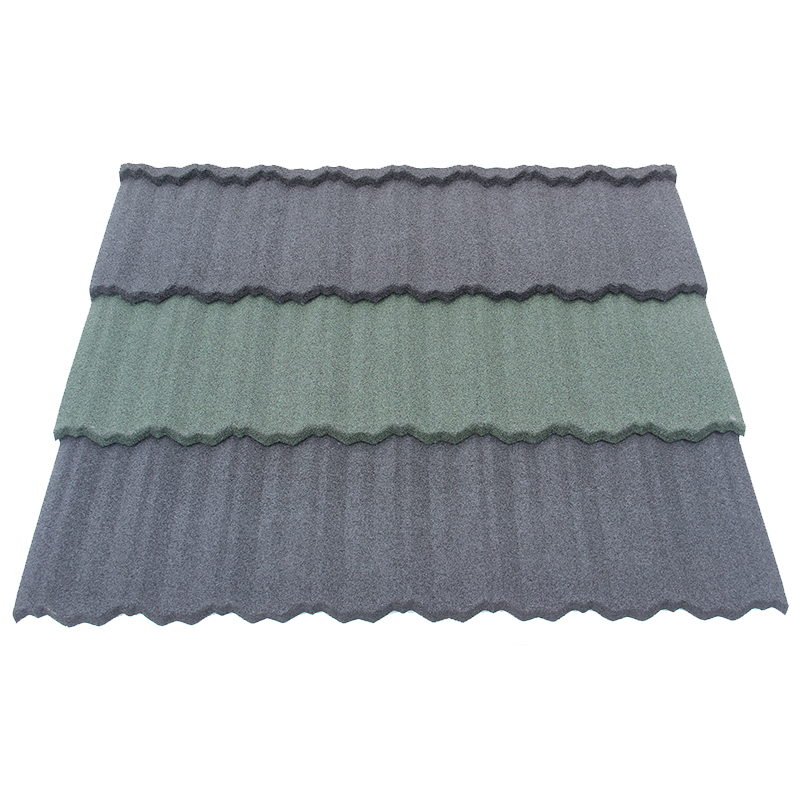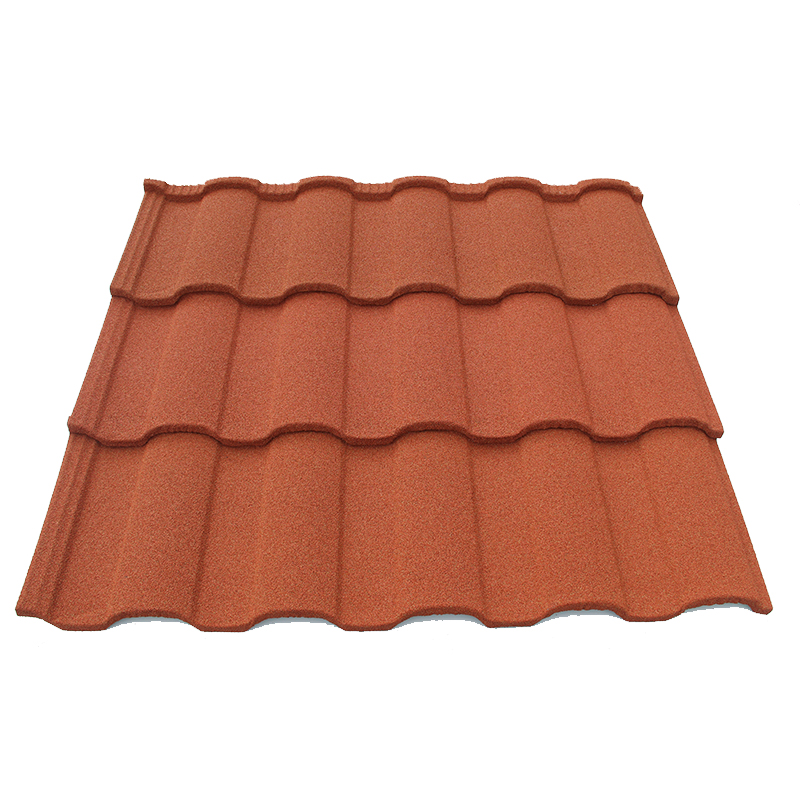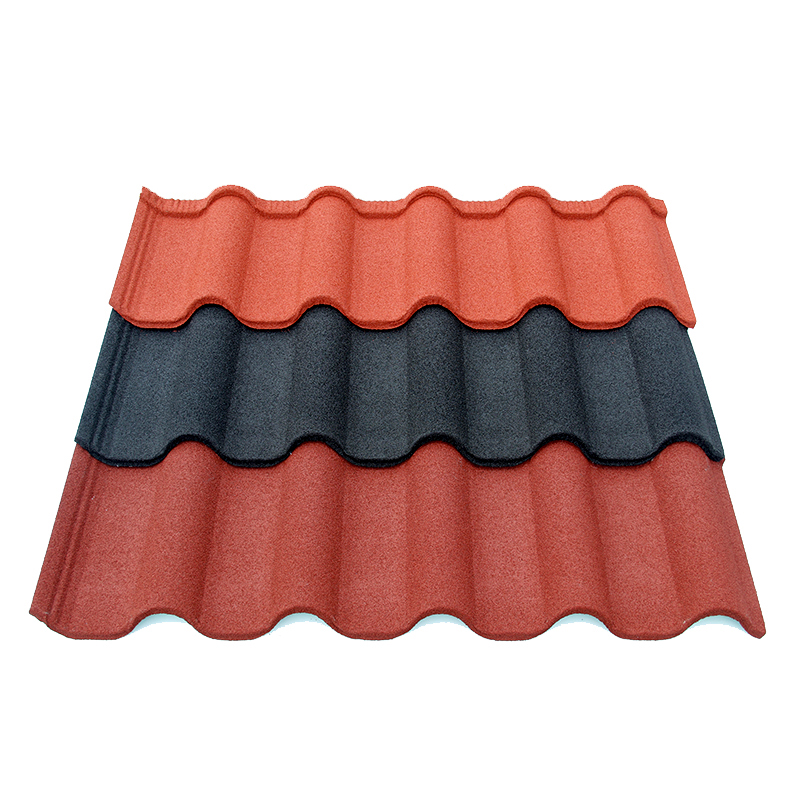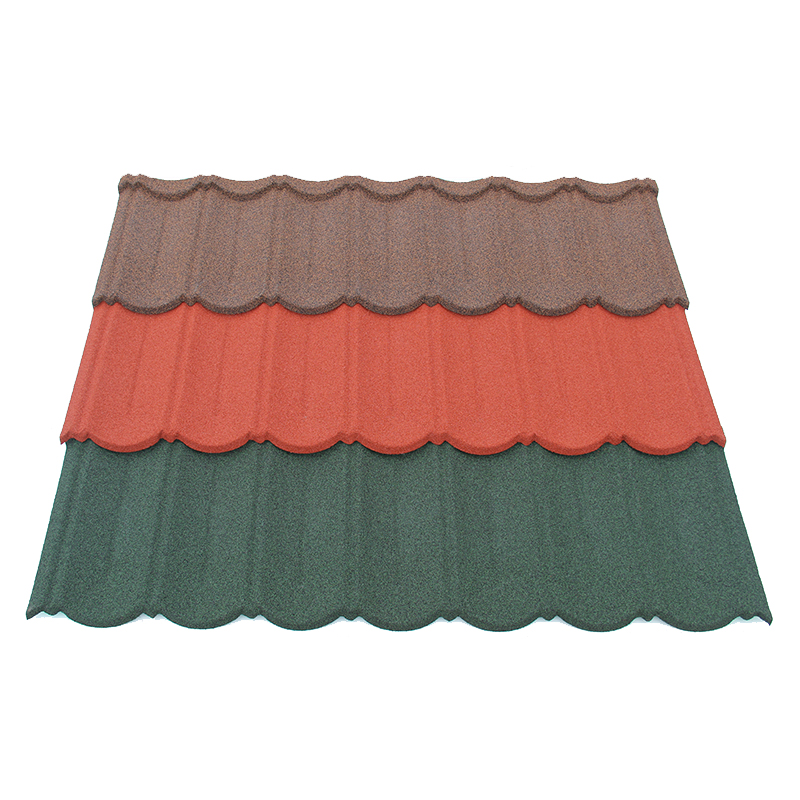

Choose stone coated metal roof tile profiles by checking roof constraints before selecting the preferred appearance. Confirm geometry, installation requirements, component interfaces, and project approval needs. Then compare assembled samples against the building’s architecture and the way the roof will actually be viewed.
A profile that suits a distributor’s display may not suit every construction project. Roof pitch, valleys, penetrations, adjacent materials, and access can change the practical decision. The visible shape is important, but it is one part of a complete roofing arrangement.
This guide focuses on selecting profiles for different buildings. It separates design preferences from technical acceptance and explains how to move from a shortlist to an approved order. It does not assign universal climate ratings or installation permissions to profile names.
Begin with the Roof and Its Constraints
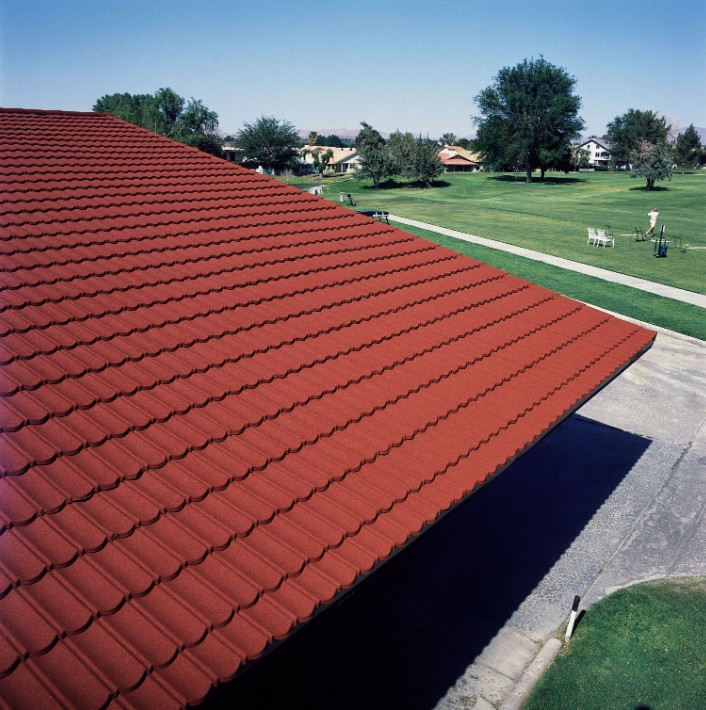
Map the geometry before comparing catalog pictures
Give the supplier a current roof plan and relevant elevations. Identify roof slopes, ridges, hips, valleys, wall junctions, and penetrations. Include the intended substrate and support information where available. A short project description cannot communicate the same constraints as an identifiable drawing set.
Ask the designer and installer to review how each candidate would be detailed. Check the available system components at the difficult interfaces. A simple roof plane can hide problems that only appear at a valley or wall junction. Evaluate those details before allowing the preferred appearance to determine the order.
Identify roof areas with different slopes or construction arrangements. Do not assume one product can cover every area of a complex building. Request review against the selected manufacturer’s instructions. A profile being sold as metal roofing does not make it suitable for every low-slope or flat-roof application.
DECRA’s Villa Tile installation guide illustrates how a named profile has its own installation documentation. Other products need their corresponding instructions and relevant approvals. Borrowing a requirement from a visually similar tile can lead to an unsupported specification.
Separate design requirements from performance requirements
List the project’s appearance criteria separately from its technical criteria. Appearance may involve course pattern, curvature, texture, color, and visible edge treatment. Technical review may involve the assembly, exposure conditions, and required evidence. The two lists should inform one decision without being confused with one another.
Ask the responsible project professional to define applicable requirements. Provide the supplier with a clear basis for its proposed system. Keep unanswered technical questions visible while samples are reviewed. A visually approved finish does not automatically approve the underlying installation arrangement or product evidence.
For wind, weather, and other performance claims, request documentation matching the proposed product and assembly. Do not select a deeper curve because it appears stronger or more weatherproof. Shape alone does not establish the required performance. Ask a qualified reviewer to assess the relevant evidence.
Record constraints that exclude a candidate before ranking preferences. These may include unavailable components, unresolved installation details, or missing evidence for an essential requirement. A product should not remain the preferred choice solely because the sample is attractive. Resolve its suitability before the purchase is released.
Match the Visual Direction to the Building
Review repeated housing and contemporary projects
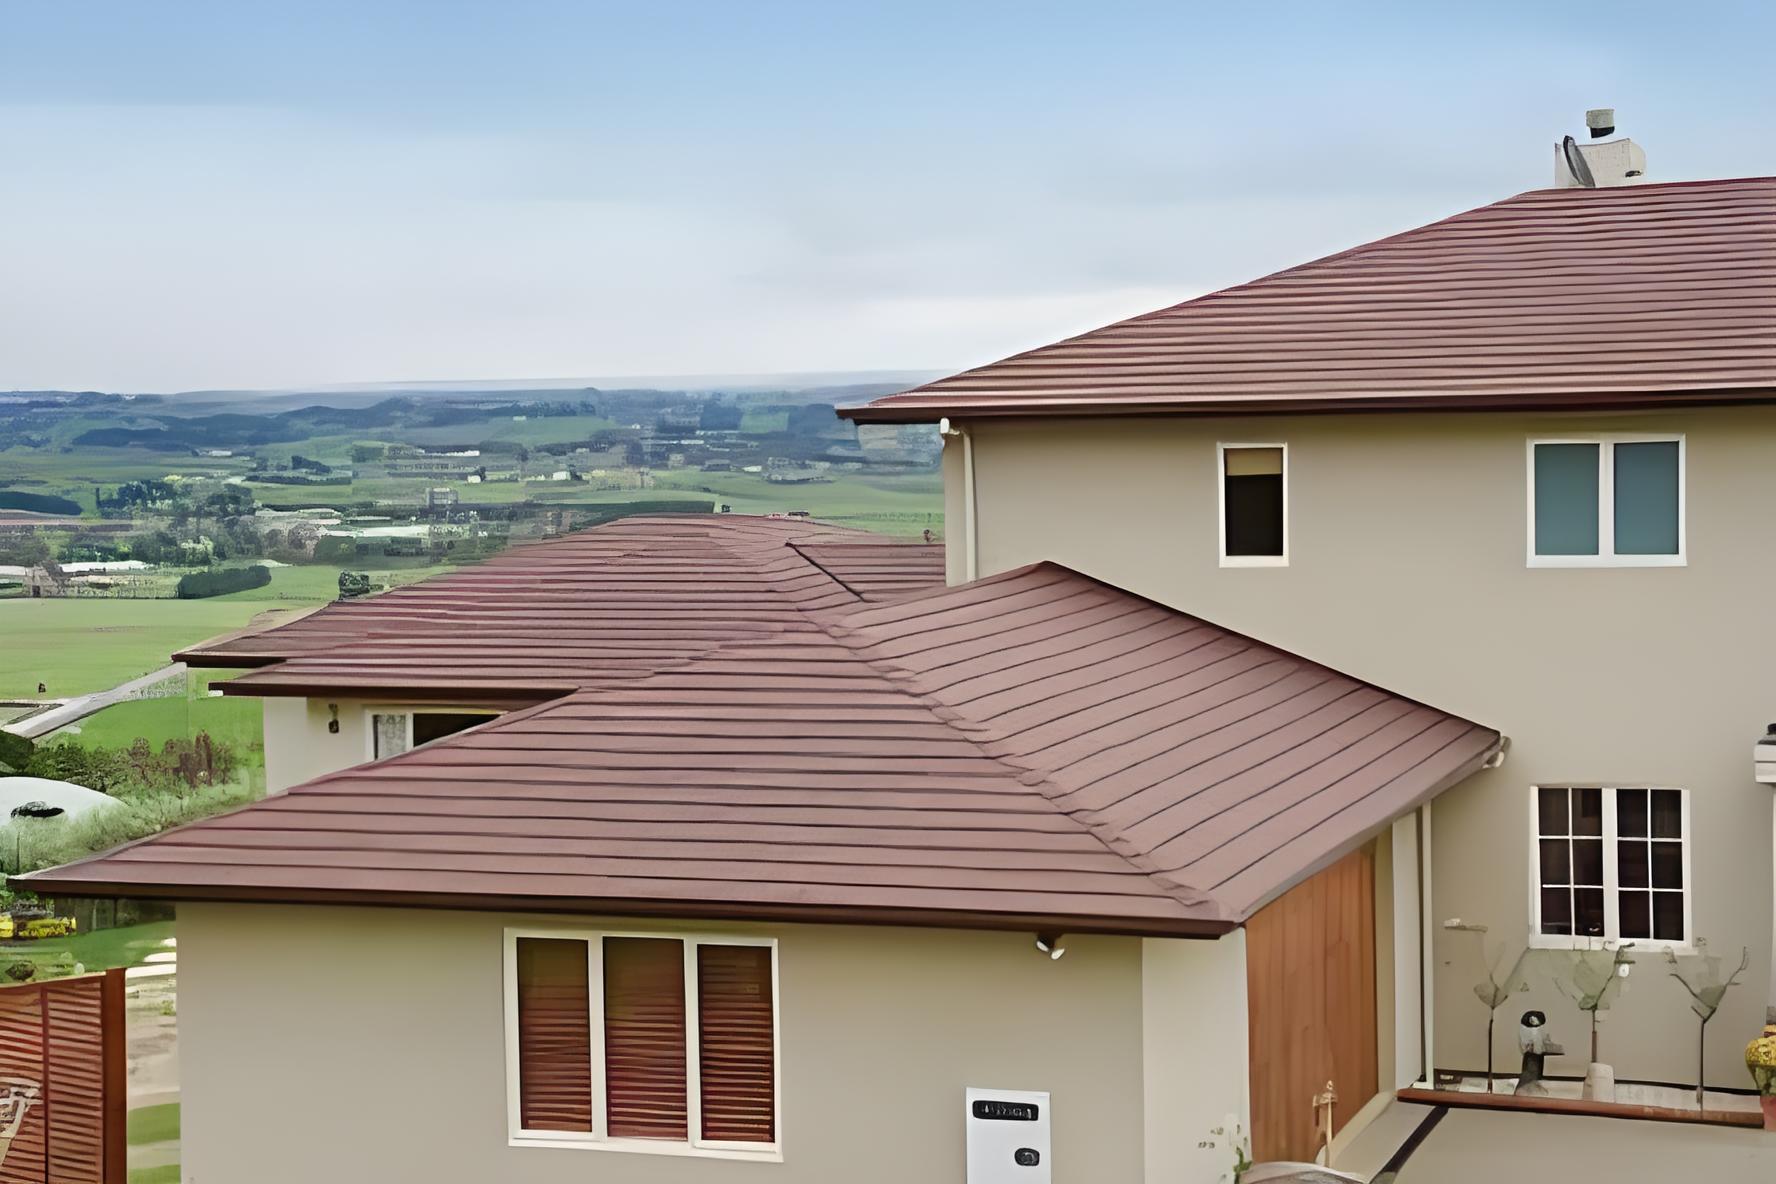
For repeated housing layouts, evaluate how the profile reads across an entire development. Review samples with the planned wall colors, roof pitch, and neighboring buildings. Check whether the visible pattern remains appropriate across different roof sizes. A close-up image cannot show the same repetition or street-level impression.
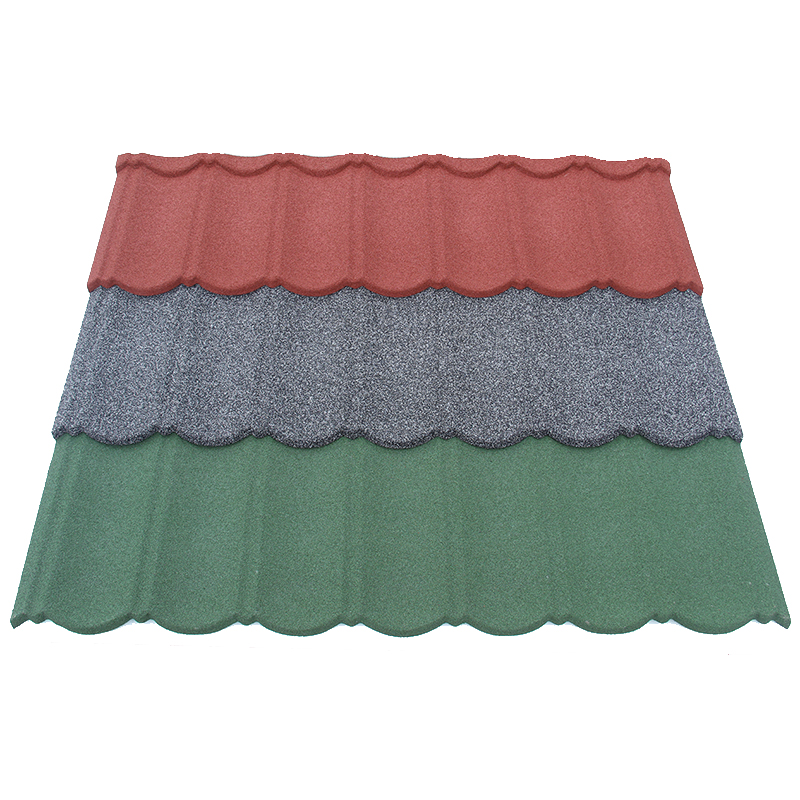
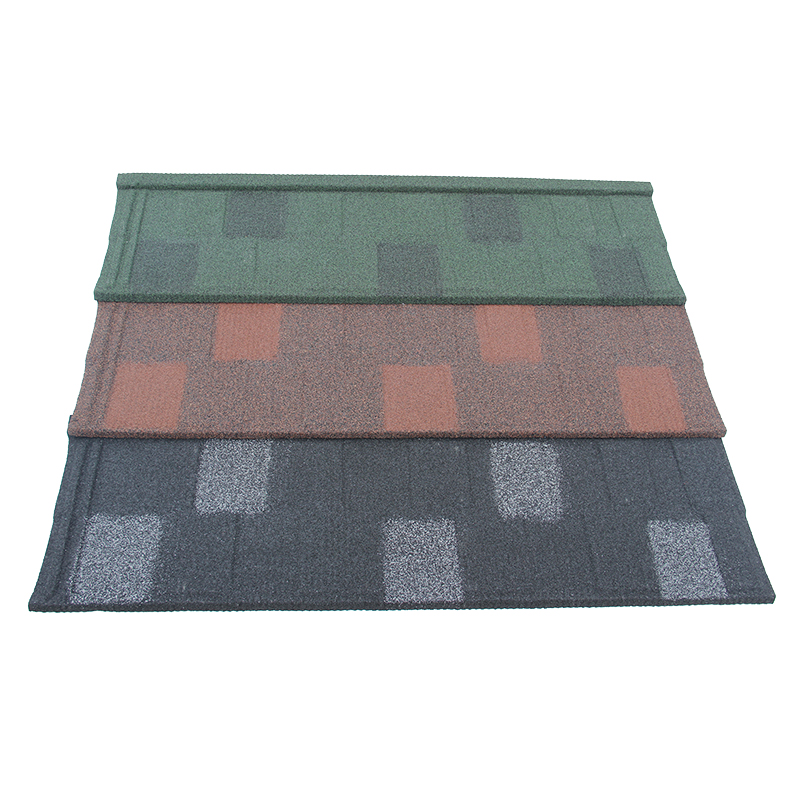
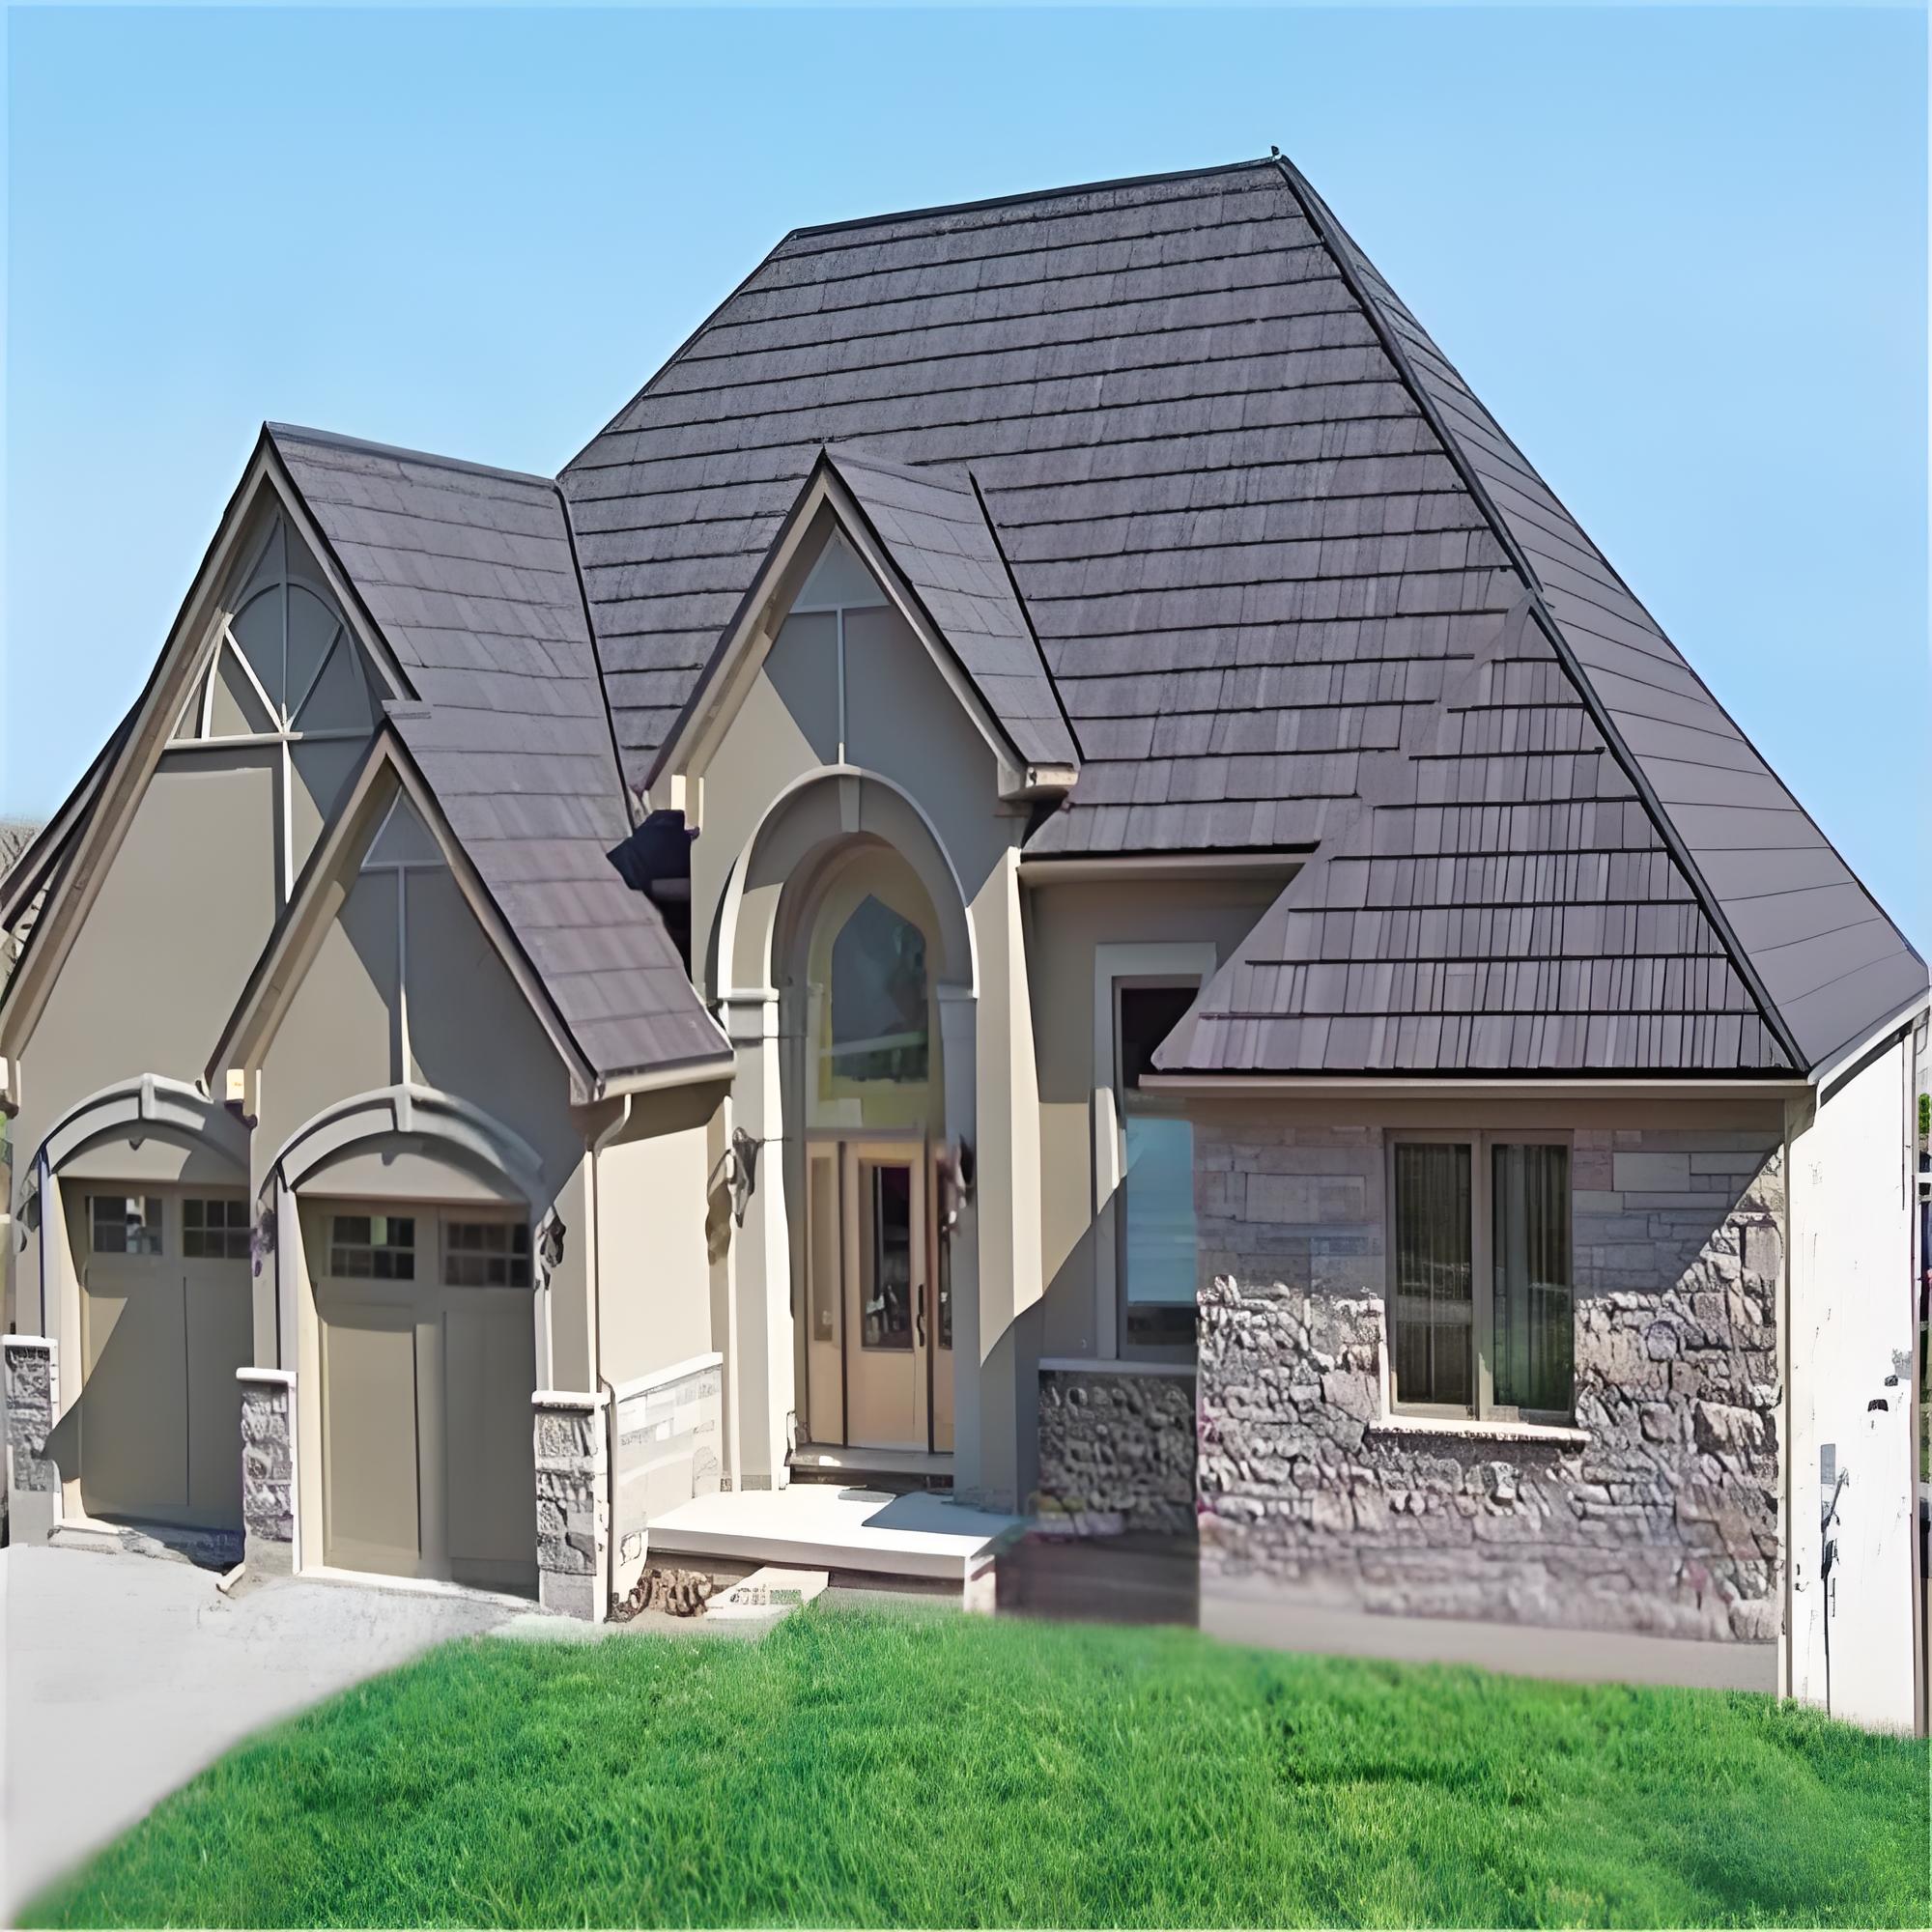
An arched Bond Tile can be considered where the design calls for a traditional tile rhythm. A Shingle Tile offers a layered shingle-style direction. Compare the actual products in the intended design context. Neither description substitutes for the architect’s sample approval.
For contemporary buildings, review the relationship between roof texture and the rest of the elevation. Strong course lines may create a different impression from pronounced curvature. Ask the design team to explain the desired effect. This makes supplier discussions more useful than requesting a product described only as modern.
Consider visible trim at the same time as the field roofing. Ridge, verge, and eave details can alter the overall appearance. Review their dimensions and finish references together. A suitable central roof pattern can still disappoint if the visible perimeter was not included in the design decision.
Review villas, hospitality buildings, and renovations
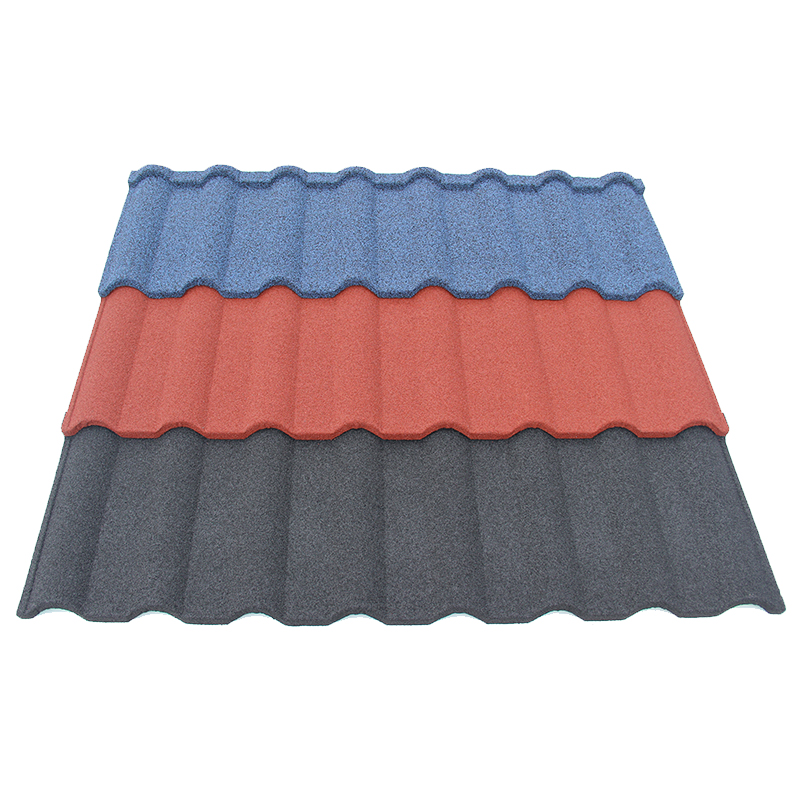
For a curved tile aesthetic, compare the proposed Milano Tile with the building’s scale and roof silhouette. Study its repeated pattern from realistic viewing points. Avoid assuming a pronounced shape will suit every villa or resort. Architectural intent should guide the sample discussion.
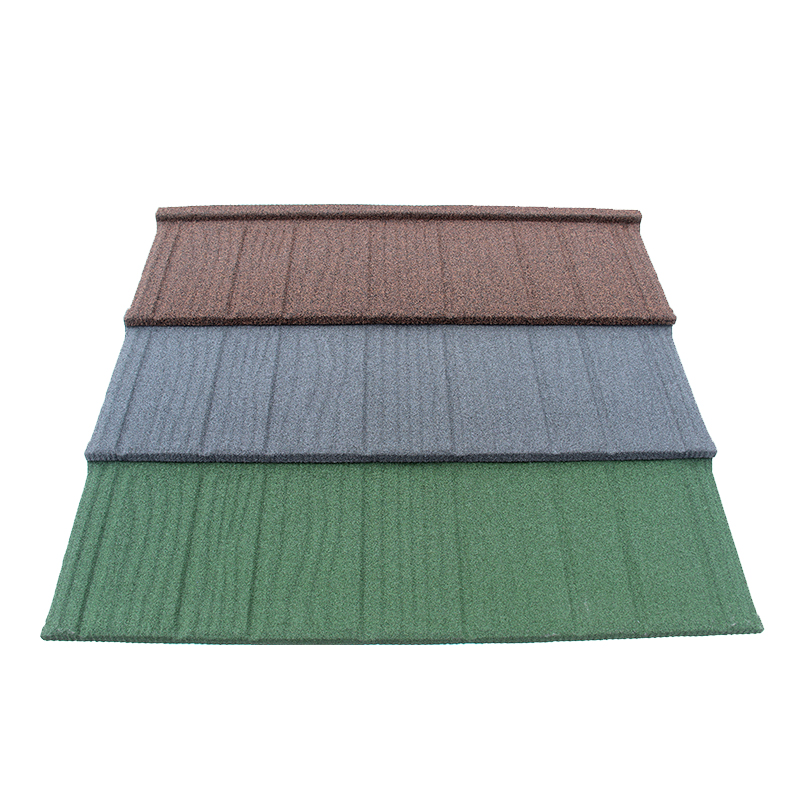
Where a design brief requests another surface character, Shake Tile can join the sample shortlist. Identify the exact manufacturer version and proposed finish. Compare it within the same project drawings and lighting conditions. A shared material category does not make different profile appearances interchangeable.
Renovations need a review of the existing building rather than only the replacement product. Record current roof condition, interfaces, structural considerations, and any appearance restrictions. Ask the team to identify preparation and approval requirements. A similar-looking profile may still require different detailing from the original covering.
For projects with appearance controls, obtain the required review before ordering. Keep the approved product, finish, and visible details identifiable. Do not treat a supplier’s statement that a product resembles another material as project permission. The approval process belongs to the actual building and its relevant stakeholders.
Evaluate Samples and Interfaces as One System
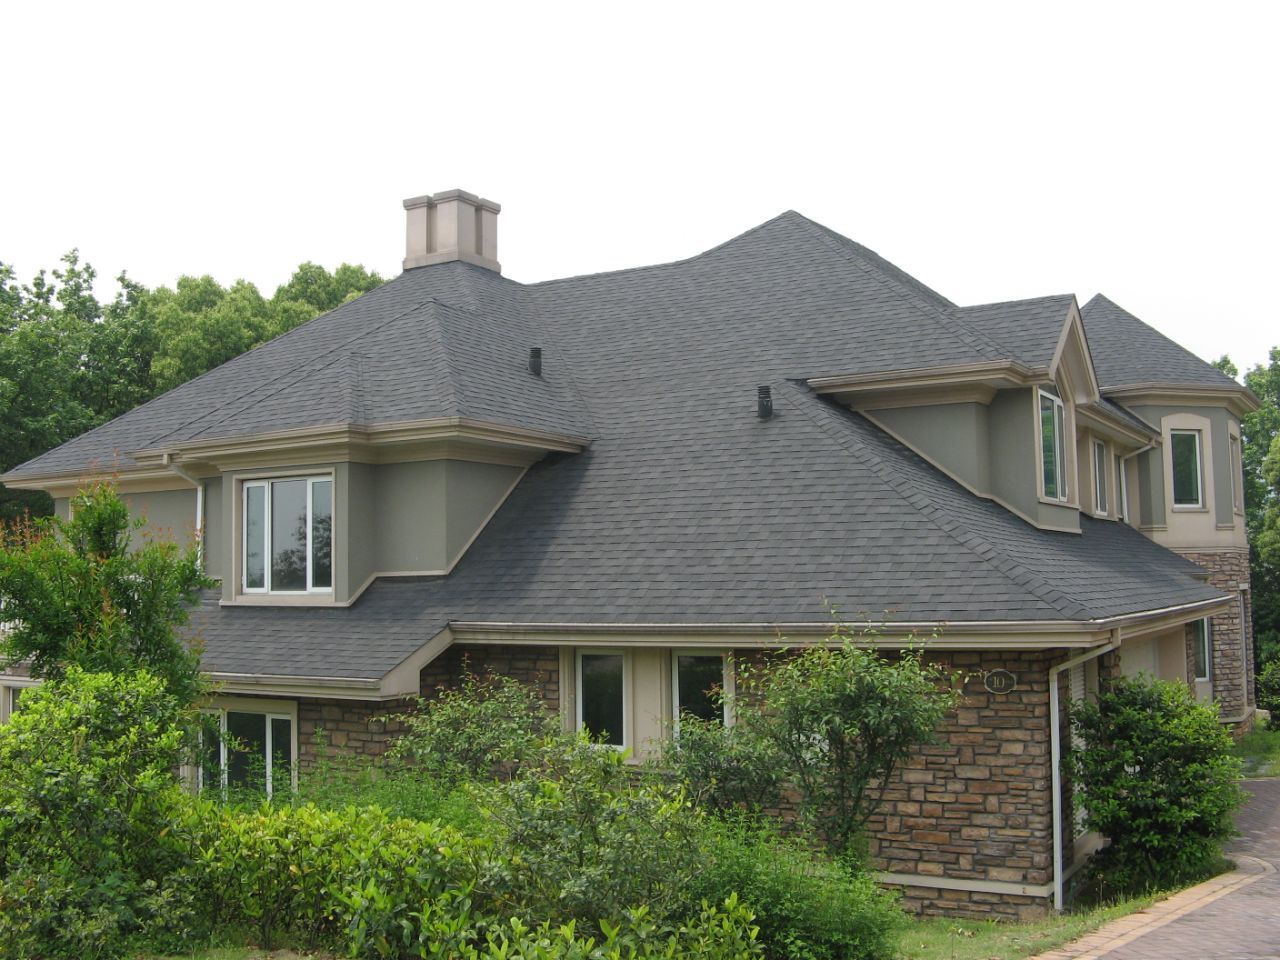
Build a representative appearance review
Use an assembled sample area where practical. Include enough repetition to show course lines, overlaps, and finish distribution. Position it to reflect the intended viewing angle. Review the sample under more than one lighting condition before making an important appearance commitment.
Compare colors using physical references rather than screens alone. Photographs can change with exposure, lighting, and display settings. Identify each approved sample and retain its reference. Ask how later production will be checked against it, particularly when the project will receive several deliveries.
Include difficult visual transitions in the review. A valley, ridge intersection, or wall junction can reveal details not visible on a flat sample board. Ask the installer to explain the proposed arrangement. Keep appearance acceptance distinct from confirmation that the technical detail is suitable.
Company background can help organize that discussion. With JCROOF, connect the proposed profiles to actual samples, product codes, and current project requirements. Request the relevant documentation for the selected version. General company information provides context, while the specific building needs its own defined approval references.
Check components and installation support
Request a component schedule tied to the roof plan. Identify the required edge, ridge, hip, valley, and penetration details. Ask which components are standard for the proposed product and which need further review. The schedule should distinguish supplied items from components provided by another project participant.
Verify interfaces with adjacent materials and systems. Discuss flashings, drainage connections, roof-mounted equipment, and other relevant junctions with the responsible designers. Ask who approves compatibility. A complete product order is easier to achieve when those responsibilities are resolved before production begins.
Review the installation team’s familiarity with the selected system. Ask which current instructions and supplier resources it will use. Identify any training or clarification needed before work starts. Experience with another metal roofing product may be helpful, but it does not replace the chosen product’s installation requirements.
Consider future maintenance access as part of the project review. Ask how the selected roof will be inspected and serviced according to its documentation. Coordinate access needs with other roof systems. Do not infer walking or repair practices from the shape or apparent strength of a sample tile.
| Project situation | Main selection question | Evidence or review needed |
|---|---|---|
| Repeated housing | Does the repeated pattern fit the development? | Assembled sample and elevation review |
| Contemporary building | Do texture and course lines fit the architecture? | Samples alongside façade materials |
| Villa or hospitality project | Does curvature suit the roof silhouette? | Realistic viewing and trim review |
| Renovation | Can the proposed system integrate with existing conditions? | Building assessment and approved details |
| Complex roof | Are all interfaces resolved? | Component schedule and coordinated drawings |
| Exposed location | Does the assembly meet defined requirements? | Relevant evidence and qualified technical review |
Turn the Selected Profile into an Approved Purchase
Record the decision in the project documents
Identify the selected manufacturer, profile code, finish reference, and specification revision. Attach approved samples and the relevant drawings to the purchase record. State which documents govern the order. A product name in an email is not a sufficient reference for an entire roofing package.
Record the technical and visual approval limits. An architect may approve appearance while another reviewer still needs to assess product evidence. Keep those responsibilities distinct. This helps procurement avoid treating one approval as permission to release every unresolved aspect of the roofing system.
Define how a proposed substitution will be reviewed. Ask the supplier to identify differences in geometry, materials, components, or documentation before changing the product. Retain the approved reference until the replacement is formally accepted. A similar catalog image should not silently replace the selected system.
Coordinate quantities with the current roof design. Ask the estimator to use confirmed coverage and component information, then document the relevant allowances. Revise the order when drawings change. The right profile can still be purchased incorrectly if the quantity schedule belongs to an older design.
Inspect deliveries and protect continuity
Check received goods against the approved product and packing records. Verify profile identification, finish references, component quantities, and visible condition. Keep different versions clearly separated until discrepancies are resolved. Site teams should not need to guess which delivered product matches the approved sample.
For phased construction, connect delivery records to installation areas. Retain sample and batch references so later differences can be investigated. Ask the supplier to identify changes before producing another phase. Continuity depends on controlled product information rather than a recurring color or profile name alone.
Review the completed appearance and installation records before expanding to additional buildings. Record useful feedback from designers, installers, and building operators. Distinguish aesthetic preferences from technical findings. Use both appropriately when the next project begins its selection process.
Profile selection works best when roof constraints, appearance, components, and approval references remain connected. Start with the building, compare realistic samples, and resolve difficult details early. Purchase the identified system rather than a familiar profile label. That supports a more consistent result across different construction projects.