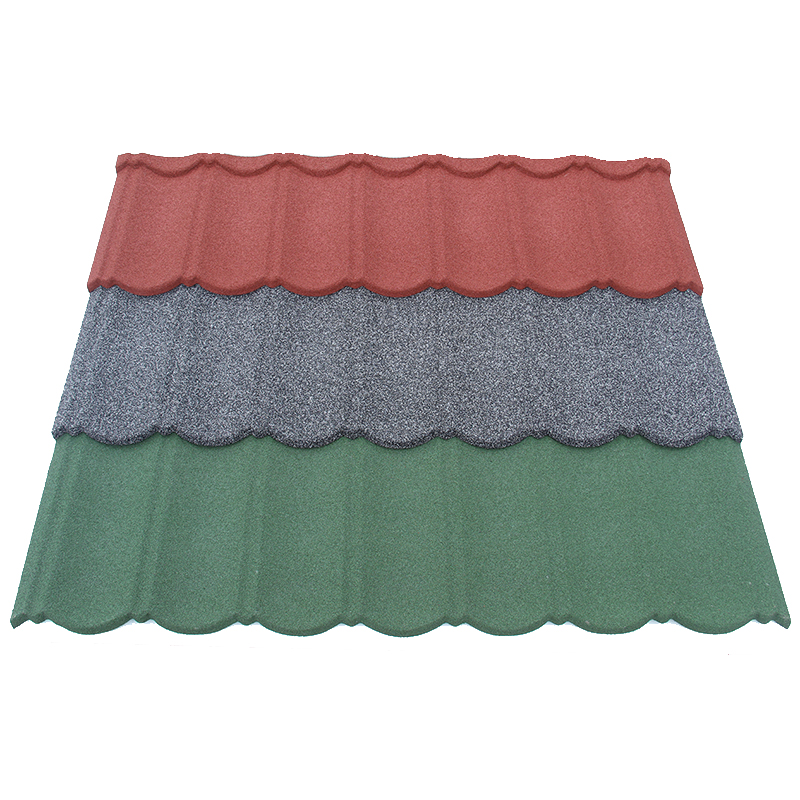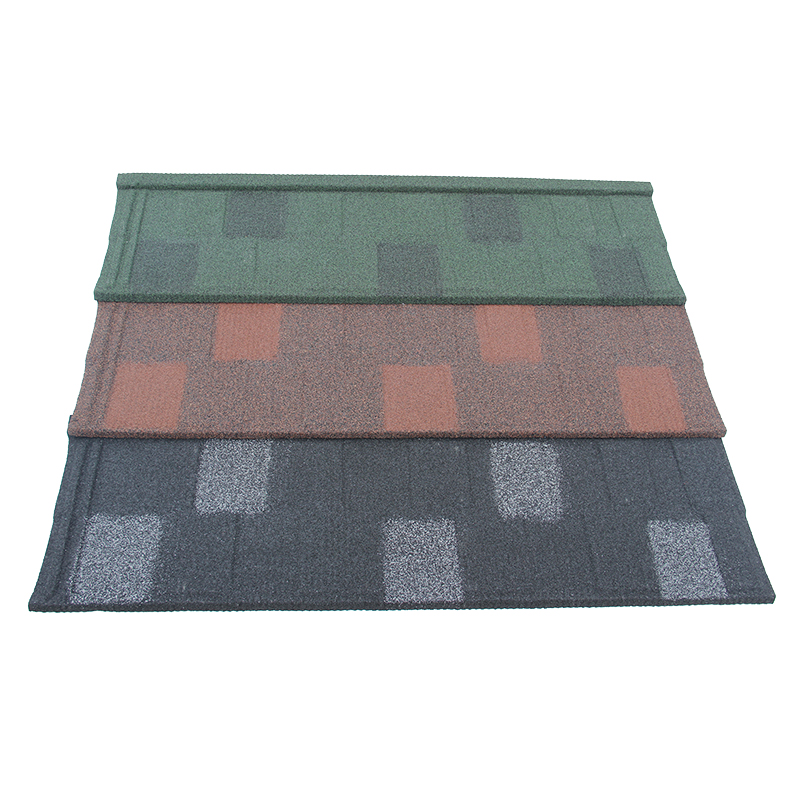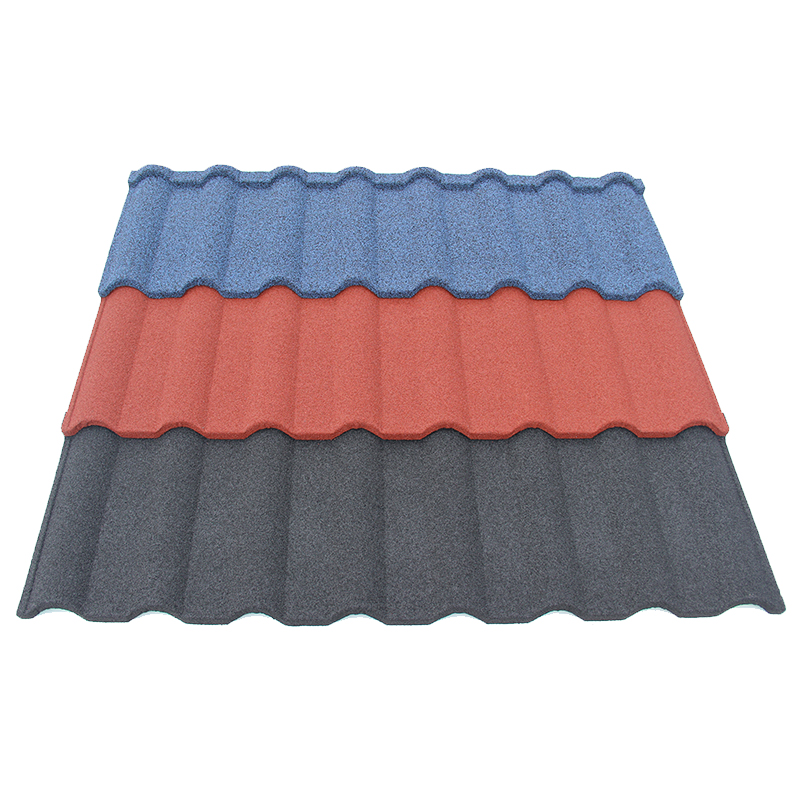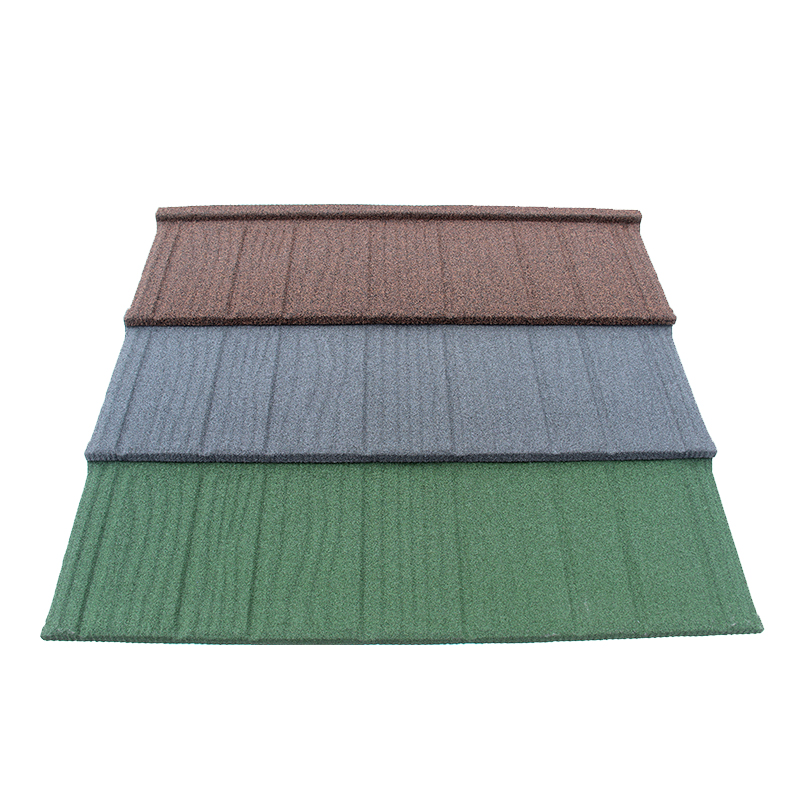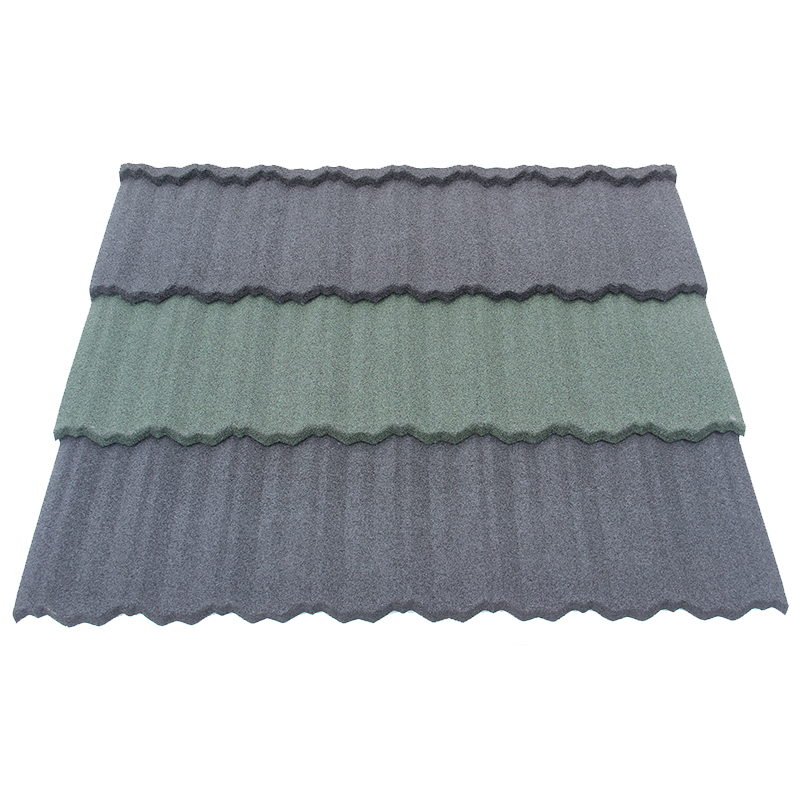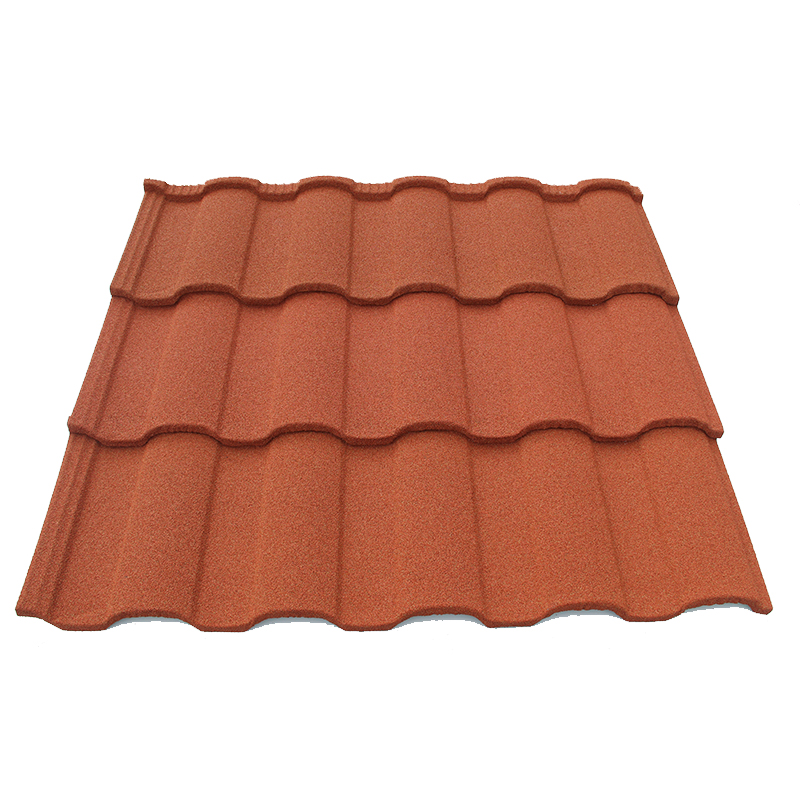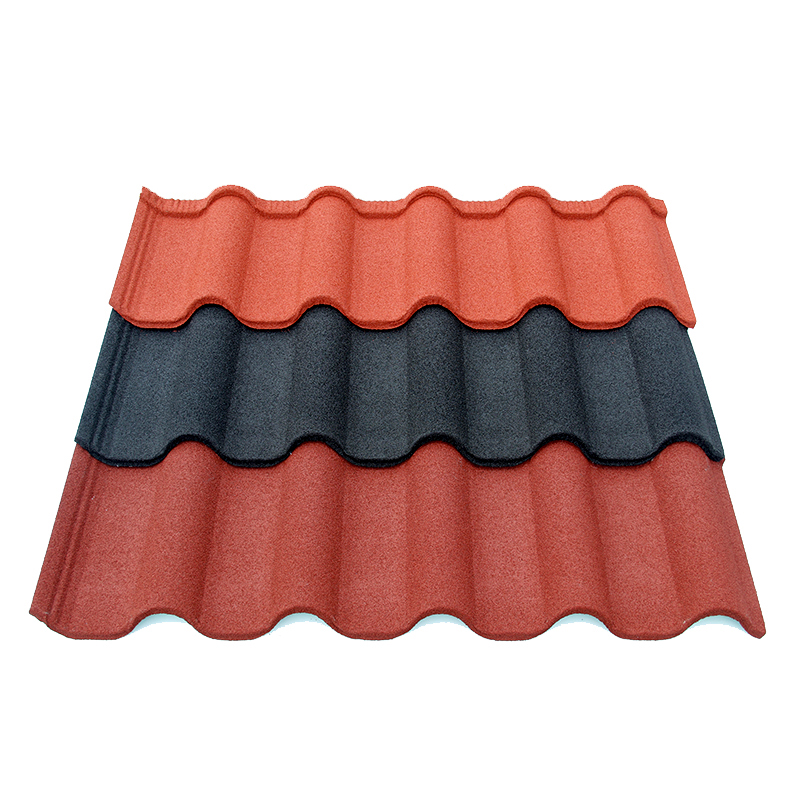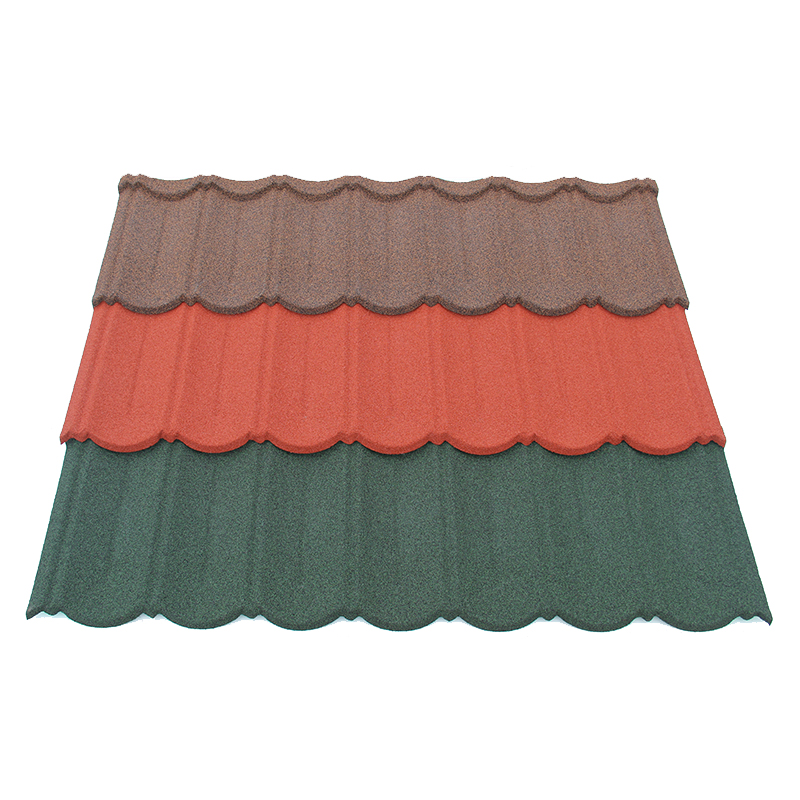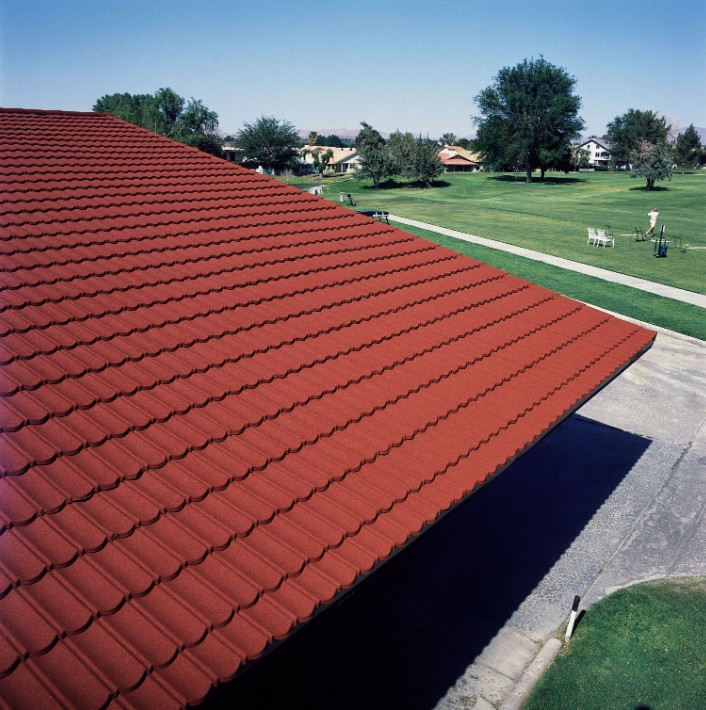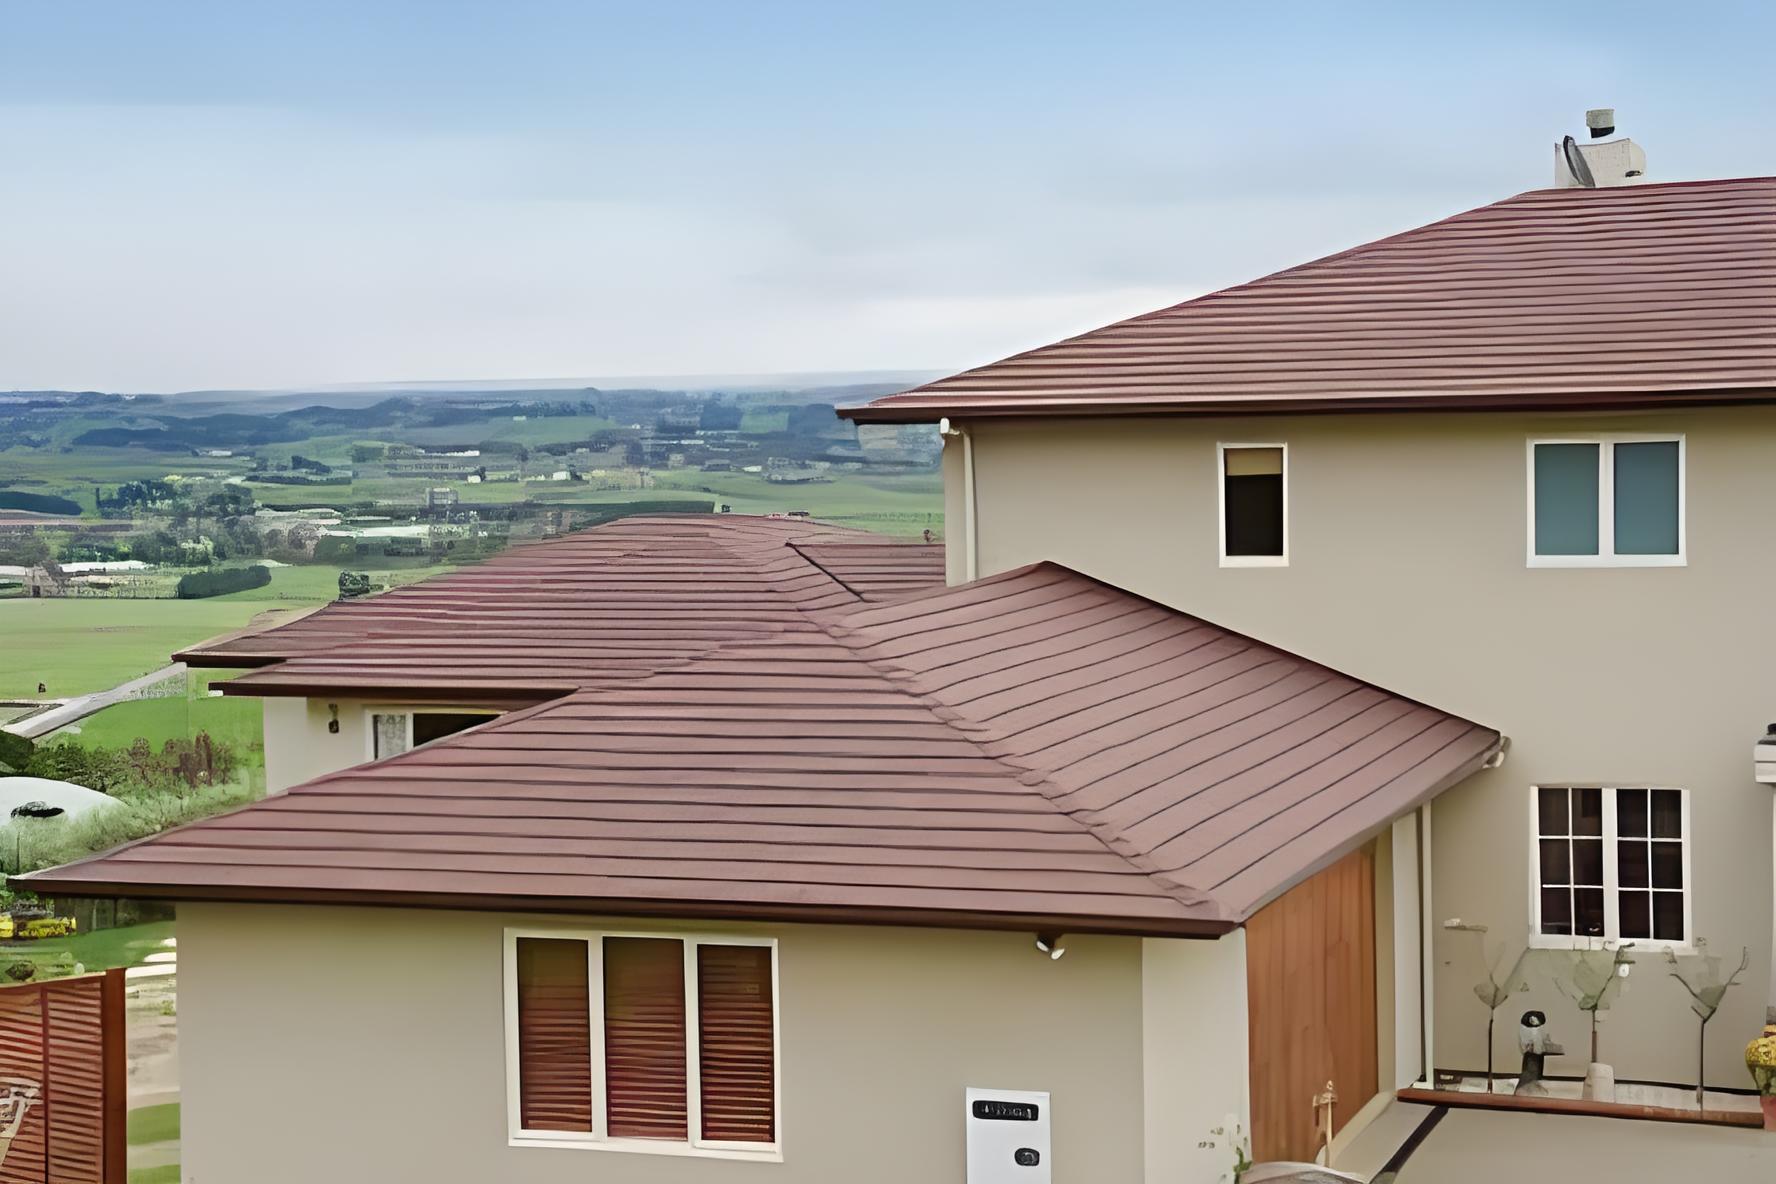


Stone coated metal shingle roof layouts need more than a roof area and a panel size. Complex roofs add intersections, short sections, openings, and changes in direction. Map those conditions before comparing quantities, accessory lists, and installation proposals.
A modular shingle panel does not remove the need for a roof-specific plan. The selected product still needs suitable details at each edge and junction. A qualified project team should review those details against the actual roof and local requirements.
For buyers, the useful goal is a complete and traceable supply request. The layout should connect drawings, panel coverage, accessories, and unresolved technical questions. That helps avoid ordering a main panel while leaving important roof conditions undefined.
Map the conditions in stone coated metal shingle roof layouts
First, divide the roof into clearly named planes. Record the known dimensions, slope, and direction for each plane. Then identify where those planes meet walls, other slopes, and perimeter edges.
Use the current roof drawings as the shared reference. A ground-level photograph can show the overall shape, but it may hide smaller roofs and junctions. Mark missing information rather than estimating it silently.
Give each roof plane and detail a stable label. The buyer, estimator, supplier, and installer should use the same labels. Otherwise, a question about one valley can receive an answer intended for another.
Distinguish area from intersections
Two roofs with similar areas can have different detail needs. One may contain broad, regular planes. Another may contain several dormers, hips, valleys, and roof-to-wall junctions.
Those differences affect the planning questions. Ask how the proposed system addresses each condition rather than applying one detail everywhere. Also identify any slope change or short section needing specific review.
A roof sketch should show more than its outside outline. Include the boundaries that divide the surface into separate planes. Then connect each boundary with the appropriate detail reference.
Check what the roof information actually shows
Confirm whether an area refers to the sloped surface or a horizontal plan. Do not combine those measures in one quantity sheet. Ask the estimator to explain the basis used for each figure.
Also distinguish measured site information from a preliminary drawing. If the project needs a survey, record who will complete it. A supplier should not have to guess which dimensions remain provisional.
The shingle specification guide helps connect product information with intended roof conditions. Use the same project references in the supply request. Keep open roof questions visible alongside the product description.
Connect the panel with the complete detail package
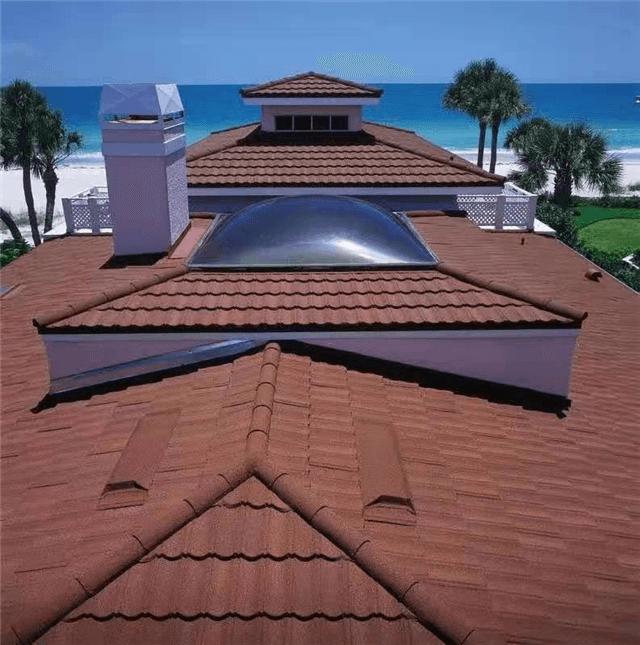
Choose the exact panel before asking for a final layout. Its geometry, installed coverage, and matching parts affect the plan. A general shingle-style description is not enough to identify those relationships.
For Shingle Tile, request the current product drawing and relevant system information. Then ask the project team to review the proposed details for the actual roof. Do not assume another manufacturer’s method applies because the panels look similar.
The DECRA Shake XD and Shingle XD installation guide separately addresses valleys, walls, hips, and other conditions. It illustrates the need for a detail package. Its dimensions and instructions apply to the systems it describes.
Review edges and changes in direction
At the perimeter, identify eaves, gables, and other edge conditions. At roof intersections, identify hips, ridges, and valleys. Then ask which components and instructions belong to each location.
Avoid reducing these features to a line on the quantity plan. A valley needs a coordinated roof detail, not merely a diagonal panel cut. The responsible designer should assess how the proposed assembly manages that condition.
Check how one detail meets the next. A roof-to-wall junction may end beside a valley or a ridge. The project team should resolve that connection before workers face an unclear junction on site.
Include openings and neighboring work
List skylights, chimneys, pipes, roof access points, and other known openings. Identify who supplies the associated parts and who reviews the interface. A panel supplier may not control every product at those locations.
Also note work by other trades that could affect the roof. Examples include wall finishes, roof-mounted equipment, and later service access. Assign responsibility for the relevant details instead of assuming another team will handle them.
When requesting information from JCROOF, include the roof plan and the named panel together. Ask which product records and accessory references support the proposal. Keep project design decisions with the appropriate reviewer.
Build quantities from the actual roof conditions
A simple area division can provide a rough starting point. It does not establish the final order for a complex roof. Short courses, intersections, and cut panels need attention in the actual takeoff.
Use the confirmed installed coverage of the selected panel. Also ask how the estimator handles partial areas and cut sections. Show those assumptions rather than hiding them inside a single total.
The shingle dimensions guide explains why overall size differs from installed coverage. Carry that distinction into the quantity sheet. A wrong coverage basis can distort the order even when the roof measurement is correct.
Separate the main field and the detail items
| Roof information | Planning question | Quantity record |
|---|---|---|
| Named roof planes | Which panel and coverage basis apply? | Main panel quantities by plane. |
| Hips and ridges | Which approved components cover these locations? | Named items and measured lengths. |
| Valleys and walls | Which detail references govern the junctions? | Required parts and stated units. |
| Openings and penetrations | Who supplies the interface components? | Identified items or clear exclusions. |
| Cut and short sections | How does the takeoff treat these areas? | Explained allowances and assumptions. |
Keep units consistent with the actual offer. A linear item and a panel count should not share an unexplained quantity column. If the supplier quotes packs, show how those packs relate to the required items.
Agree allowances without using a universal percentage
Ask the estimator to explain the proposed allowance for the actual layout. The basis should reflect the chosen product and roof conditions. Do not treat one percentage as correct for every complex roof.
Also ask whether the proposal assumes reuse of cut pieces. Any such assumption needs to suit the product and intended location. A leftover piece is not automatically a suitable installed part.
Distinguish construction allowance from service stock. The first supports the planned work and agreed handling needs. The second serves a later purpose and should remain identifiable if the buyer requires it.
Coordinate visual layout with the technical plan
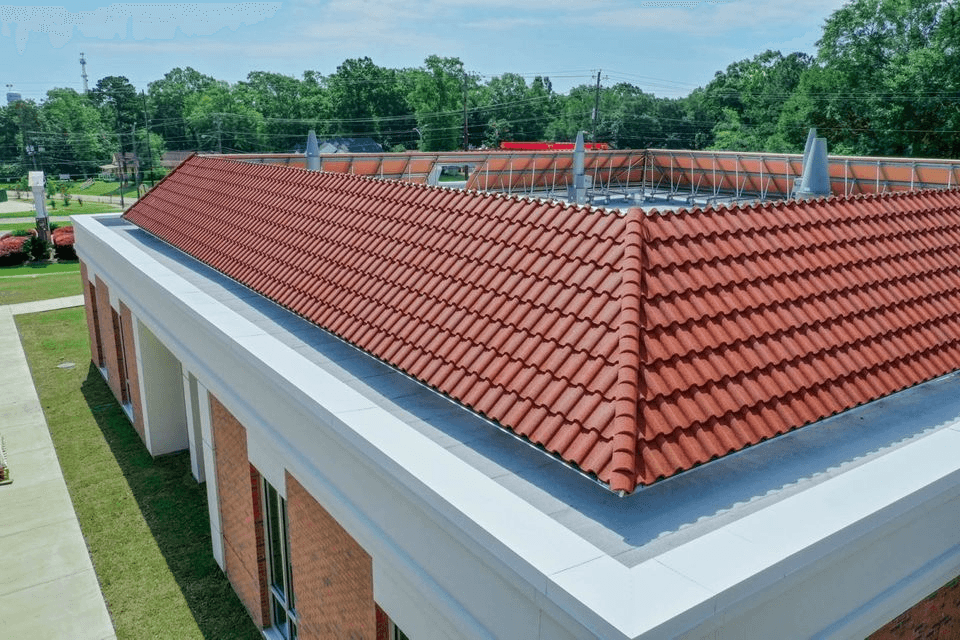
A complex roof presents several visible planes at different angles. The panel pattern may read differently across those planes. Discuss the intended appearance before ordering, while keeping technical requirements in control.
Identify the main viewing elevations and any particularly visible junctions. Ask which sample or drawing can help explain those areas. A broad product photograph may not show the effect of a small dormer or narrow roof strip.
Review the appearance that matters to the project
The shingle patterns guide separates panel form, surface contrast, and the wider roof field. Use those distinctions when describing a concern. A strong shadow line and a color mismatch need different questions.
If a visual study uses a panel arrangement, check that it reflects the intended product guidance. Do not adjust joints or overlaps simply to make the picture look better. The visual reference should represent a suitable proposed assembly.
Ask the project team how visible transitions will be reviewed. A drawing or selected mockup may help resolve a specific concern. Define that concern before requesting a display or trial section.
Plan access and work sequence
Ask the installer to identify the proposed work sequence and access needs. Complex geometry may require coordination between roof sections and neighboring trades. The supplier’s quantity list alone cannot settle those arrangements.
Discuss delivery and storage with the site team. If work will proceed by roof zone, identify the materials needed for each release. Also decide how the team will keep parts and finishes traceable during handling.
Avoid making promises about walking routes or temporary loading from a product photograph. The responsible team should review those matters for the actual system and site. Keep the agreed plan available to the people doing the work.
Release one clear plan for buying and construction
Before placing the order, compare the roof plan, takeoff, accessory schedule, and quoted scope. They should identify the same product and drawing revision. Resolve differences while the teams can still revise the proposal.
Record which documents support buying and which support installation. A supply estimate may contain assumptions that need later site confirmation. Make those assumptions clear rather than presenting the estimate as a finished construction plan.
Compare offers on the same layout basis
Send each supplier the same current project information. Ask for the panel, accessories, exclusions, and quantity basis separately. This makes a difference in scope easier to see beside a difference in price.
A lower panel price may not mean a lower complete supply cost. One offer may omit parts that another includes. Compare the full identified package before deciding which proposal addresses the roof.
Also identify any custom detail still awaiting review. Ask who will resolve it and how it affects the order. An unanswered junction should not disappear when the quotation becomes a purchase order.
Control revisions and final checks
If the roof shape changes, review the affected quantities and details. Even a small extension can add an edge, junction, or different short section. Update the shared references before releasing further goods.
If the panel or accessory changes, ask which layout assumptions need another check. Similar outer dimensions do not establish the same coverage or interface. Keep the revised product information connected to the roof plan.
Finally, give the receiving team a clear list of the expected parts. Check identities and quantities against the actual shipment. A complete roof plan becomes useful on site only when the matching materials and current instructions arrive together.
Planning shingles for a complex roof? Send us an inquiry with your roof plan and chosen profile. Our team will reply and help you clarify the supply information needed.