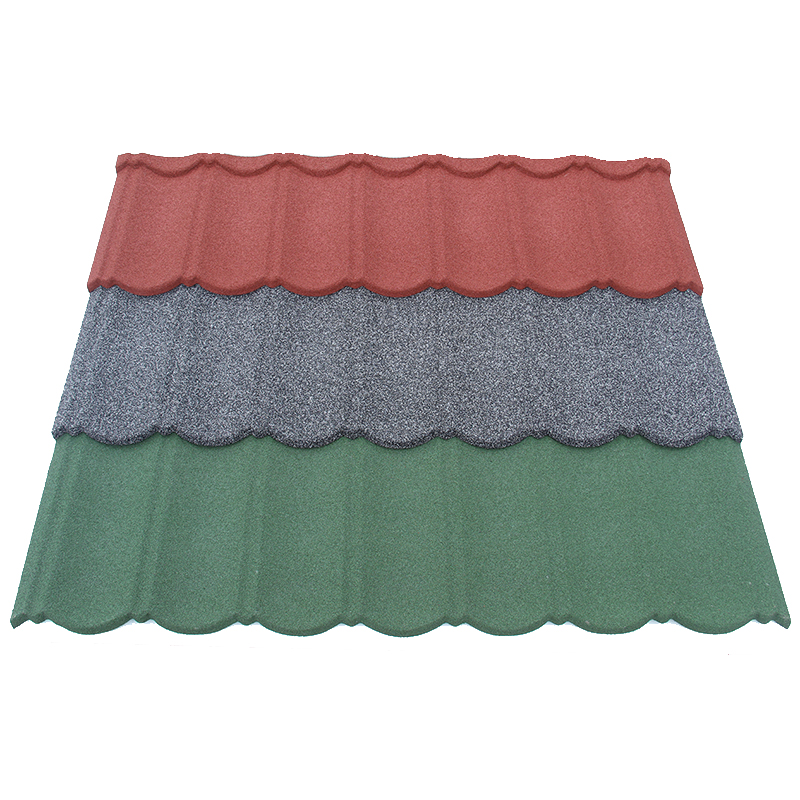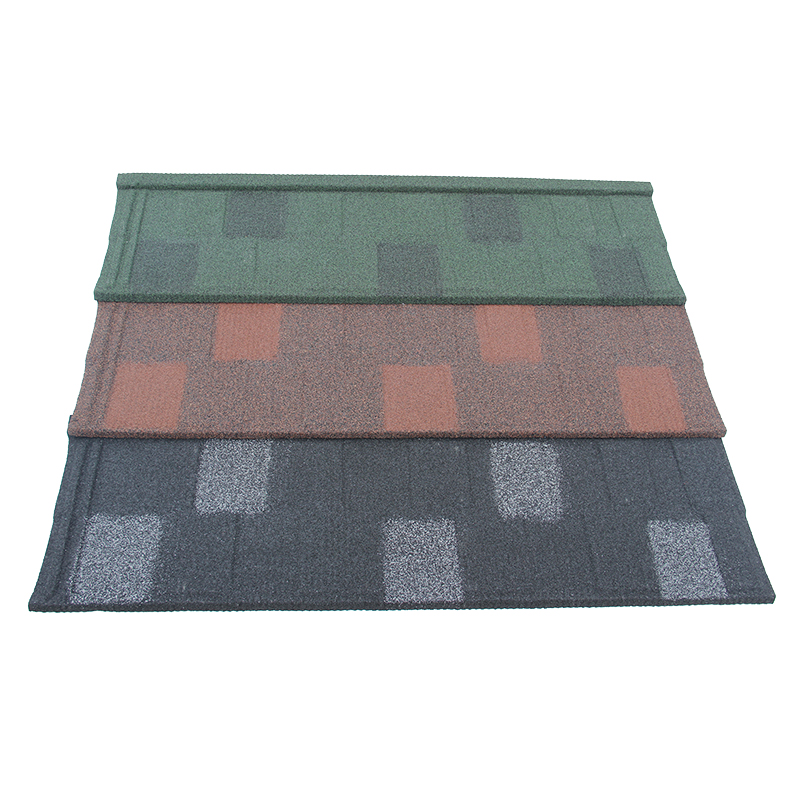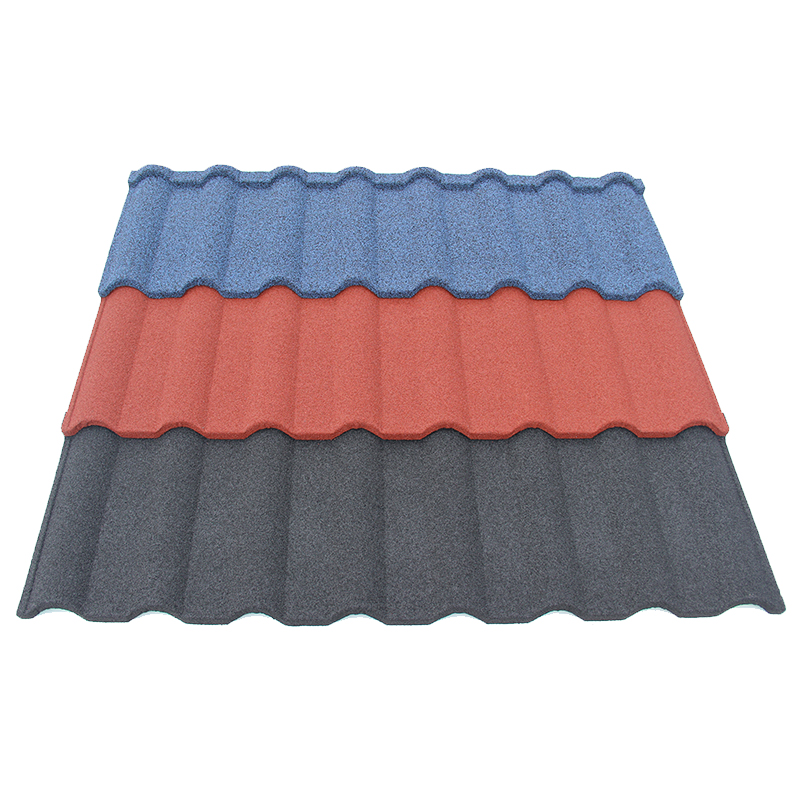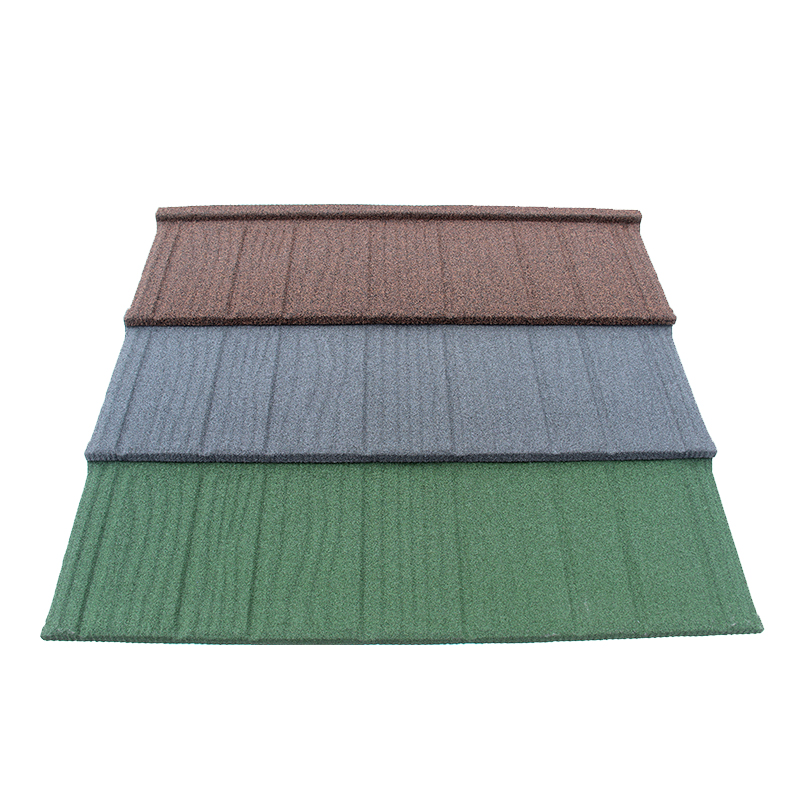


Estimate Milano roof tiles hipped roof quantities from sloping roof areas, effective panel coverage, and the reviewed layout. Count hip and ridge fittings by their own lengths and units. Then add the agreed cut allowance, spare stock, and any pack rounding. Ask the project designer to review the takeoff before placing the order.
A takeoff lists the materials and quantities needed for a set of drawings. For a hipped roof, it should identify the panels for each slope and the parts for each junction. Give the supplier that schedule when you request a quote. The resulting offer is easier to check against the intended roof.
Milano roof tiles hipped roof quantities start with the drawings
Ask for the current roof plan, elevations, and details that affect the materials. Mark the drawing revision on the takeoff. If the project already has measured roof areas, record who provided them. Send discrepancies back to the project team before finalizing counts.
Record each slope and junction
Give each roof slope a name that matches the plan. Record its sloping surface area in square meters. Also identify the edges where the slope meets a hip, ridge, eave, wall, or valley. The drawing or survey should show which dimensions the estimator used.
The footprint gives the horizontal outline of the building. Use the sloping surfaces within the approved roof scope to calculate panel coverage. Check how the estimator treated overhangs, rooflights, and other openings. An opening can change the layout and parts list as well as the area.
List each hip and ridge run separately. Include the actual run length from the relevant drawing or survey. Also note where runs end or meet. These junctions may need a separate item, which is easier to track while the runs are still distinct.
Confirm effective cover for the offered panel
Ask the supplier for the exact item code, drawing, and effective installed coverage. Match those records to the profile and finish on the quote. The full panel size helps identify the piece. Effective coverage reflects what the panel contributes once the system’s laps are in place.
If a sheet gives pieces per square meter, check how that rate relates to the listed coverage. Rounding in either figure can change a large estimate. Ask the supplier which figure to use and record the answer. See the Milano roof tile dimensions and coverage guide.
DECRA Asia shows overall length, cover dimensions, and area per tile in separate fields. Its sheet describes the dimensions as nominal for its Milano model. Check the corresponding fields on the offered model’s own sheet. DECRA Asia Milano technical data sheet.
Confirm the offered panel and its drawing before entering a coverage value for Milano Tile.
Build a base panel count and review cuts
Divide each applicable sloping area by the confirmed effective area per panel to get an initial coverage count. Then check that count against the project layout. Treat the area calculation as an early estimate. The reviewed takeoff supplies the quantities for the purchase order.
Check what happens at the hip lines
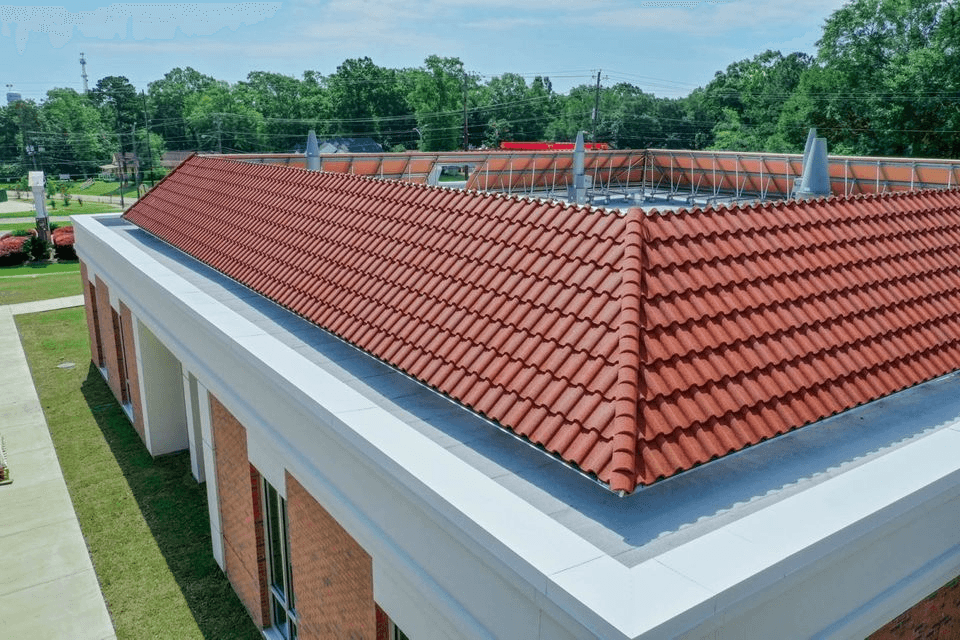
Hips can shorten the usable width of successive courses toward the top of a slope. The estimator needs to account for the full panels needed to supply the required cut pieces. Ask the project team which parts of the layout affect that count. Record the basis beside the affected slope.
The estimator should also document any reuse of offcuts in the count. An offcut may have a different edge or orientation from the next required piece. Ask the project designer and supplier to confirm the applicable limits. Keep unconfirmed reuse out of the firm order estimate.
Show how the order count changes
Consider a hypothetical roof with 96 square meters of confirmed sloping area. Assume each fictional panel covers 0.60 square meters. The initial coverage count is 160 panels. These numbers illustrate the calculation and describe no supplier’s specifications.
Suppose the project team’s reviewed layout calls for 172 panels in total, including the material needed for cuts. The buyer then requests four spare panels. This gives 176 panels before packing. If the hypothetical supplier sells only packs of ten, the order becomes 180 panels.
Show those steps in the takeoff so the buyer can see why the order exceeds the area estimate. The difference between 160 and 172 comes from the fictional layout review. Keep the spares and pack rounding on separate lines. Confirm the layout count and pack rules for each new order.
If the reviewed panel count already includes cuts, mark that in the schedule. Adding a second cut allowance would count the same need twice. When a quote includes a general allowance, ask the supplier to show what it covers. Compare its basis with the estimator’s notes.
For example, two roof plans can have the same sloping area and different numbers of short courses near hips. Ask for the panel count on each affected slope to see where the estimates diverge. Then check whether the fitter and supplier used the same layout revision. A single extra percentage can hide that difference.
Count hip fittings and roof parts by their own units
Measure the runs that need fittings and confirm the compatible items for each run. A panel order counted in square meters can still need fittings counted by linear meter, piece, or set. Use the unit tied to the part on the approved details. Then check the units against the quote.
Keep runs and junctions visible
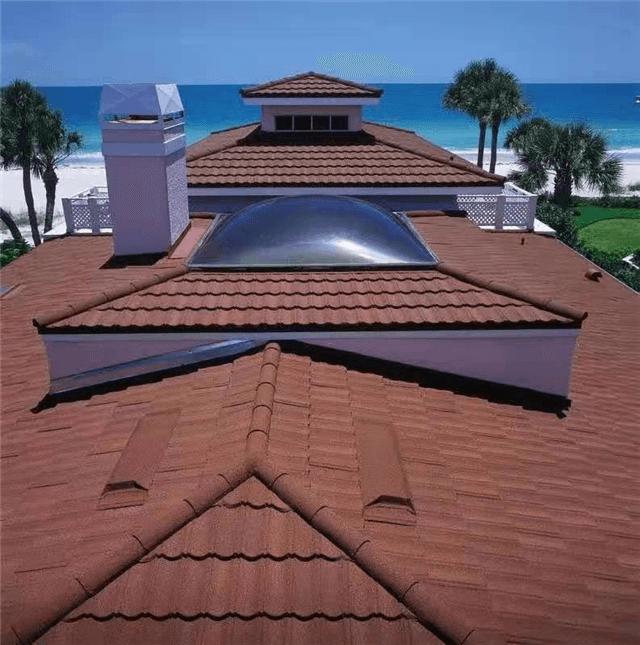
Ask the supplier for the effective installed length of each fitting. Confirm how the part’s cover and the project’s end details affect the count. Keep hip, ridge, and valley items on distinct lines where the design calls for them. This helps the team check each against the right detail.
For a hypothetical example, suppose the reviewed detail gives a hip fitting an effective cover of 0.8 meters. Assume a single run needs 5.4 meters of that cover. Dividing gives 6.75, which rounds to seven whole fittings in this example. The numbers describe an imaginary part and run.
Now assume four separate runs need the same count and the reviewed layout calls for seven whole fittings per run. The schedule would show 28 regular fittings across the four runs. Any special ends or meeting points belong on their own lines if the drawings specify them.
Assign each item to a supplier
Include the eave, wall, valley, and penetration parts shown in the reviewed package. Also list fasteners and other materials the project team specifies for the purchase. Ask who supplies each item and when it needs to arrive. Give locally sourced parts their own lines in the schedule.
| Order line | Quantity basis to confirm |
|---|---|
| Field panels | Sloping area, effective cover, and reviewed layout count. |
| Hip and ridge fittings | Separate run lengths and compatible parts. |
| Ends and junctions | Counts from the applicable project details. |
| Other roof parts | Drawing locations, item codes, and supply responsibility. |
| Spares and packs | Buyer’s spare count and supplier’s pack rules. |
If a drawing changes a junction, ask the designer whether the fitting list needs an update. Also check whether the supplier quotes a regular piece or a set. Two quotes can show the same quantity and cover different items. Use the Milano supplier comparison guide to check the scope.
Reconcile the takeoff with the supplier’s quote
Send the drawing references, takeoff, selected panel code, and finish with the request. Ask the supplier to respond line by line. It should identify included quantities, pack counts, and any proposed changes. Resolve differences with the project designer before confirming the order.
Check allowances, packs, and delivery lots
Give each allowance a reason and a place on the schedule. The layout count covers the reviewed roof geometry. Spares may serve future repairs or a stock plan. Pack rounding reflects the quantity the supplier can sell under the offer.
Check pack sizes for each item individually. The supplier may pack fittings in a different unit from the panels. Ask how mixed packs or special parts appear on the packing list. That gives receiving staff a way to match the delivered pieces to the order.
For staged delivery, agree which slopes and fittings each shipment must cover. Also ask whether the supplier can identify the production lots for each finish. A shipment with enough panels can still leave a roof section waiting for a required part. Check the first release against the planned work scope.
Keep the final quantities easy to verify
When discussing a takeoff with JCROOF, send the roof schedule, selected finish, and current drawing references. Ask which product codes, packs, and fittings the offer covers. Record any assumptions the supplier needs the project team to verify. Keep the accepted reply with the purchase order.
Before release, compare the latest layout count with the quote total and the number of packs. Give the receiving team the expected items, units, and finish codes. Keep earlier revisions accessible for resolving questions. If the roof layout changes, ask the designer to check the affected quantities again.
Preparing a Milano order for a hipped roof? Share your roof drawings, selected finish, and quantity schedule so our team can review the supply scope. Send us an inquiry.