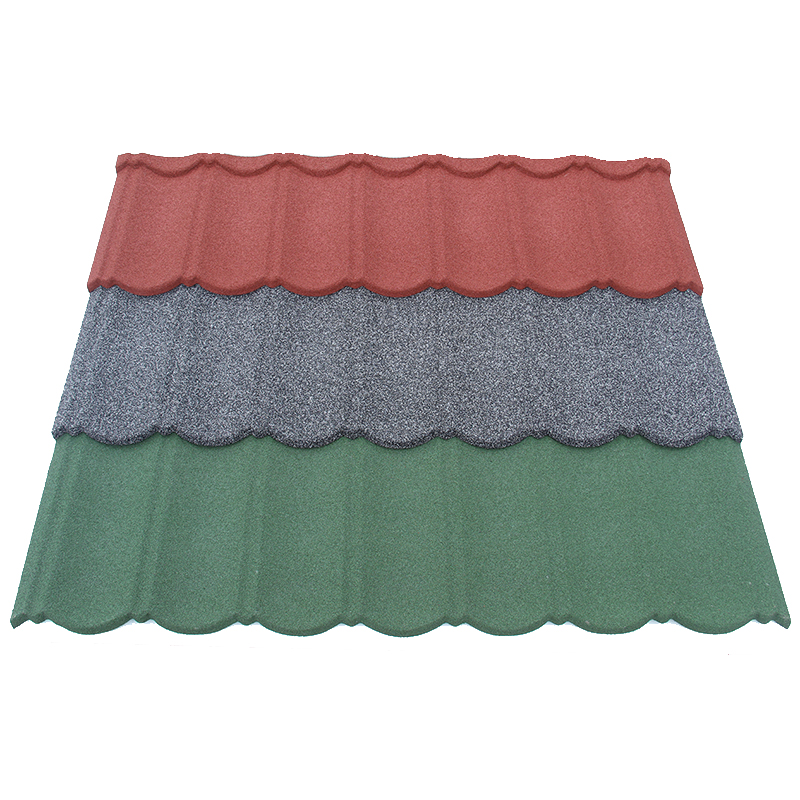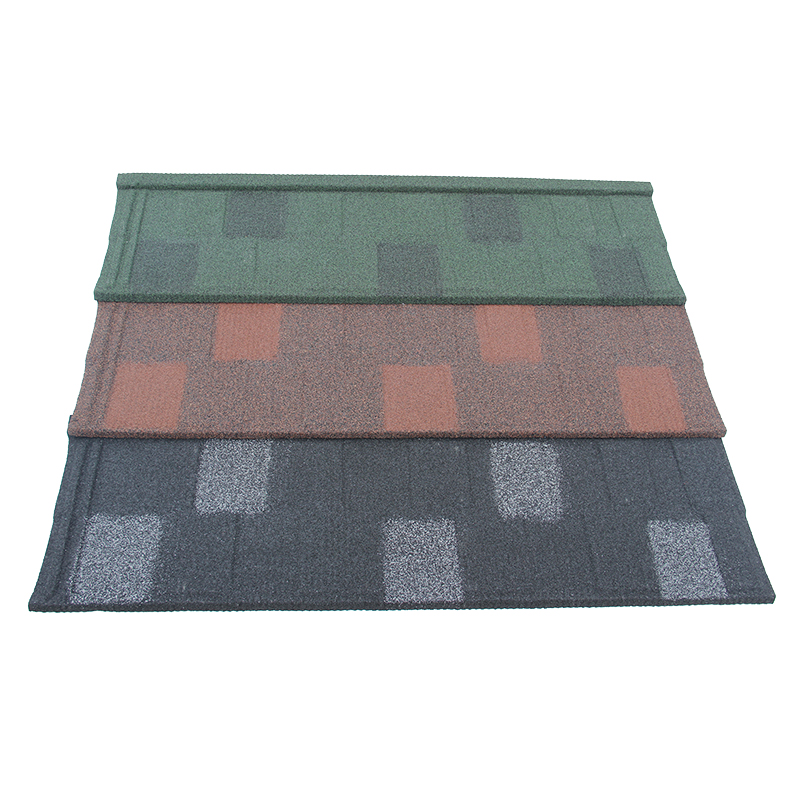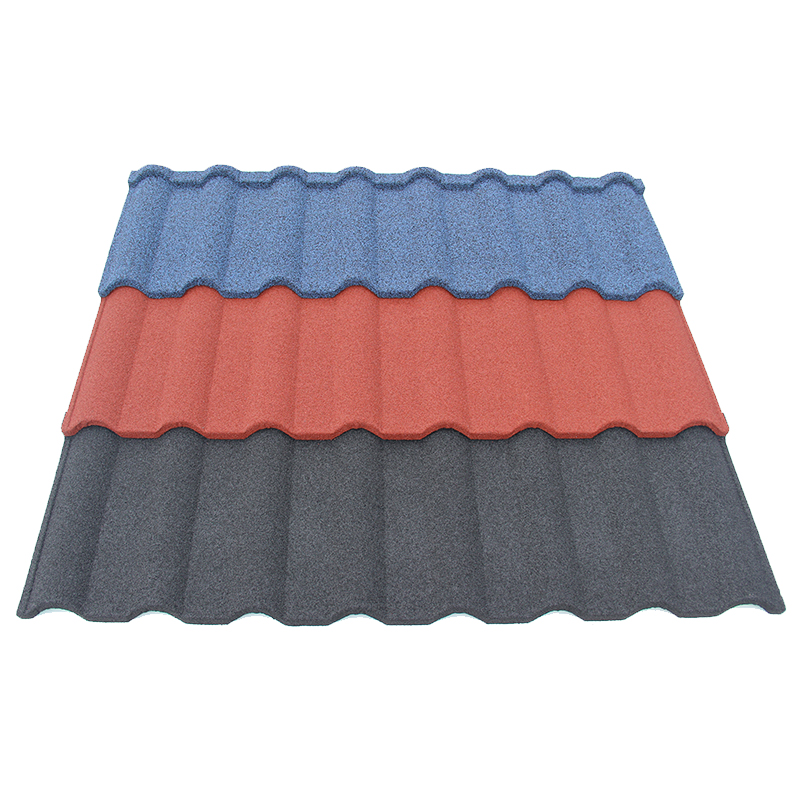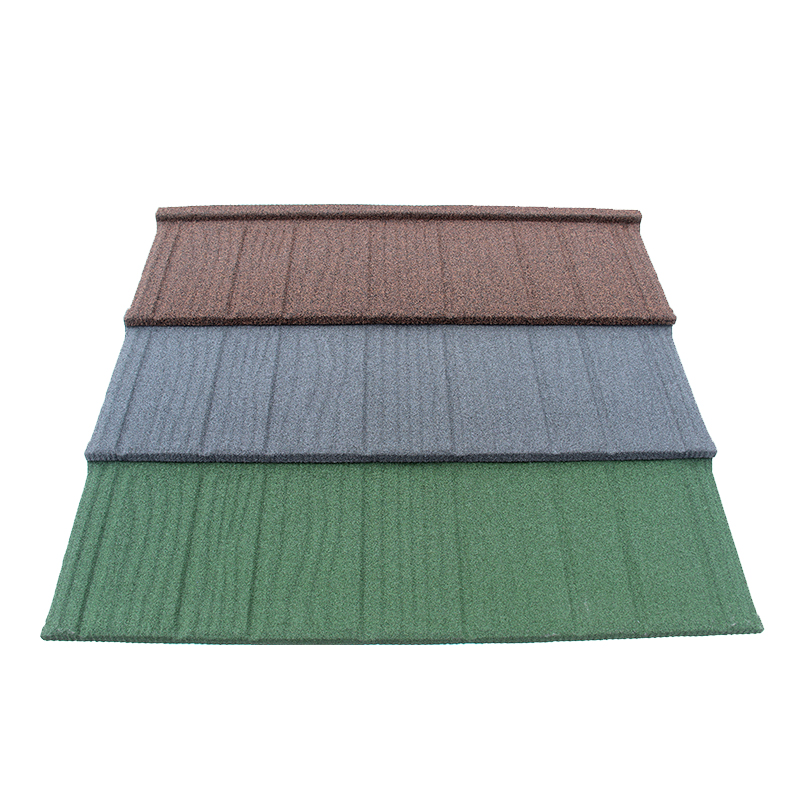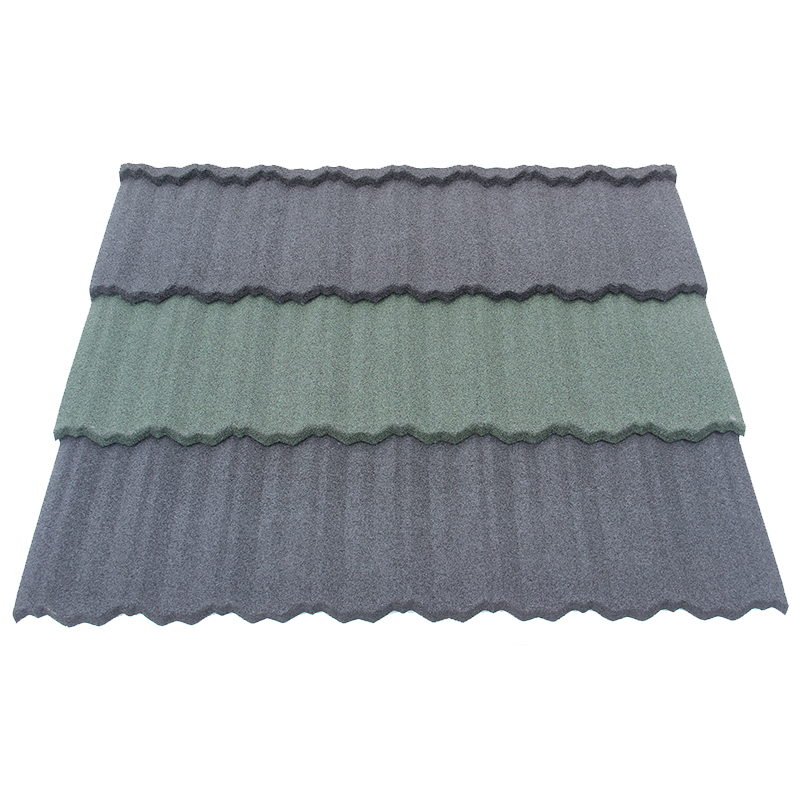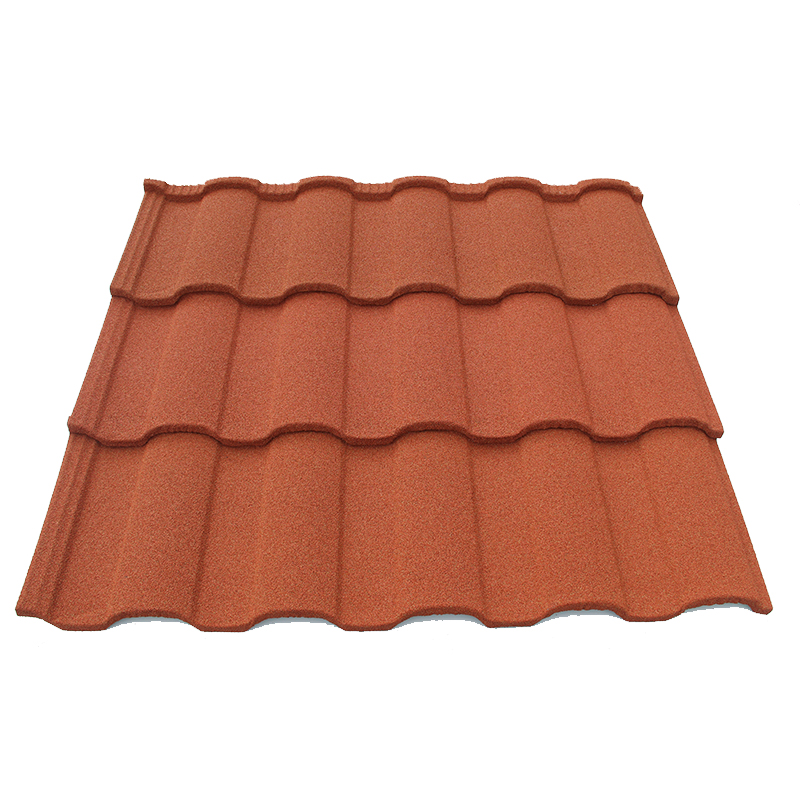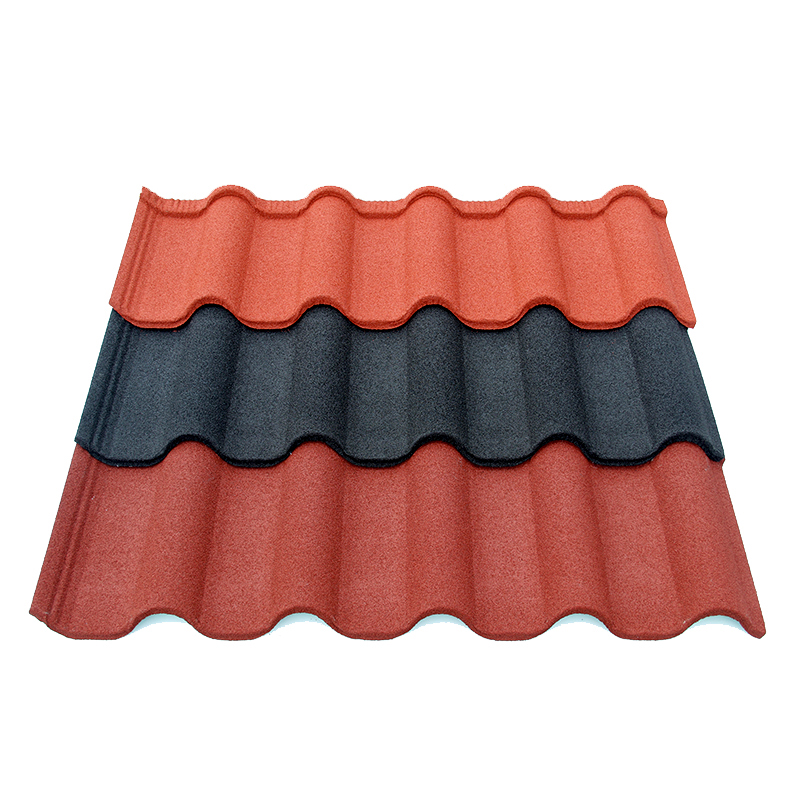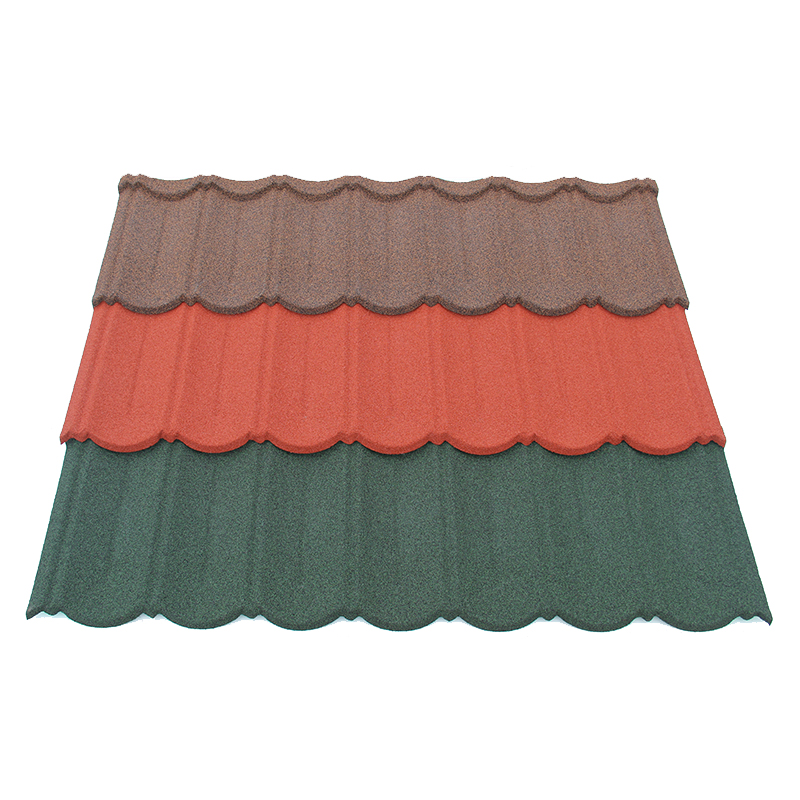

Stone coated shingle roofing junction accessories should follow the chosen panel, roof drawings, and approved system details. Start by listing every place where roof planes meet, end, or connect to another surface. Then match each junction to a confirmed detail and a named supply item. A matching color alone cannot prove that a part fits.
For importers and project buyers, this work connects the roof design to the purchase order. It helps reveal missing parts before a shipment leaves the factory. Sales and site teams also gain a shared list for checking codes and raising questions.
Map stone coated shingle roofing junction accessories to the roof
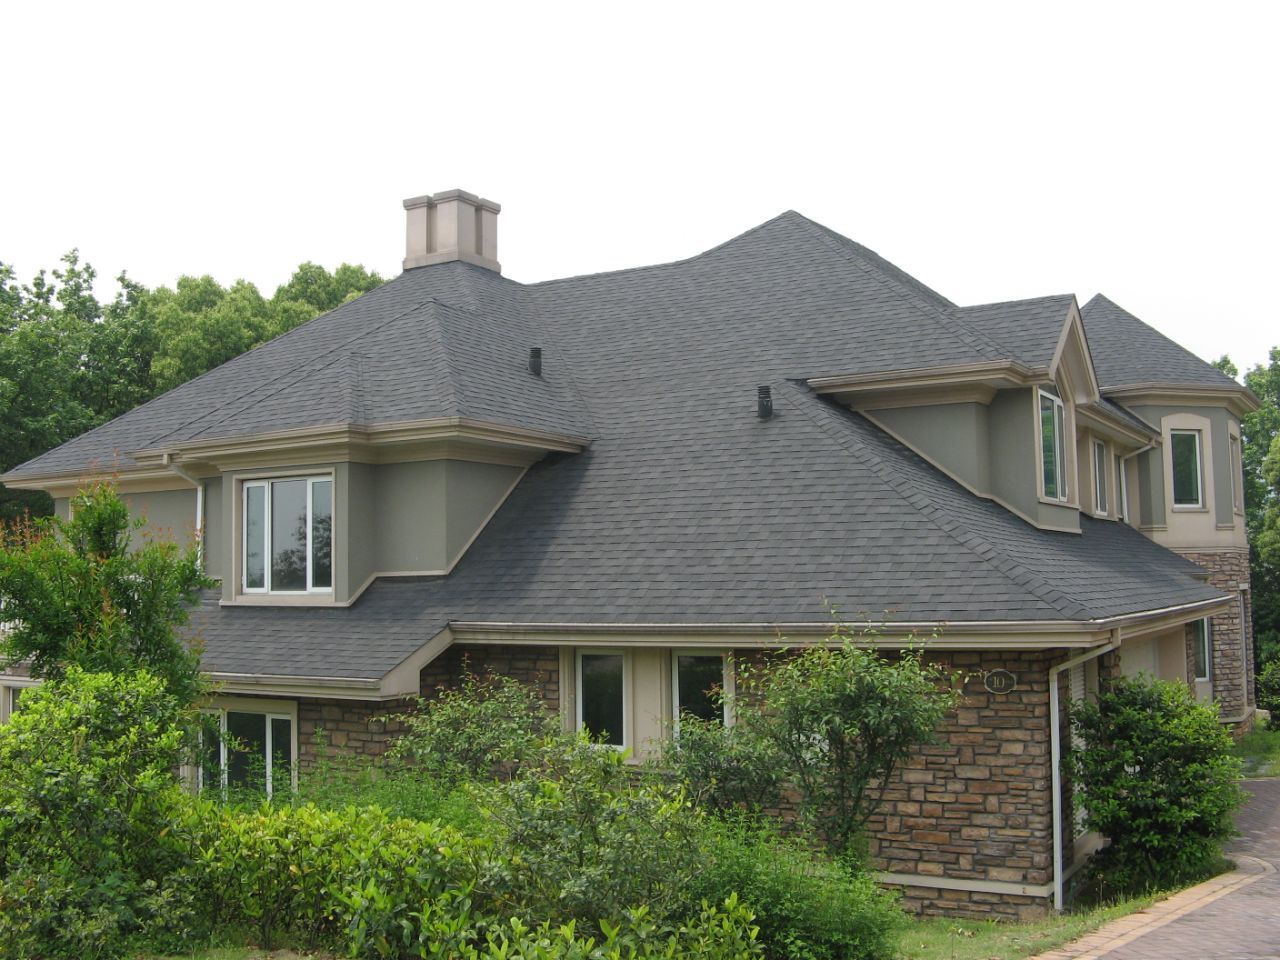
Use the latest roof plan and relevant sections as the starting point. Mark ridges, hips, valleys, eaves, gables, walls, and roof penetrations. Give each location a reference that can appear on the parts list. Where the design remains open, record the question and the person who must answer it.
The buyer should know who prepares and approves each detail. The supplier can explain its product system, while the project designer checks the proposed assembly for the site. Local rules and the actual roof conditions also matter. Keep those roles clear rather than asking a sales photograph to settle a design question.
Name the exact panel system
Start with a confirmed product reference for Shingle Tile. Ask for its current drawing, relevant installation guide, and offered parts. Record the version alongside the buyer’s item code. The broad word shingle can describe products with different edges and fixing methods.
The Shingle specification guide provides a wider buying framework for that review. Use it to connect the panel identity, materials, documents, and order scope. Then keep the junction list specific to the actual roof. A general product description is only a starting point.
Ask whether each part is supplied ready formed or needs approved work on site. Record who performs that work and which instructions apply. Do not infer a cutting or bending method from a sample. The correct detail must come from the chosen system and project review.
Distinguish geometry from appearance
A part can look right but have the wrong shape for the connection. Check its section, size, mating edges, and intended use against the relevant drawing. If one part serves several models, request written confirmation of those uses. Keep the answer with the parts list.
Finish is a separate question. Review the proposed color and texture beside representative panels under agreed conditions. A curved ridge may catch light differently from a flat roof field. Record the approved visual reference without implying that a color approval proves fit or performance.
Review the main junction groups
Different junctions need different information. A ridge connects roof planes at a high point, while a valley receives water from adjoining slopes. A wall detail connects roofing to another building surface. List the function and the applicable system detail before choosing the part name.
The DECRA XD installation guide illustrates a named manufacturer’s junction details and components. It covers the DECRA products and arrangements described in that document. Its dimensions and methods should not be transferred to a different supplier’s shingle system. Request the correct current documents for the product you intend to buy.
Ridges and hips
Ask which ridge and hip parts belong to the selected panel. Check the proposed end pieces, connections, and any related support parts. If roof ventilation forms part of the design, ask how the chosen detail addresses it. The designer should confirm the complete arrangement for the project.
Do not assume that every decorative ridge part also provides a particular ventilation path. Nor should a general product name settle how several ridges meet. Ask for the relevant junction drawing where the roof changes direction. Keep the drawing reference beside the order line.
Check how the supplier states useful cover for a repeated cap or trim. The nominal length may differ from the installed contribution after the required joint. Use the confirmed cover basis when the approved takeoff calls for it. Keep cutting and spare quantities visible as separate decisions.
Valleys and roof edges
For a valley, request the detail for the chosen panel and roof arrangement. Ask which items are included and which are supplied by others. Keep the water path, supporting layers, and related edge work within the design review. A color-matched cover does not by itself describe the full valley assembly.
At eaves and gables, identify the relevant starter, edge, or trim details from the system documents. Names differ between suppliers, so use codes and drawings alongside the description. Ask which pieces connect and what remains outside the quote. Avoid buying a part solely because its catalog name sounds familiar.
The tile and accessory compatibility guide explains why fit needs evidence for the proposed connection. Use that approach when checking these parts. A sample can reveal questions, but a desk fit trial cannot prove installed weather resistance.
Walls and penetrations
List each roof-to-wall location, chimney, pipe, skylight, or other opening shown on the current drawings. Ask for the relevant detail and the boundary between trades. Some parts may belong to the roofing package while others belong to another supplier. Record those boundaries before shipment planning.
Where two different materials meet, request suitable guidance for the proposed contact and finish. The technical reviewer should assess the actual combination. Appearance alone cannot establish material compatibility. Also check whether a change to one item affects the supporting documents or other parts.
Keep field changes under review. If a penetration moves after the takeoff, the original parts list may no longer cover it. Ask the designer to update the detail and quantities as needed. A later site change should have a traceable decision rather than an informal substitute.
Build a clear junction supply schedule
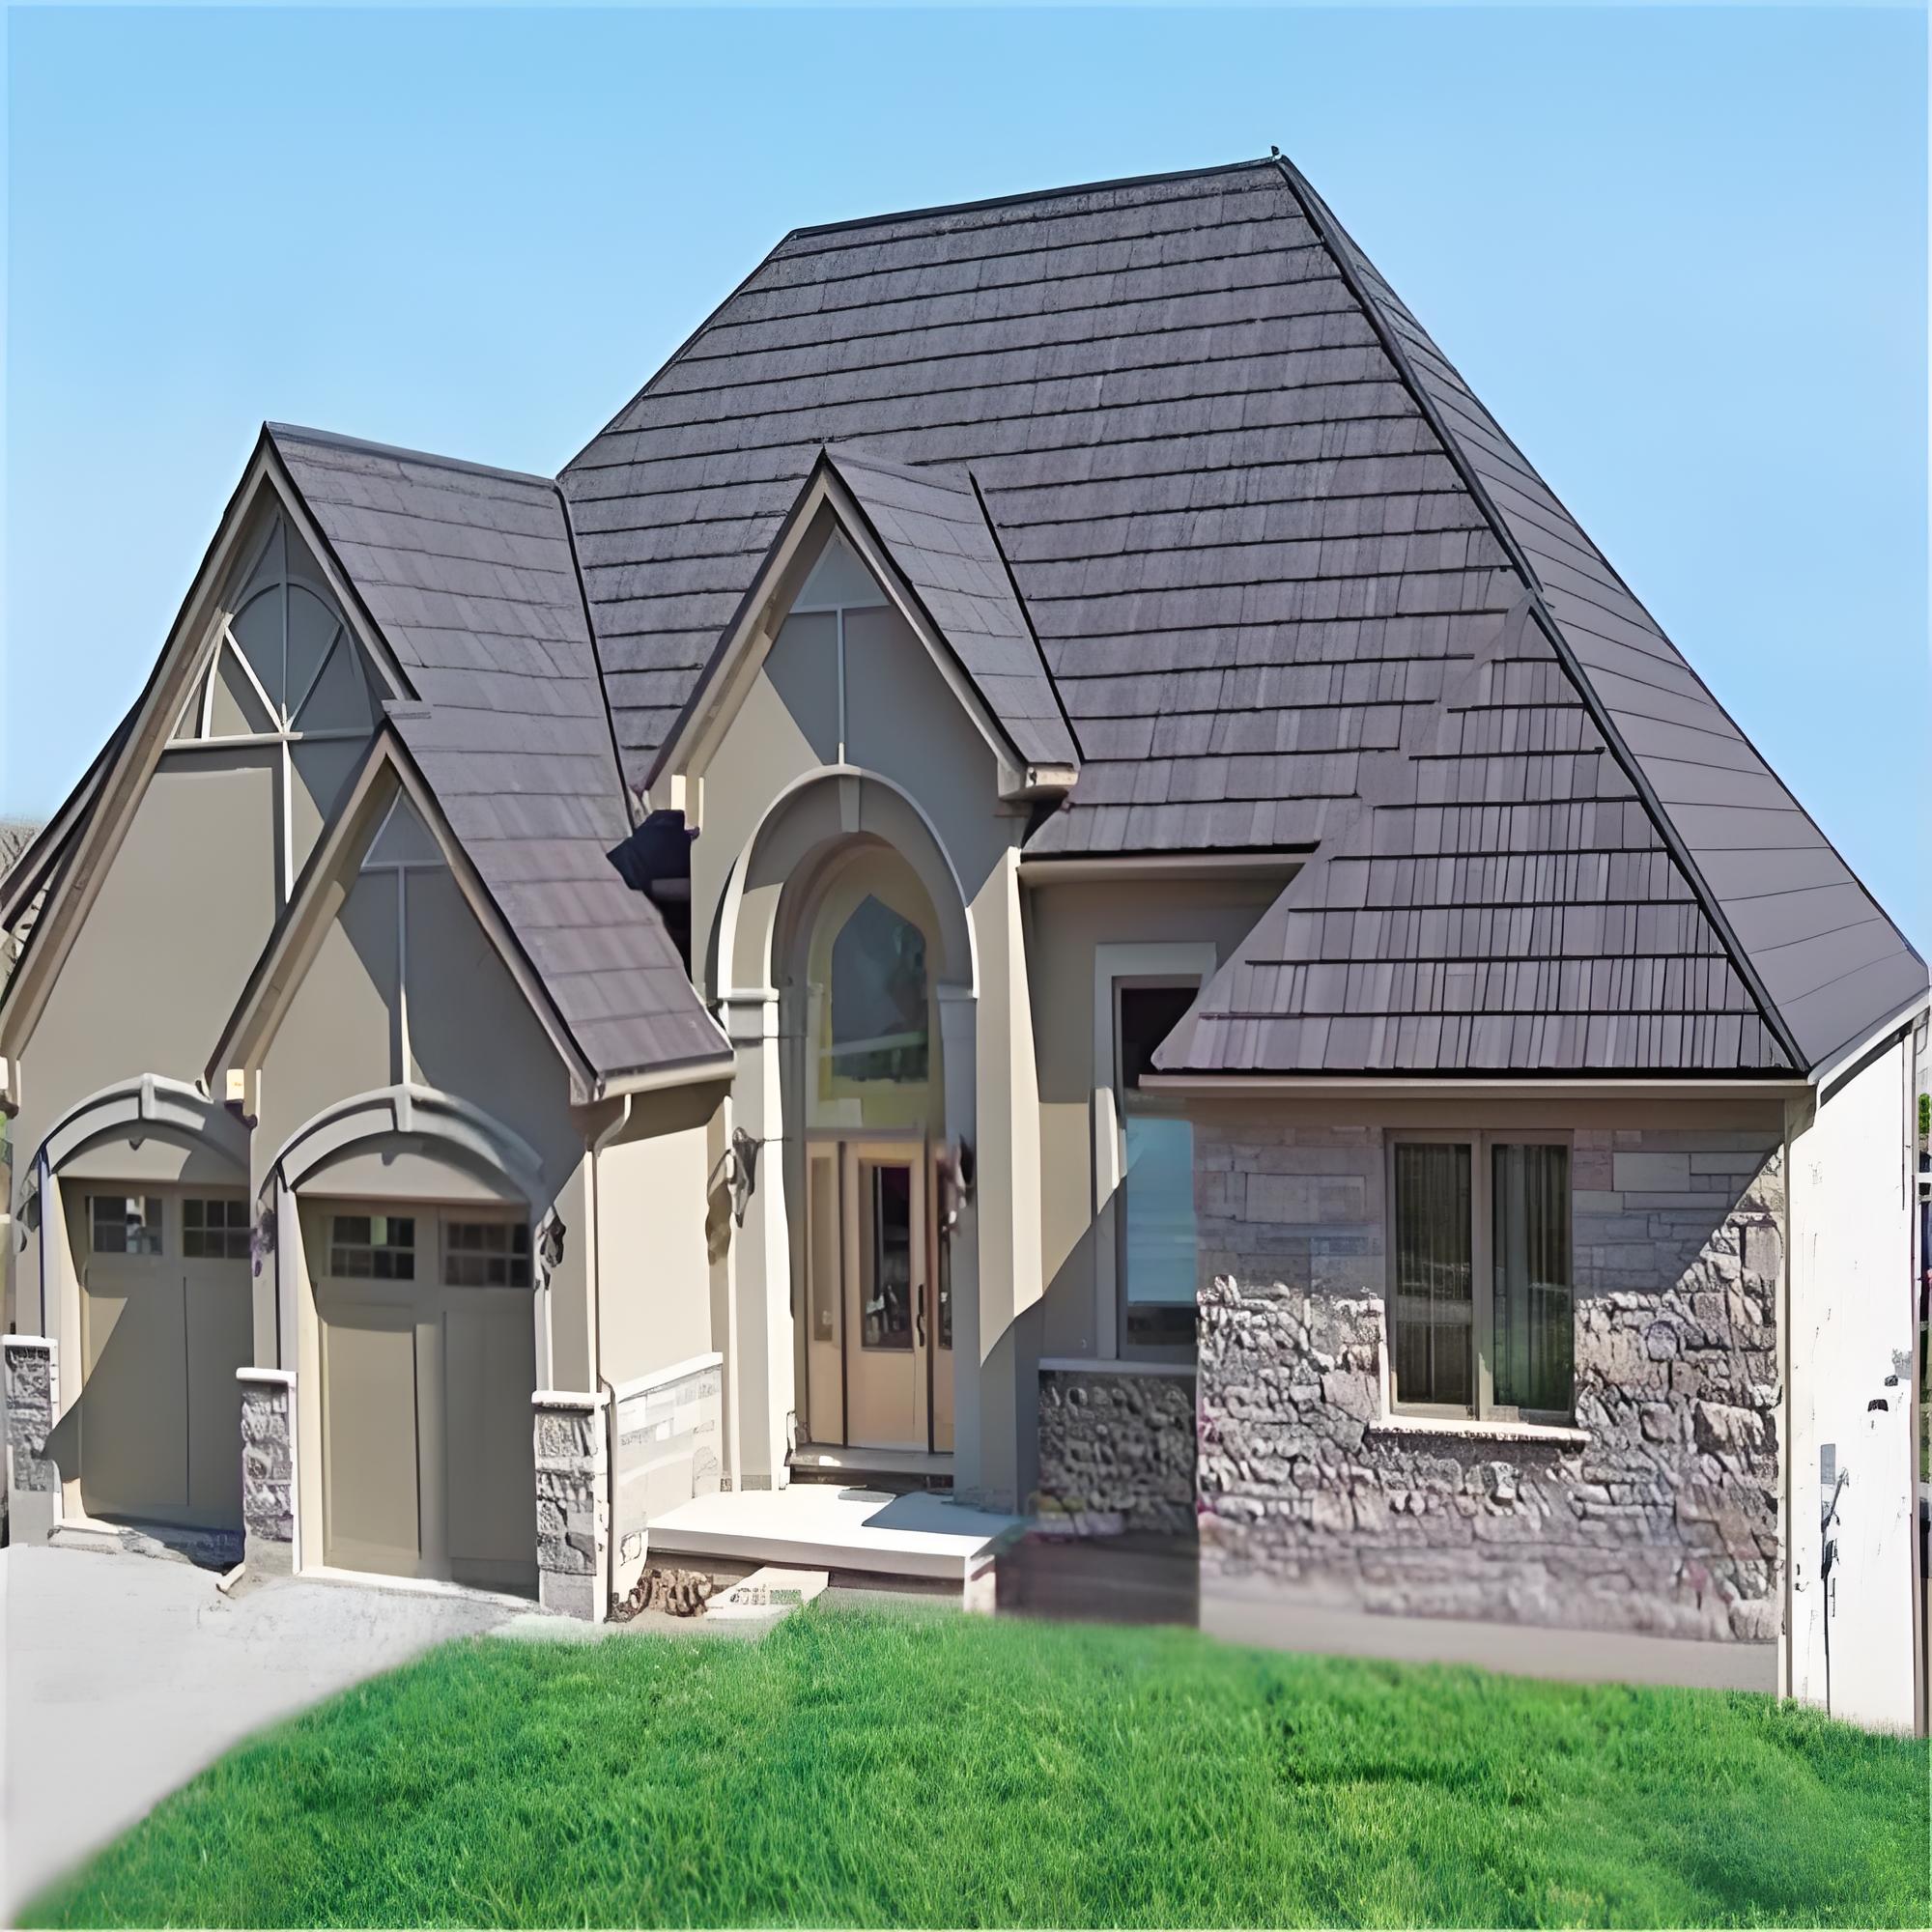
Use one schedule that links the roof references to the actual order. Every line should identify the part, quantity, unit, drawing, and supplier scope. The warehouse and installer should be able to follow those references. Avoid one broad line called complete accessories without a detailed attachment.
| Schedule field | What the buyer should confirm |
|---|---|
| Roof reference | The location and approved detail on the drawing. |
| Product identity | Buyer code and matching supplier part code. |
| Application | The panel model and permitted junction use. |
| Quantity basis | Pieces, lengths, or sets and the confirmed cover basis. |
| Finish | Approved color reference and any agreed limits. |
| Supply boundary | Included parts, excluded work, and items supplied by others. |
| Document version | Current drawing, instructions, and approval status. |
Ask the person preparing the takeoff to explain the quantity basis. A complex roof may have more junction work than a simple roof with the same area. Do not use one arbitrary accessory percentage for every project. Keep allowances tied to the actual design and order plan.
Compare quotes on the same scope
Check whether suppliers quote the same panel, junction list, units, and packing method. If one offer excludes a part, show the gap before comparing totals. A lower panel price may sit beside a narrower supply scope. Resolve alternatives in writing before accepting them as equivalent.
The private label accessory range guide helps connect the project schedule to stock codes and repeat orders. A clear code should identify a defined part and version. If a replacement changes shape or material, review the effect before keeping the same description.
Ask the supplier to identify any minimum pack quantities or special-order conditions. Keep these separate from the project’s measured need. The buyer can then decide how to handle extra stock or spares. Do not quietly round away a required item to fit the pack size.
Check the package before dispatch and receipt
Before shipment, compare the approved schedule with the final order and packing list. Check item codes, finish references, quantities, and package labels. If several small parts share a pallet, agree how receiving staff will identify them. A list of total cartons may not explain the contents well enough.
Ask what inspection records the order needs. Photographs can show labels, visible condition, and packing arrangements. They cannot prove hidden material properties or the performance of a roof junction. Any required test needs its own scope, method, and acceptance criteria.
Prepare the site and receiving teams
Give the warehouse the current item list and expected pack counts. Give the site team the relevant approved drawings and installation documents. Both should use the same part codes as the purchase order. This reduces the chance that a familiar name points to a different physical item.
If a shortage or mismatch appears, record the affected code, package, and lot reference where available. Keep the goods identifiable while the parties review the records. Ask the technical reviewer to assess any proposed substitute. Do not let a shipping problem become an unreviewed change to the roof detail.
When discussing a package with JCROOF, send the roof references and proposed parts schedule together. Ask the supplier to confirm its offered items and any open scope questions. Keep that written response with the quote and approved product documents.
Before a repeat order, check whether the panel, part, finish, or instructions have changed. Review the effect on existing stock and the project before release. Retain earlier records for future replacement enquiries. A complete supply package needs both the right parts and a clear account of where they belong.
Planning a shingle junction package? Send us an inquiry with your panel choice and roof details. Our team will reply and help you review the next steps.