

Most roofing tile sample packaging mistakes never get traced back to their real cause. A sample arrives with a chipped corner or a slightly off color. Buyers file it away as a product quality issue. Often, the tile itself was fine when it left the factory. The packaging failed somewhere between the production line and your door.
This guide walks through the packaging mistakes that most commonly damage or discolor stone coated tile samples in transit. It also explains how to tell a packaging failure from an actual product defect. That way you know which conversation to have with your supplier. Getting this distinction right saves you from unfairly disputing a good supplier. It also stops you from accepting a real defect as ordinary shipping wear.
Why Packaging Problems Look Like Product Quality Issues
A cracked panel or a scuffed coating looks like a manufacturing flaw at first glance. But damage patterns from poor packaging look different from damage caused during production. Learning to spot the difference protects you from unfairly blaming a supplier. It also protects you from accepting a genuinely defective product as normal transit wear.
This distinction matters for every roofing tile sample packaging decision your supplier makes. It applies to the box they choose and how they load the shipment. Get this wrong, and even a perfectly manufactured tile can arrive looking like a rejection.
It also matters for how you handle the conversation afterward. A buyer who immediately assumes a quality defect risks souring a good relationship. Check first whether the damage pattern actually matches a packaging failure. A quick diagnostic check, covered later in this guide, avoids that friction entirely.
Mistake 1 — Not Cushioning Between Tile Surfaces
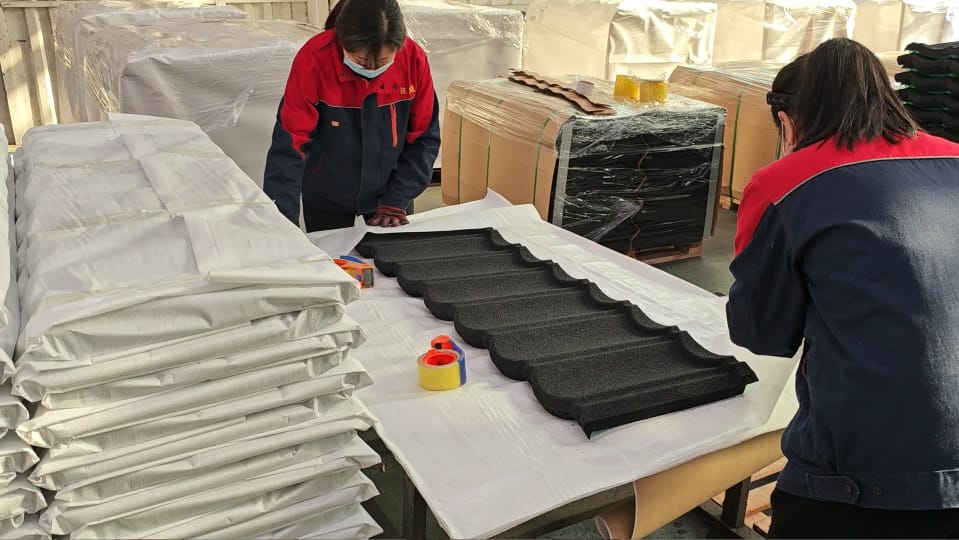
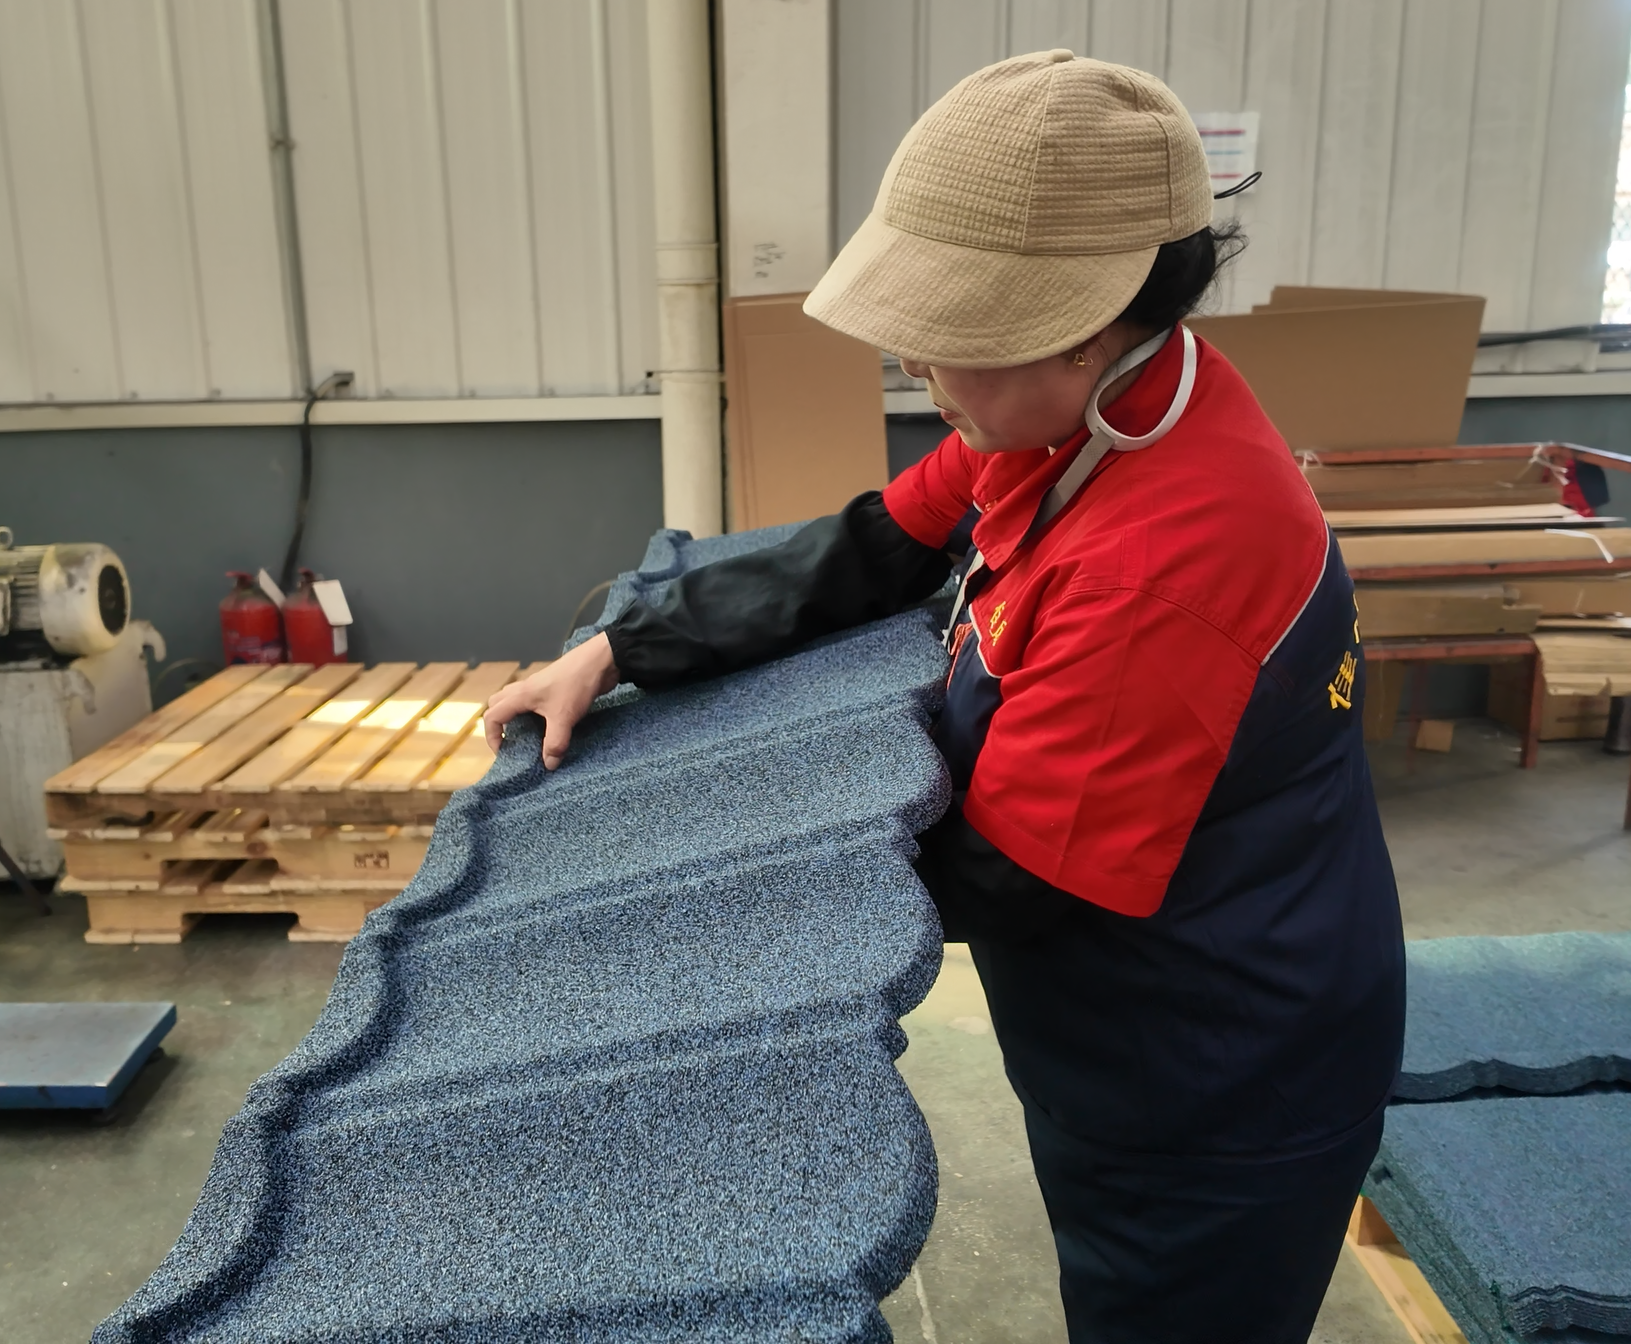
Stone coated tiles carry a layer of granules bonded to an acrylic base coat. That surface can shed granules or scratch if it rubs directly against another tile’s surface during transit.
Packing multiple samples flat against each other, with no separation layer, causes most surface damage. Vibration during a long truck or sea journey can wear a visible mark into the coating. This happens even over a relatively short distance.
A thin foam or felt layer between each piece solves most of this problem. Some suppliers also stack samples in a consistent, deliberate orientation. Surface-to-surface with a protective sheet in between works better than mixing orientations at random. This isn’t the most critical factor on its own, but it adds a small extra layer of protection worth asking about.
The cushioning material costs very little compared to reshipping a damaged sample. For international orders, a replacement can add weeks to your evaluation timeline. It’s a detail worth confirming even for a single sample request, not just for larger batch shipments.
What to check: Ask whether your supplier separates each sample with a protective layer. Don’t rely on the box alone to prevent contact between pieces.
Mistake 2 — Using Undersized or Weak Boxes
A box that’s too small forces samples into an awkward, tight fit. That pressure lands directly on the panel edges and corners. A structurally weak box can crush under the weight of stacked pallets during long-haul shipping.
Stone coated tiles weigh more than typical retail samples. Standard single-wall cardboard often can’t handle that weight over a long transit route. Corner protection matters here too, since panel corners are the most exposed point on any rectangular tile sample.
Sea freight raises the stakes further than air shipping. Ocean freight involves more handling stages, longer transit times, and higher stacking pressure inside a container. A box specification that works fine for a short domestic parcel delivery can fail well before it reaches an overseas destination.
What to check: Confirm the box uses double-wall corrugated cardboard, or an equivalent rated for the actual weight inside. Ask about reinforced corners where possible.
Mistake 3 — Leaving Empty Space Inside the Package
Empty space inside a box lets contents shift during handling. Handlers stack packages, drop them during loading, and pass them between hands multiple times. Loose samples inside an under-filled box absorb that impact directly.
Filler material needs to eliminate movement entirely, whether it’s foam, packing paper, or air cushions. A properly packed box shouldn’t make any sound when shaken gently. A sound means there’s room inside for contents to move. That movement causes most in-transit chipping and edge damage.
Your own receiving team can run this simple test when samples arrive, even before inspecting the tiles themselves. A box that rattles is a strong early signal that damage is likely, before you’ve even opened it.
What to check: Ask your supplier how they confirm a package is fully immobilized before sealing it. Don’t assume the filler material alone does the job.
Mistake 4 — Prolonged Heat or Sunlight Exposure During Storage and Transit
This mistake gets far less attention than physical damage, but it matters just as much for stone coated tile samples. Extended exposure to high heat can push sample temperatures well above normal outdoor use. This risk is highest inside a shipping container sitting in direct sun at a port.
ISTA, the International Safe Transit Association, publishes testing standards covering real-world transit conditions, including temperature extremes during storage and handling. These standards focus mainly on structural packaging performance. Still, they highlight a point worth remembering: transit conditions are often harsher than final installation conditions, not milder.
For color samples specifically, prolonged heat combined with direct UV exposure through a clear packaging window can sometimes accelerate minor surface changes before the sample even reaches you. This is rare with a properly cured coating, but it’s worth asking about if a sample color looks noticeably different from what was originally approved.
It’s also worth considering how long a sample sits in your own warehouse before you evaluate or forward it to a customer. Samples left near a window or under direct interior lighting for weeks can develop the same kind of gradual change. This happens entirely independent of anything that occurred during the original shipment. Treat a sample’s evaluation window as time-limited, not indefinite, to reduce this risk on your end too.
What to check: Ask whether samples are stored indoors, away from direct sun, before shipping. Also ask whether the shipping route involves extended dwell time at any port known for high ambient temperatures.
How to Tell If Damage Came From Packaging or From the Product Itself
Q: The sample arrived with a chipped corner. Is that a packaging issue?
A: Usually, yes. Corner damage typically comes from impact during handling, not a manufacturing defect. Check whether the damage location matches where the sample sat against the box edge or another piece.
Q: The coating has a scratch across the surface. What does that suggest?
A: This points to insufficient cushioning between surfaces during transit, not a factory defect. A factory-level coating flaw usually shows as an uneven or missing patch, not a linear scratch mark.
Q: The color looks slightly different than the sample photo I originally approved. What should I check?
A: Check storage and shipping conditions before assuming a production inconsistency. Compare the sample against a second piece from the same batch if one is available. That comparison helps isolate whether the shift happened before or after it left the factory.
What to Ask Your Supplier About Sample Packaging
Bring these questions into your next sample order, especially if a previous shipment arrived with any damage. This builds on the process covered in our sample request guide and the broader due-diligence approach in our buyer’s checklist for stone coated roofing tiles.
- What material do you use to separate and cushion sample surfaces?
- What box specification do you use for sample shipments?
- How do you prevent samples from sitting in direct heat or sunlight before dispatch?
- What’s your process if a sample arrives damaged, and how quickly can you replace it?
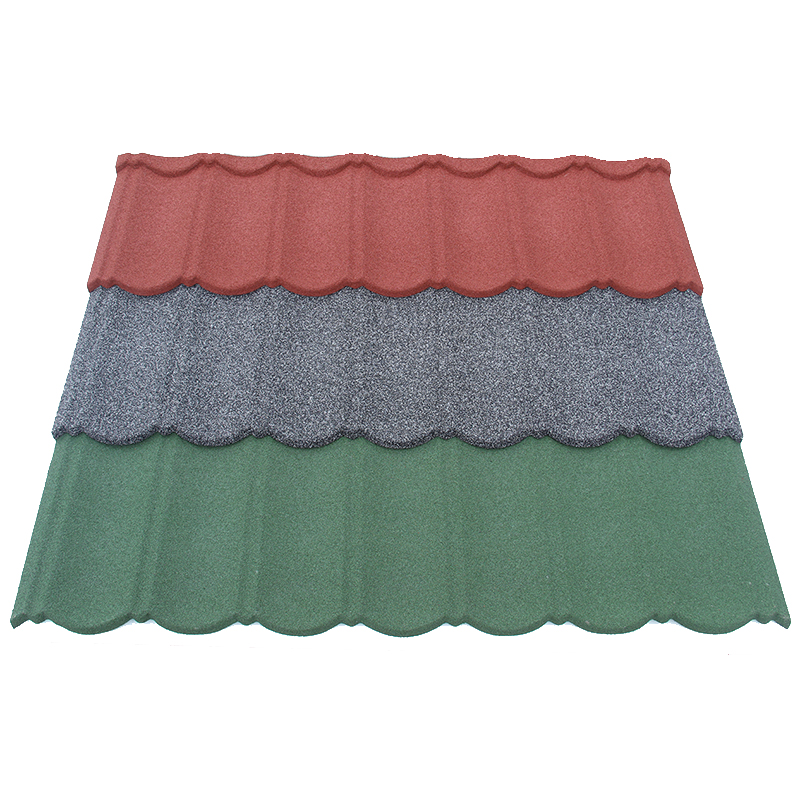
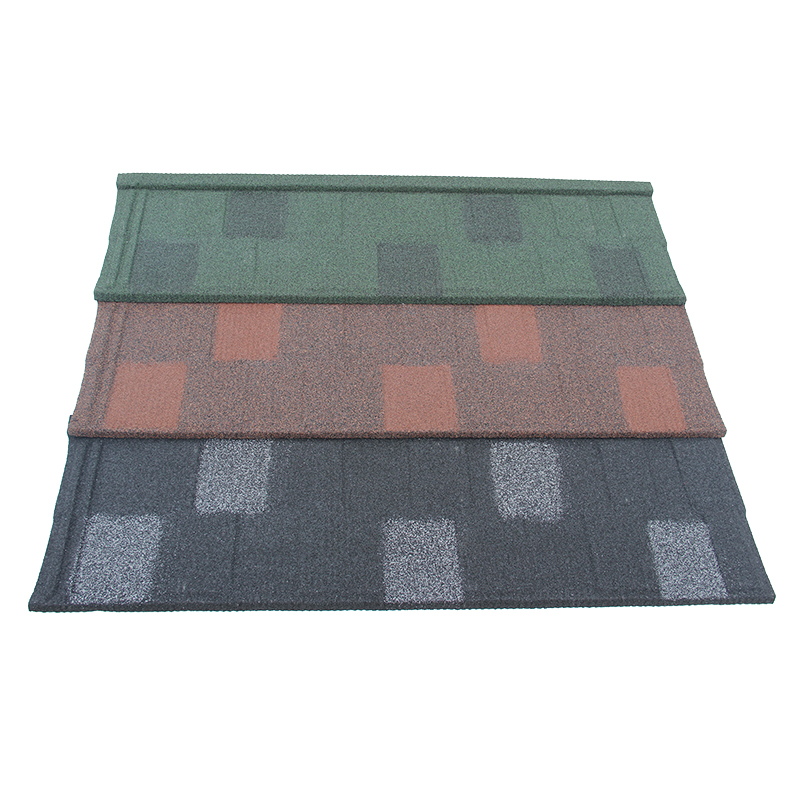
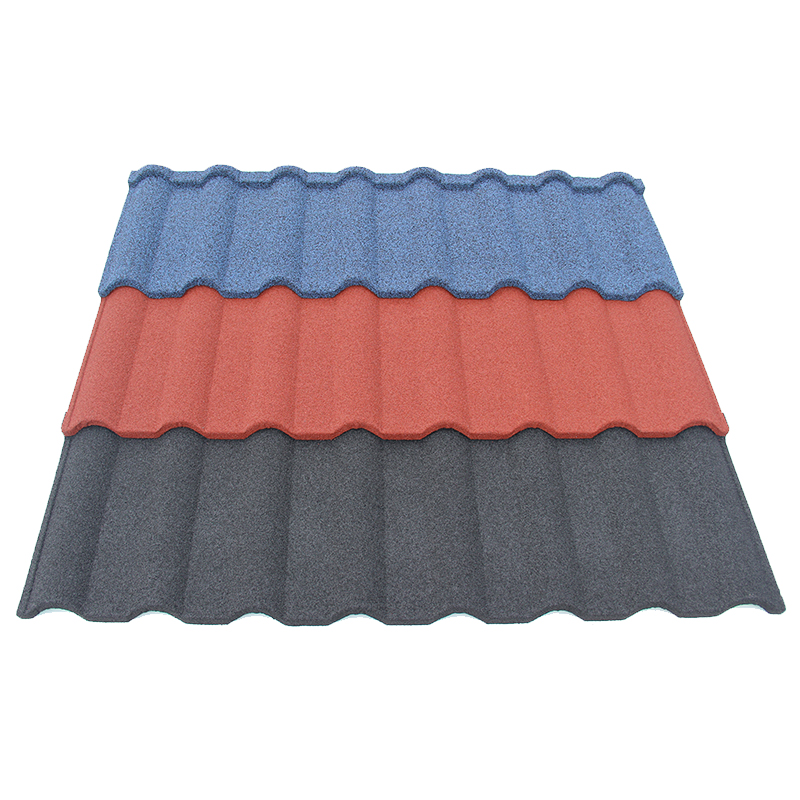
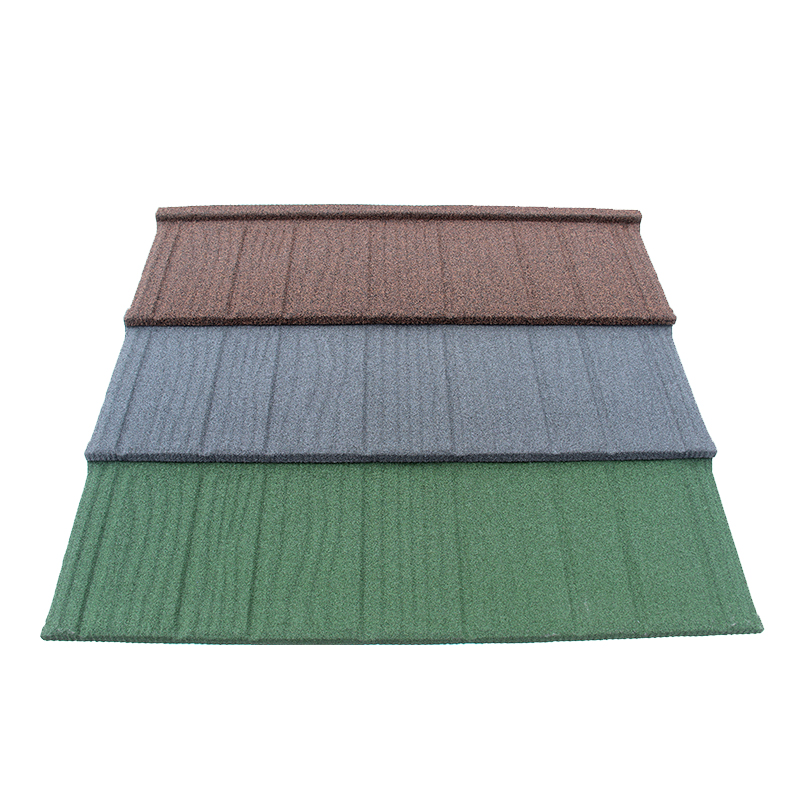
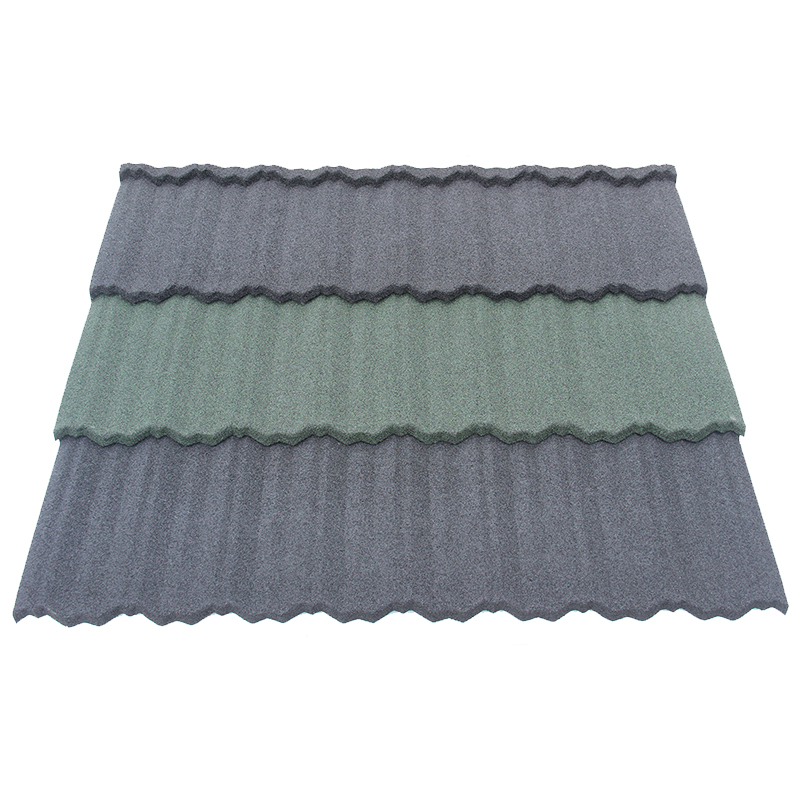
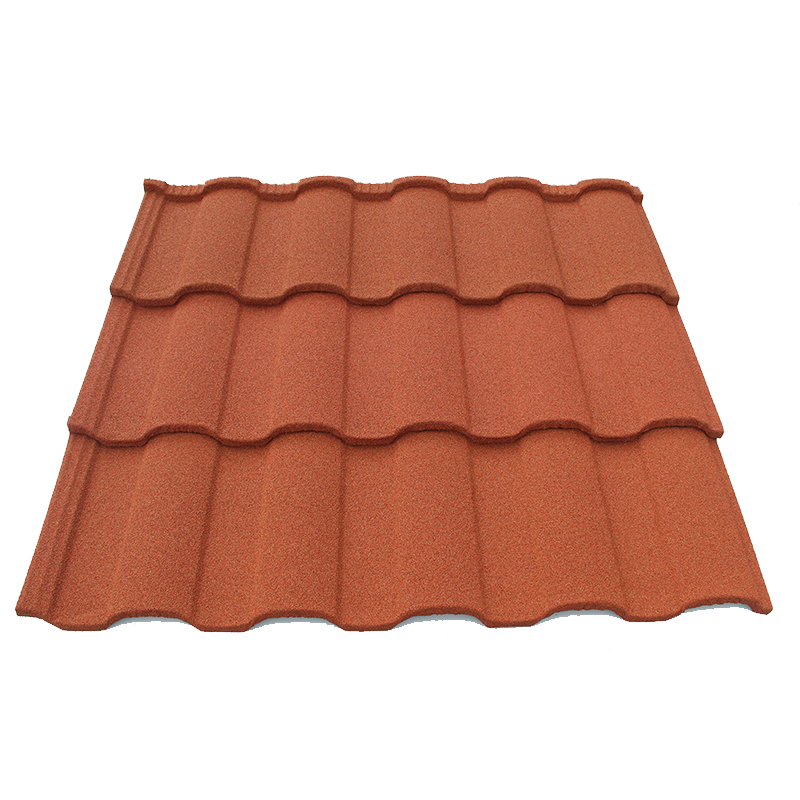
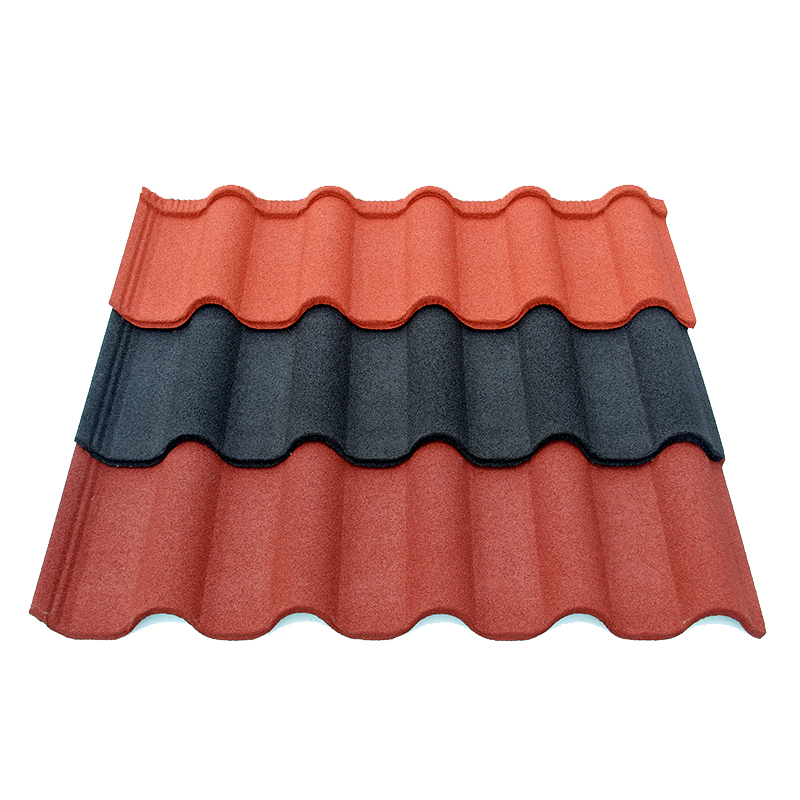
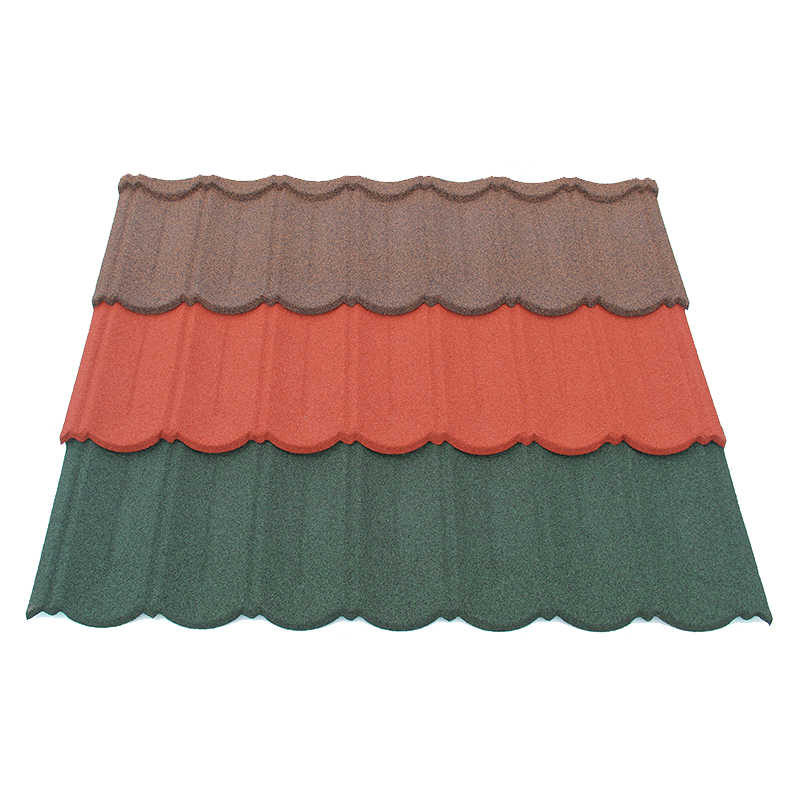
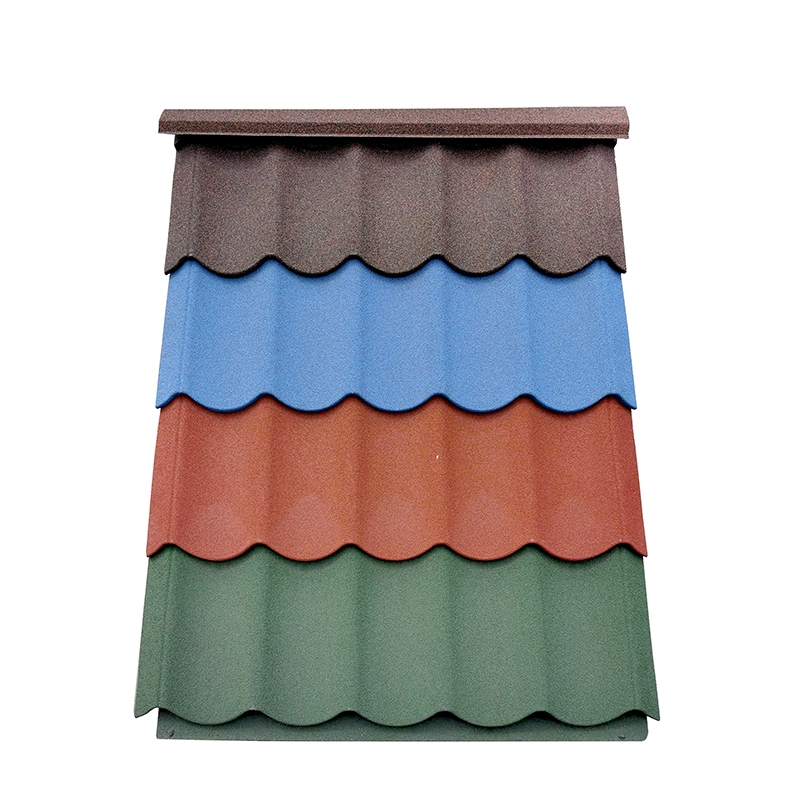
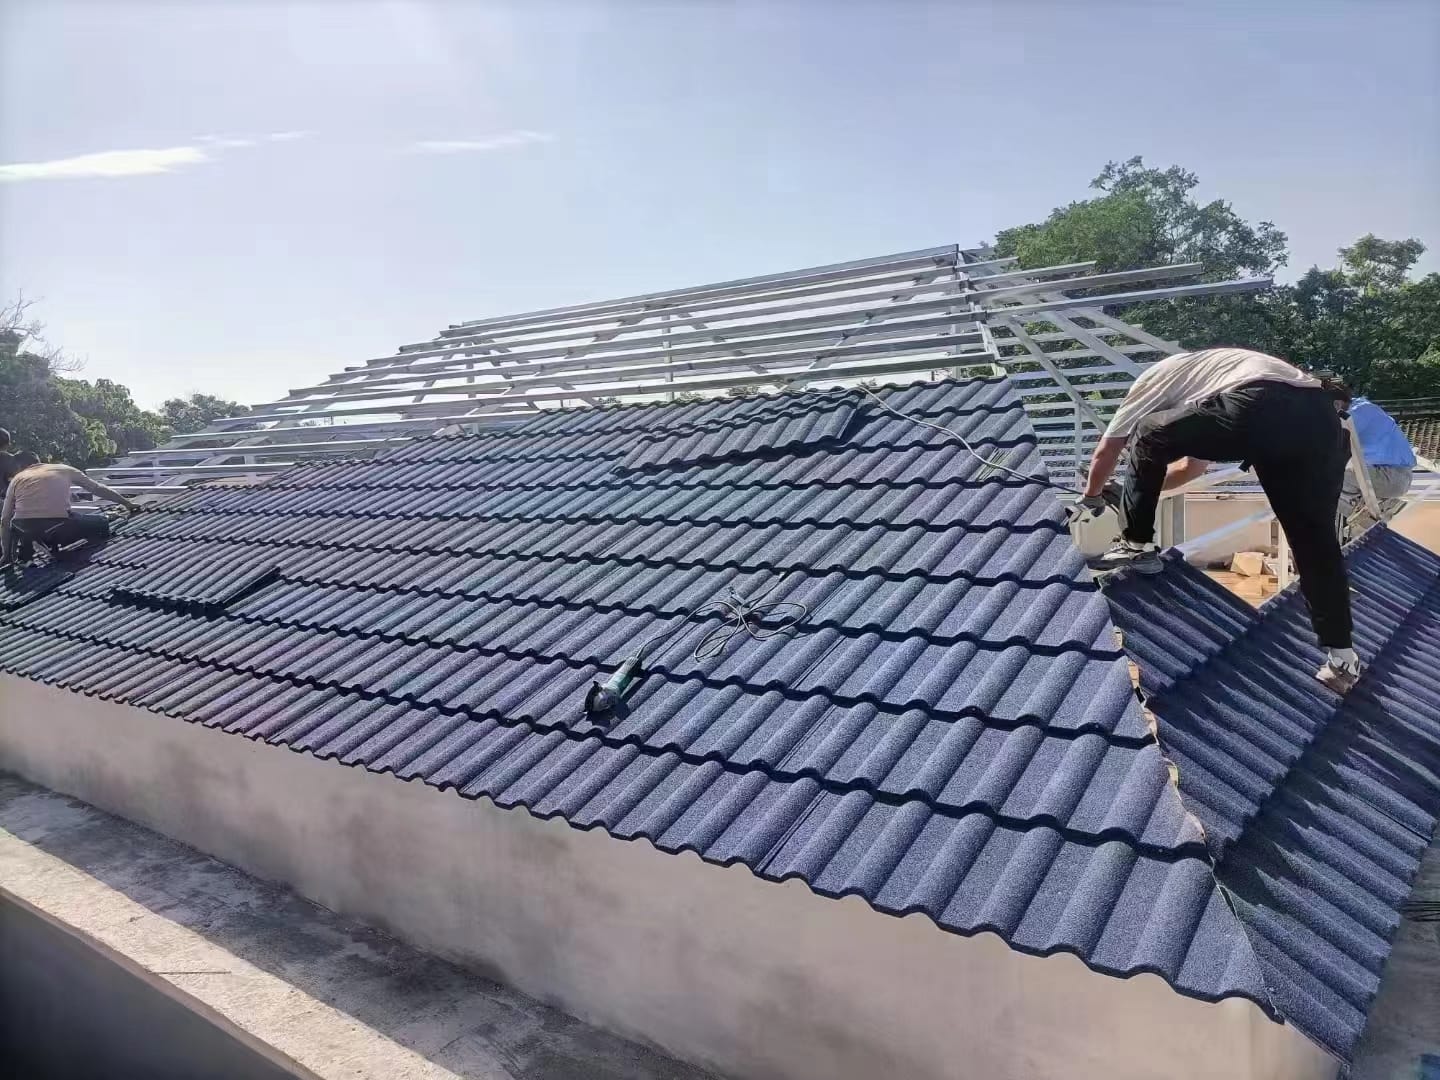
A supplier with clear, specific answers to these questions treats sample shipping as seriously as production quality itself. This is exactly the standard worth expecting from any roofing tile sample packaging process, regardless of order size. JCROOF applies these packaging standards across its tile range, including the Shingle Tile and Roman Tile profiles, so samples arrive in the condition they left the factory in. Its project gallery reflects the same attention to detail carried through to finished installations.
A Simple Packaging Checklist Before You Approve a Supplier
For a fast way to evaluate a supplier’s sample packaging without waiting for something to go wrong, run through this short list on your first order with them:
- Separation between pieces: Does each sample have a cushioning layer between it and any other piece in the box?
- Box condition and strength: Is the box double-wall corrugated, undamaged, and appropriately sized for the weight inside?
- Zero movement test: Does the sealed box stay silent when shaken gently, with no shifting sound?
- Storage conditions disclosed: Has the supplier confirmed samples were stored away from direct heat or sunlight before dispatch?
A supplier who passes all four checks on a first shipment will likely handle larger orders with the same care. Watch closely if a supplier fails even one of these points on a small sample shipment, before committing to a bulk order. These four checks form a quick, repeatable way to catch roofing tile sample packaging problems before they cost you a customer relationship down the line.