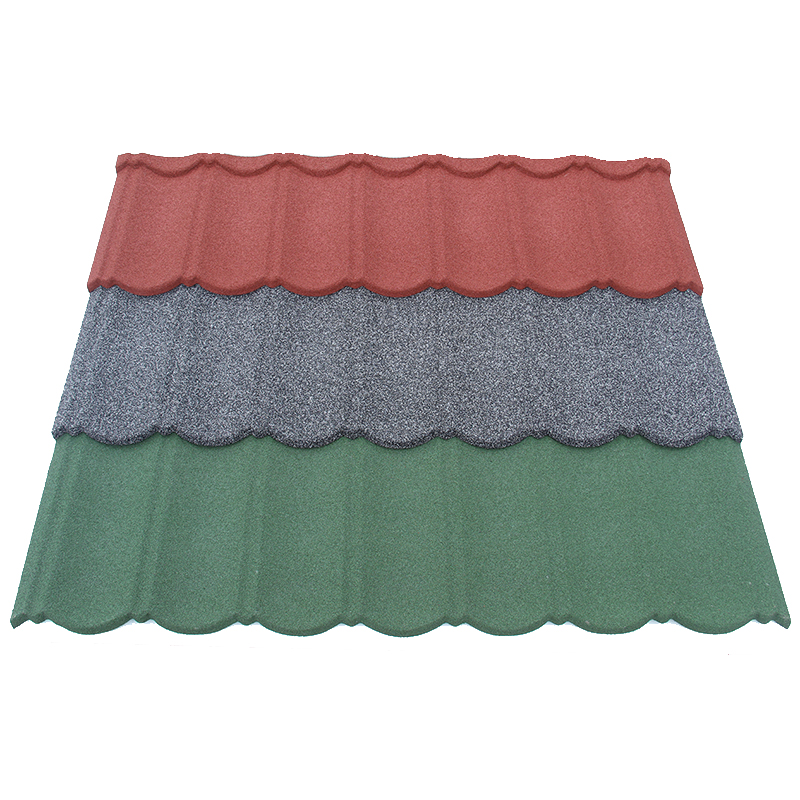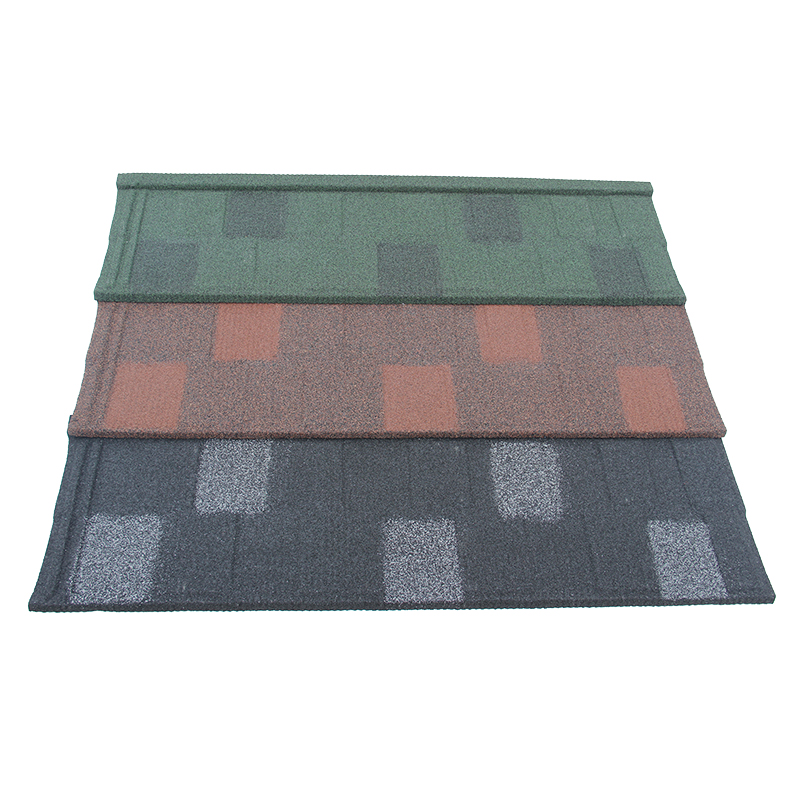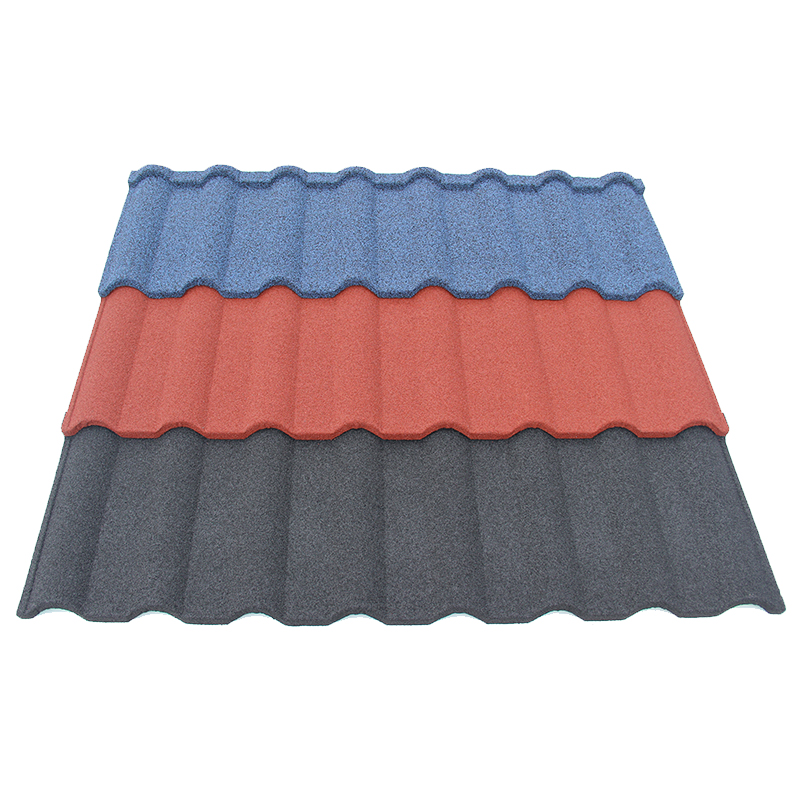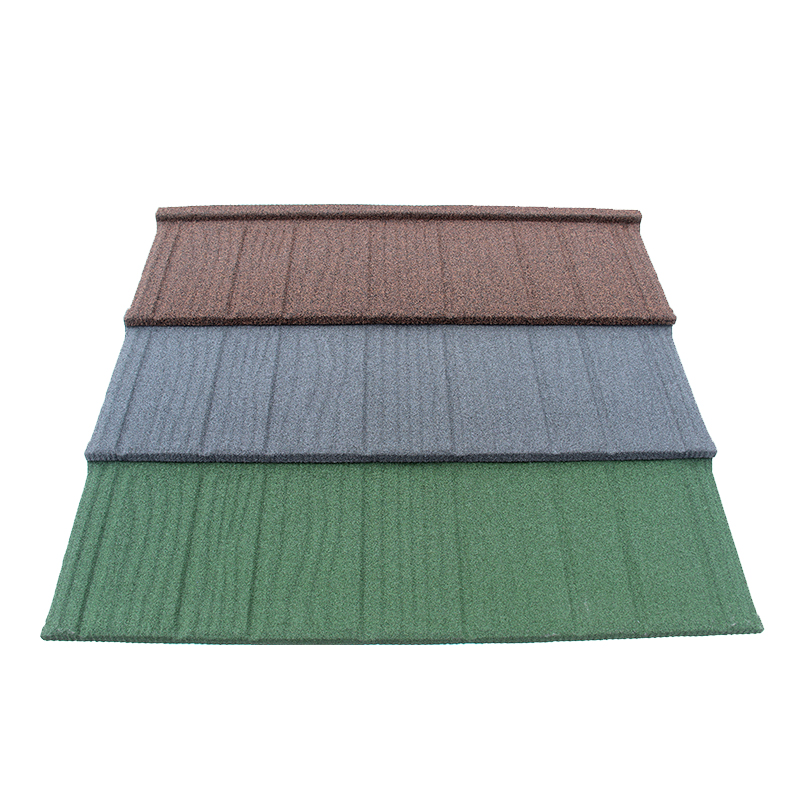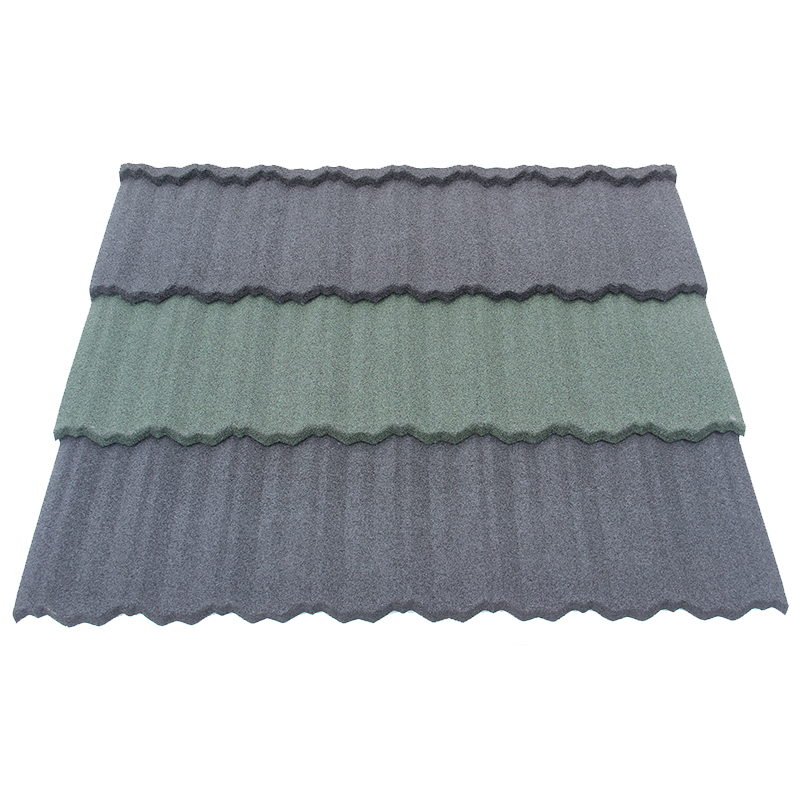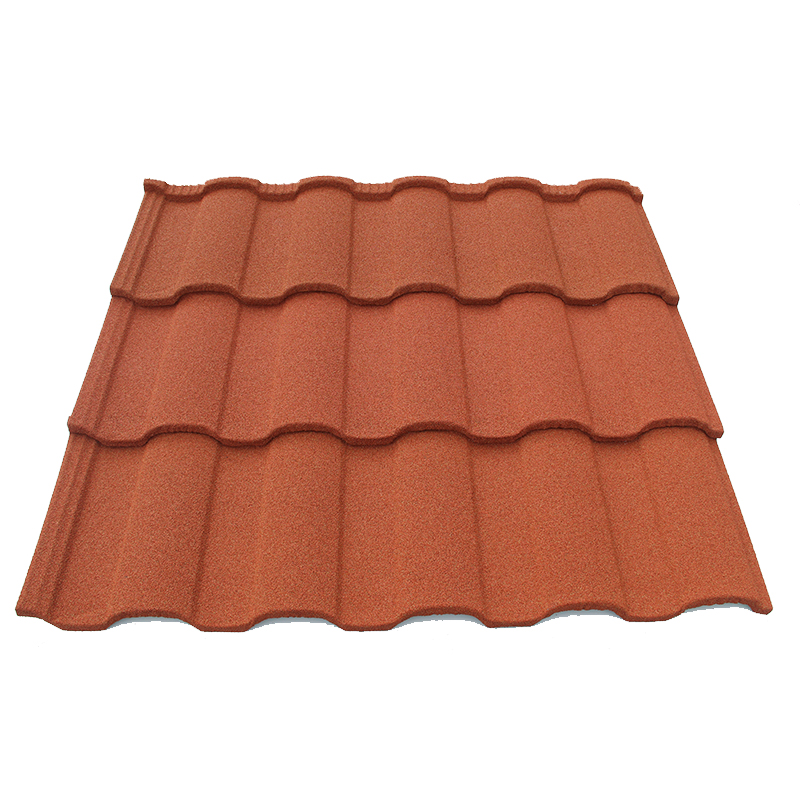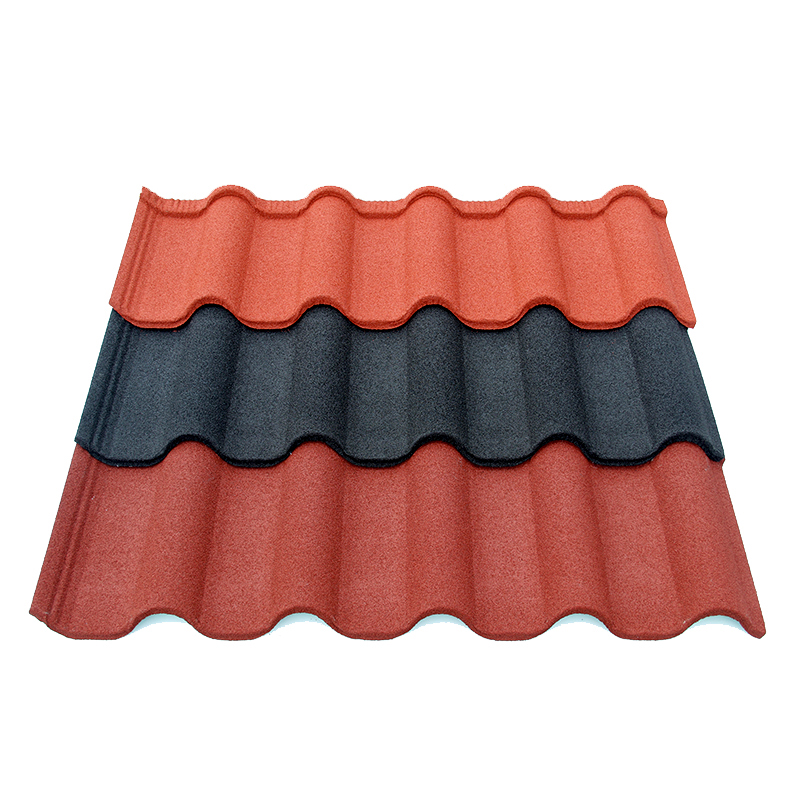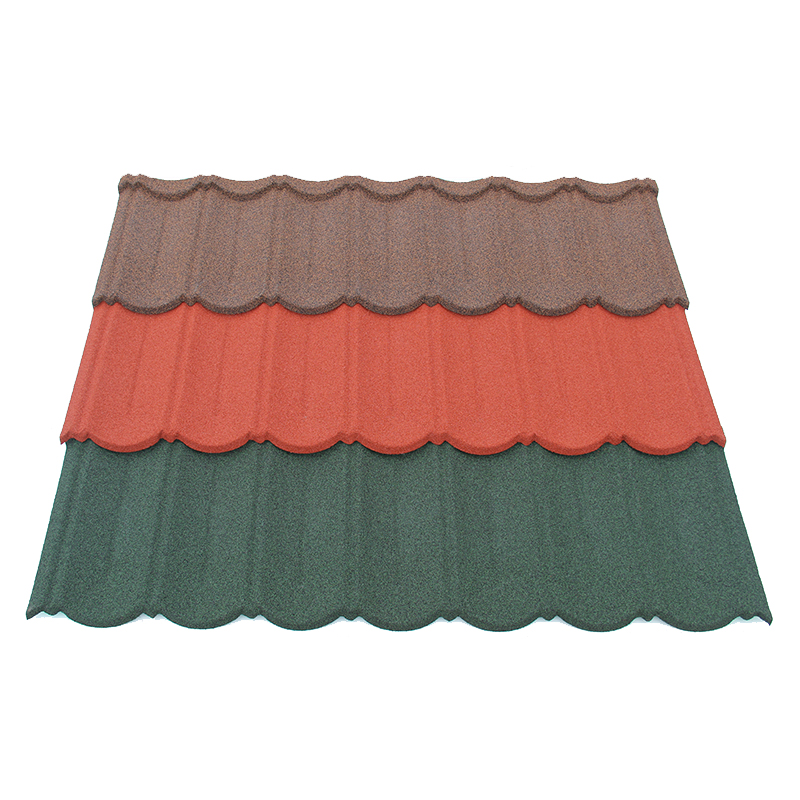


Stone coated metal roofing accessories should be selected from the roof drawings and the chosen system’s approved details. Common categories include ridge and hip components, valleys, perimeter trims, flashing, closures, fixing, and any specified ventilation. The required items and quantities depend on the actual roof.
A complete order is more than a field-tile quantity with a few matching caps. Every junction needs a reviewed detail and an identified supply responsibility. Some materials may come from the roofing supplier, while others belong to separate project packages.
This guide helps importers, distributors, and contractors build a usable accessory schedule. It explains what to coordinate before ordering. It does not prescribe universal overlap dimensions, fastening patterns, ventilation arrangements, or component quantities.
Build the accessory schedule around the selected system
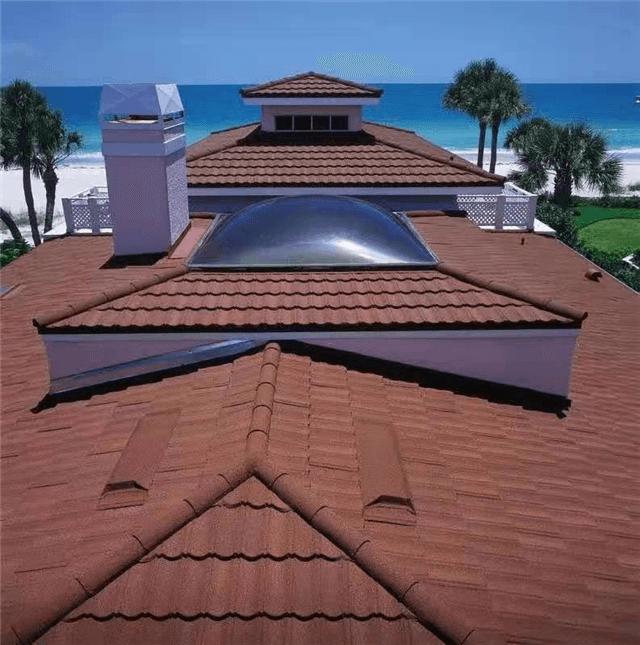
Start with the exact roofing profile, installation method, and current construction details. Accessories must work with that combination. Similar appearance does not demonstrate an interchangeable connection or an acceptable weathering detail.
Match components to the profile and installation method
Record the field tile’s product identifier and the installation documents being used. Ask the supplier to identify the corresponding component references. Keep this connection visible in the quotation, order, and packing list.
For a Bond Tile order, request its applicable accessory schedule and detail references. Do the same for a Shingle Tile selection. Do not transfer a cap or trim assumption between profiles without review.
DECRA’s component guide library illustrates the value of profile-specific system diagrams. It provides separate guides for different products and installation arrangements. These are examples from that manufacturer, rather than specifications for every stone-coated roof.
Ask which components are standard and which require project-specific fabrication or additional review. Record their dimensions and interfaces in the appropriate documents. A familiar accessory name can describe several different shapes and applications.
Confirm whether a proposed installation uses direct attachment, battens, or another approved arrangement. Related support and fixing requirements need to follow that system. A component list detached from the installation method can leave important interfaces unresolved.
Identify supplied items and separate project materials
Create a responsibility column beside every component category. Identify who supplies, approves, installs, and checks each item. This prevents materials from being omitted because both supplier and contractor assume someone else will provide them.
Separate factory-made roofing components from site-fabricated flashing and other project materials. Record the applicable drawings and approval process for each. Do not describe an item as included until its product and quantity are confirmed.
The JCROOF team can receive the roof drawings alongside the requested product schedule. Ask which items are offered for the selected profile and which need separate sourcing. Confirm the actual order scope in writing rather than relying on a general system description.
For distributor stock, distinguish a standard accessory assortment from a project-complete package. The assortment may support common inquiries without covering every roof geometry. Make that limitation clear when preparing a resale quotation.
Map accessories to every roof junction
Mark relevant junctions on the current roof drawings before counting components. Review them with the installer and the responsible designer. The schedule should describe the actual roof rather than copy an unrelated project’s shopping list.
Review ridges, hips, valleys, and perimeter edges
Identify the roof’s ridges and hips and the approved covering details for those locations. Ask which caps, junction pieces, closures, or other components the selected system requires. Confirm how ends and intersections are addressed in the drawings.
Locate valleys and review their proposed construction separately. Identify the appropriate channel or flashing arrangement and any related supporting materials. Do not assume a decorative profile component defines the whole valley detail.
Review eaves, gable edges, and other perimeters against the selected system. Identify starter, edge, closure, and flashing requirements where applicable. Ask for clarification when the supplier and installer use different names for the same location.
The Villa Tile component diagram is one manufacturer-specific example of mapping components to roof locations. Use such diagrams to organize questions about your own selected system. Do not borrow the illustrated parts as automatic substitutes for another product.
Where the roof changes direction or meets another roof material, request a reviewed transition detail. Identify any special components before the order is finalized. Unresolved intersections can delay work despite having enough field tiles.
Coordinate penetrations, walls, and ventilation
List penetrations, roof windows, adjoining walls, and roof-mounted equipment shown on the drawings. Identify which trade supplies and installs their interface materials. Review any detail requiring coordination between a proprietary accessory and site-made flashing.
Ask the designer how the approved water-management details connect across those interfaces. Confirm compatibility with the selected covering and other materials. Sealant alone should not become an undocumented replacement for a missing construction detail.
Identify closures or other system components where the approved detail requires them. Confirm their product references and intended locations. A generic foam or mesh description may not establish the required fit or function.
If ventilation is specified, coordinate the component with the building’s overall design. Ask how it connects to the approved intake, outlet, and moisture-control arrangement. A vented ridge product is not automatically appropriate for every roof.
Make provision for reviewing later equipment additions. Solar mounts or replacement penetrations may require a revised interface detail. Keep the responsible technical contact identifiable for future work.
Specify compatibility and quantities before ordering

Once component categories are identified, define their materials and quantity basis. Ask the responsible project team to review the schedule. Names and photographs are not enough to determine whether the accessory package is complete.
Define materials, fixing, and interfaces
Record material descriptions and finish references for the relevant accessories. Check their compatibility with the field tiles and adjoining construction. An acceptable color match does not establish compatible metals or chemical exposure.
Specify fasteners through the approved system and project requirements. Identify their application, product reference, and required quantity basis. Do not replace a specified fastener with a general-purpose item solely because it fits the tool.
Obtain the relevant product instructions for sealants, repair materials, and other supplementary items. Ask the supplier to clarify permitted uses and limitations. Avoid assuming that a locally available repair kit can be used across different manufacturers’ finishes.
Require approval for substitutions affecting material, shape, dimensions, or attachment. Record the affected roof location and any revised detail. A changed accessory can require review beyond the purchasing department.
For demanding environments, confirm that the accessory review addresses the same project conditions as the field tiles. Keep corrosion, wind, and water-management requirements coordinated. Do not accept a system claim supported only by information about the visible roof surface.
Calculate from drawings and confirmed coverage
Measure the relevant ridge, hip, valley, edge, and interface lengths from the accepted drawings. Ask the estimator to confirm the measurement basis. Keep these figures distinct from the field roof area.
Use the actual accessory’s confirmed effective coverage when converting lengths into quantities. Have the installer verify allowances, ends, junctions, and cutting implications. Do not divide by a nominal overall length without checking how the component is installed.
For count-based items, identify the actual locations and applicable detail. Record any project-approved spare or replacement quantities separately. Avoid applying one arbitrary accessory percentage to every roof.
Reconcile quantity changes when drawings or component selections change. Retain the earlier schedule as a superseded reference. A revised roof geometry can affect accessories even when its total area changes only slightly.
Make the accessory order usable on site
A technically complete schedule still needs clear ordering and delivery information. Give each line an identifier that appears on the quotation and package labels. The installation team should be able to connect delivered items to roof locations.
Review a complete component matrix
Use a matrix to check locations, component references, quantities, and supply responsibility together. Adapt the categories to the actual roof and approved system. An absent category should have a clear reason rather than an unexplained blank.
| Roof location or function | Typical review category | Quantity input |
|---|---|---|
| Ridges and hips | Caps, junctions, ends, related closures | Reviewed lengths and intersections |
| Valleys | Approved valley and transition materials | Valley layout and detail |
| Eaves and edges | Starter, perimeter trim, flashing where required | Edge lengths and end conditions |
| Walls and penetrations | Compatible interface flashing and components | Actual junction locations |
| Attachment | Approved fasteners and supports | Accepted fixing schedule |
| Ventilation where specified | Coordinated system components | Approved ventilation design |
| Supplementary materials | Permitted sealants or repair items | Defined application requirements |
| Spares | Approved replacement stock | Separately agreed allowance |
Check the matrix against the supplier quotation before placing the order. Identify excluded items and who will obtain them. A low tile price should not conceal an incomplete component package.
Agree delivery timing for components needed at the start of installation. Ask whether any special fabrication affects the schedule. Waiting for one missing junction piece can interrupt an otherwise well-supplied work area.
Check identification, substitutions, and handover
On receipt, reconcile accessory identifiers, quantities, and visible condition with the approved schedule. Keep mixed components distinguishable until checked. Report discrepancies using package and order references.
Route proposed site substitutions through the agreed approval process. Update the schedule when an alternative is accepted. Tell the installer which version applies before the item enters the roof.
At handover, retain the installed component schedule and relevant instructions. Record separately stored spares and their identification. This helps future teams request replacements without guessing from appearance.
For a complete roofing inquiry, send the selected profile and current roof drawings together. Ask for component references, quantity assumptions, and clear supply boundaries. Order accessories as coordinated parts of the accepted roof, with every important junction accounted for.