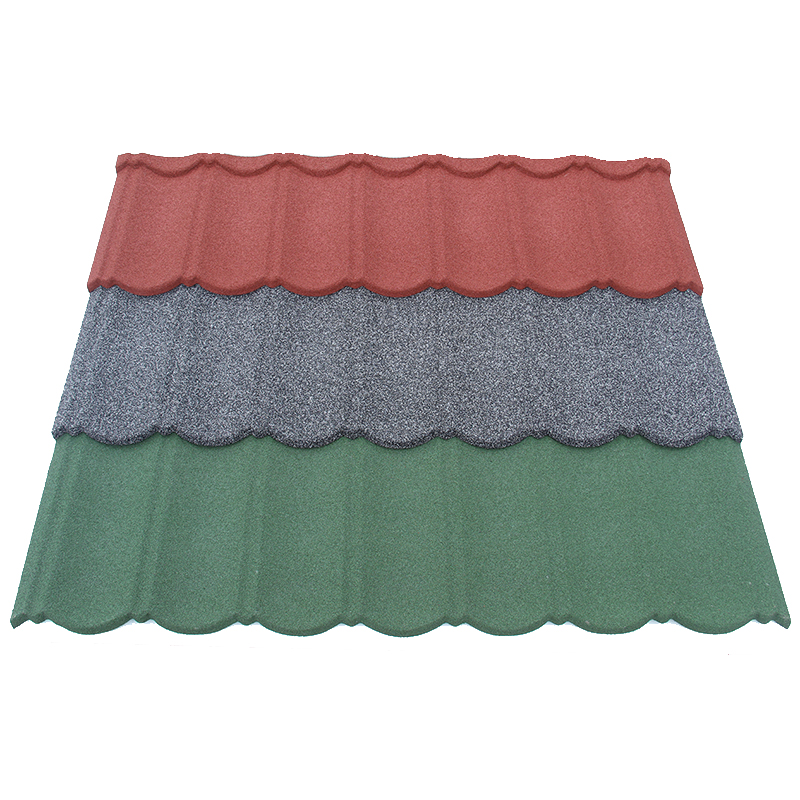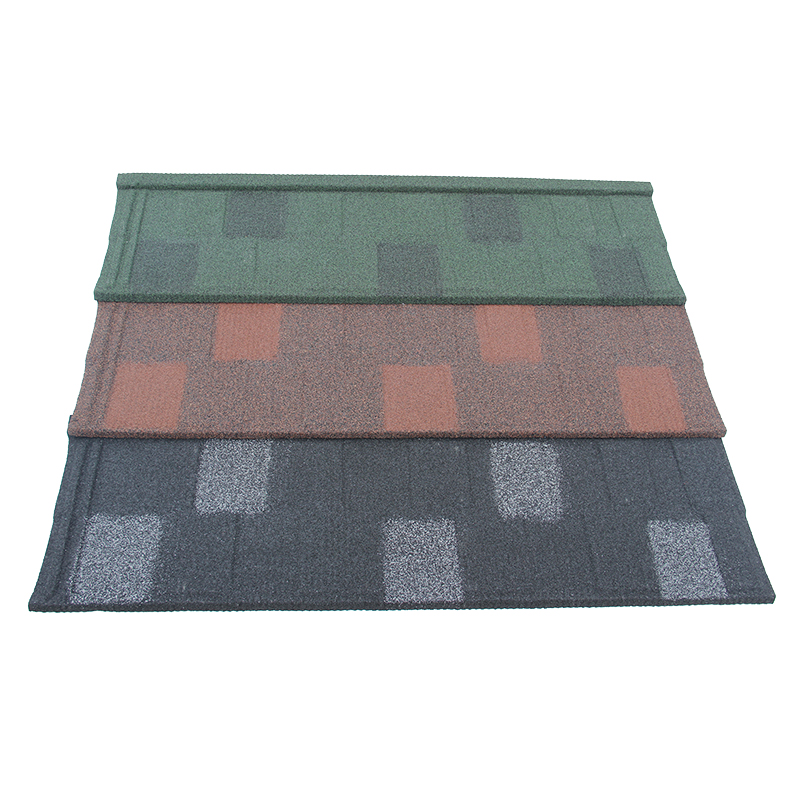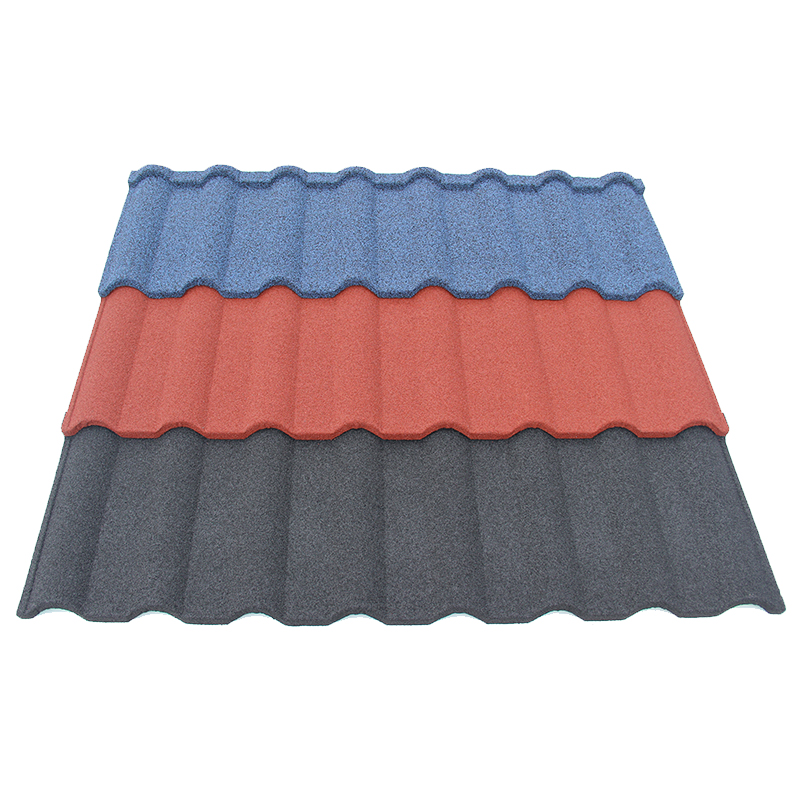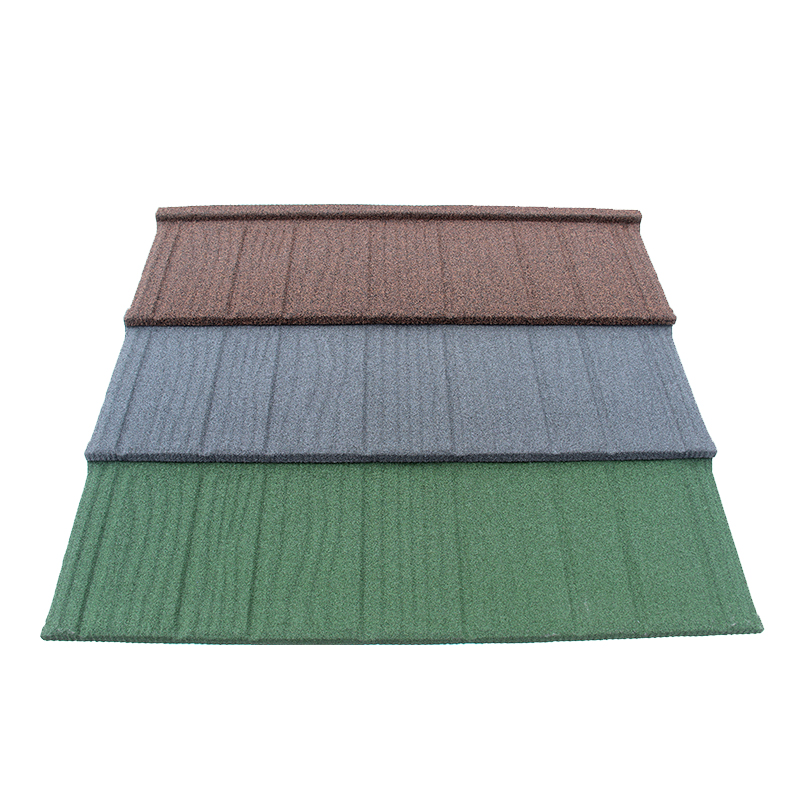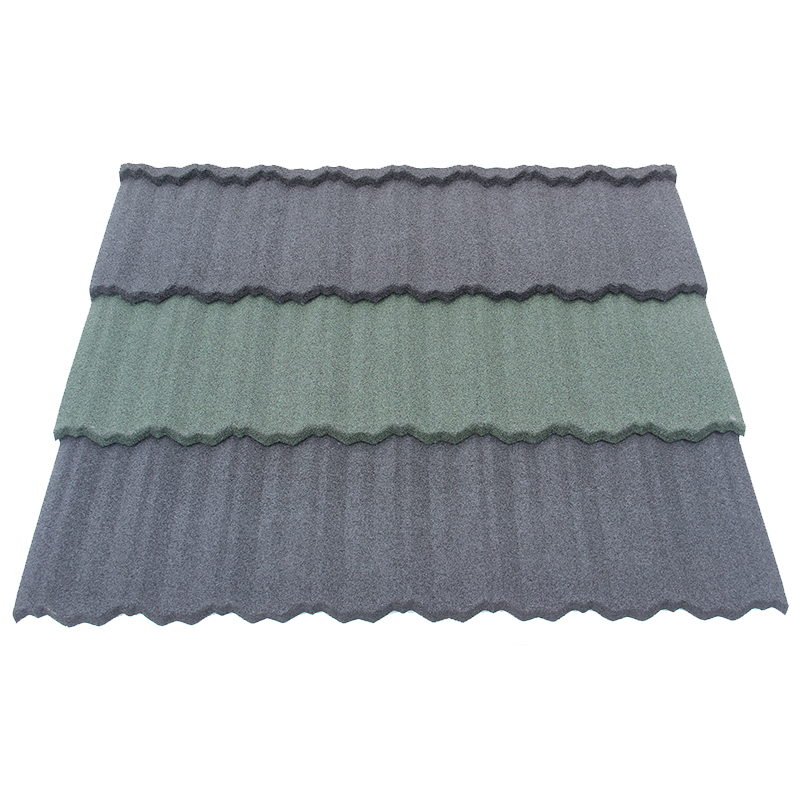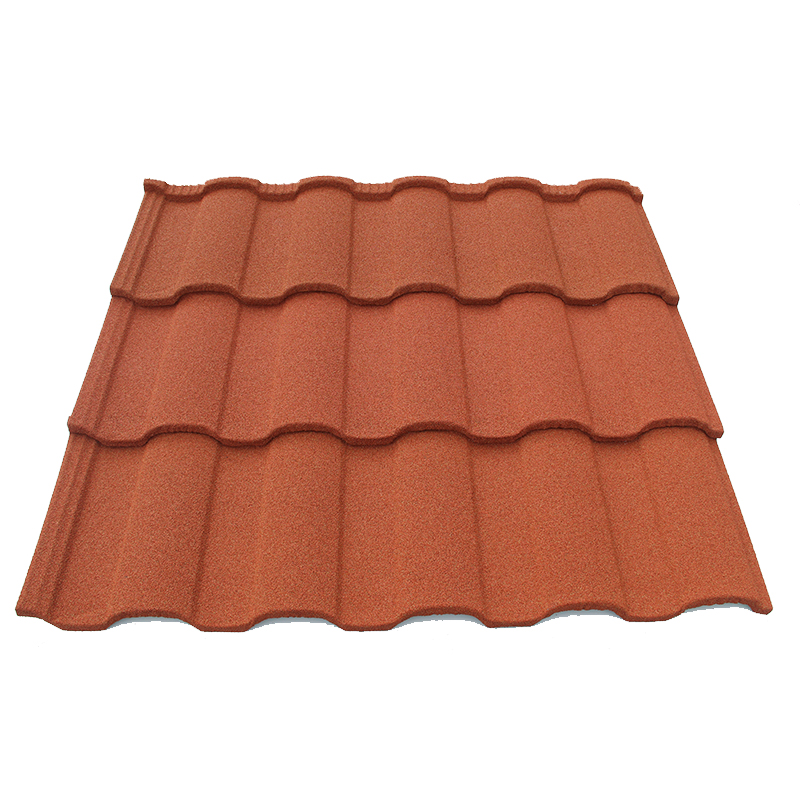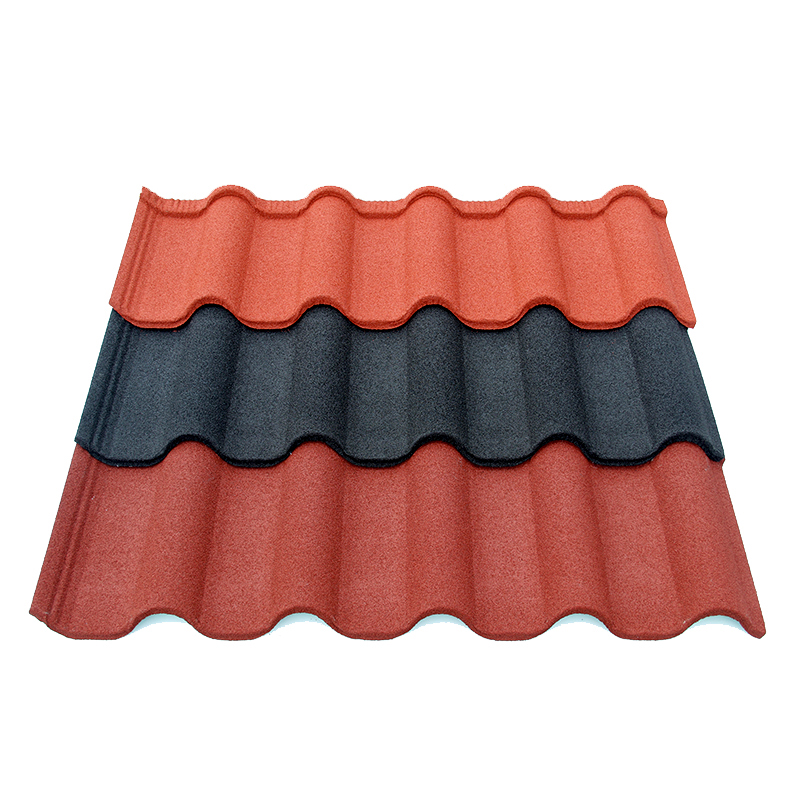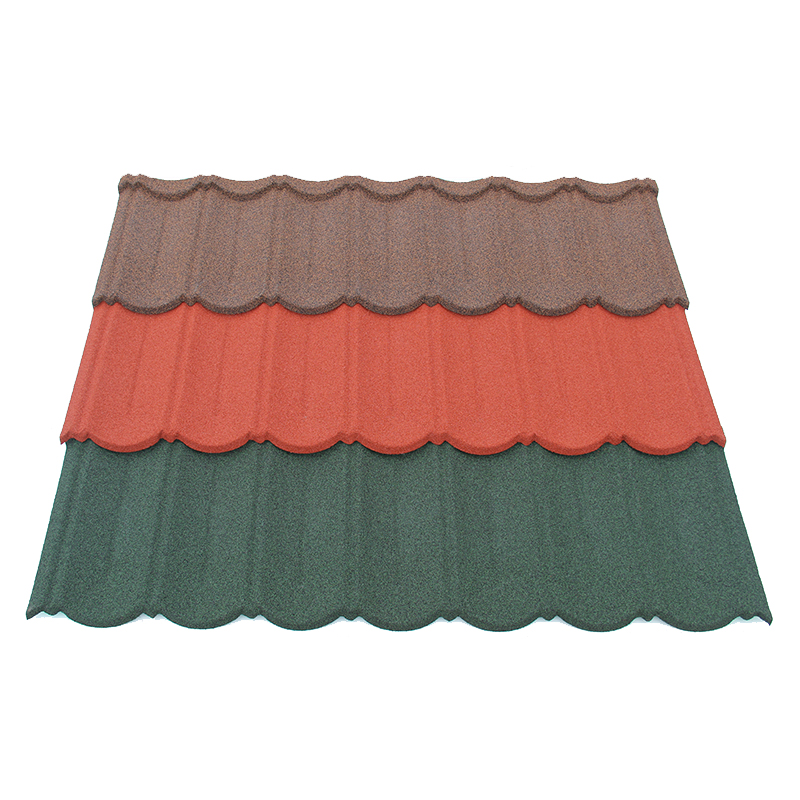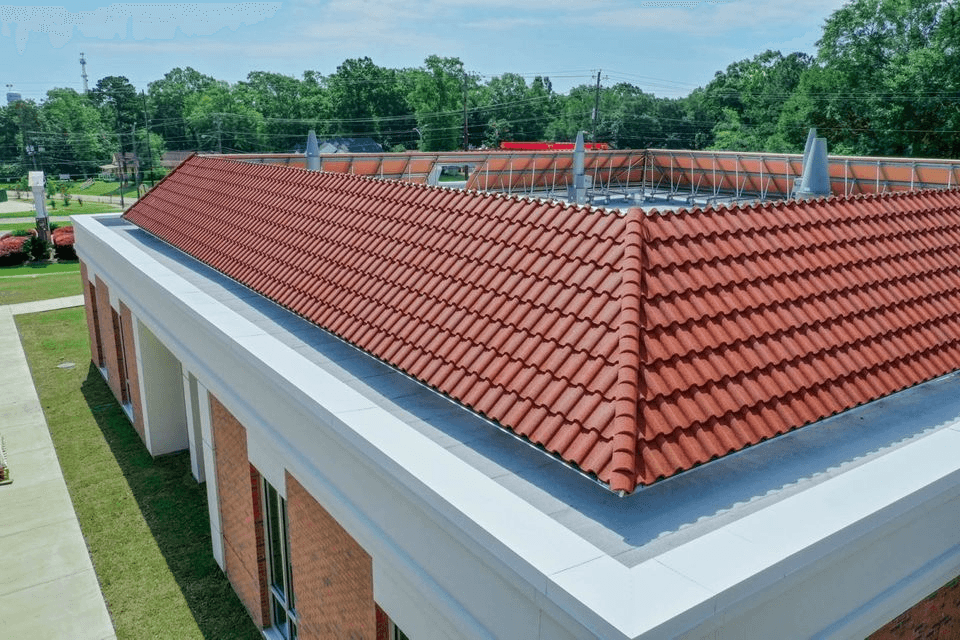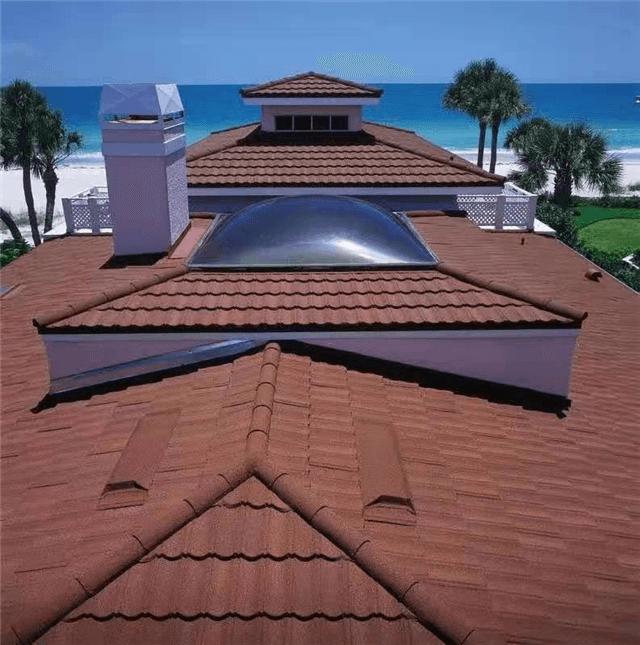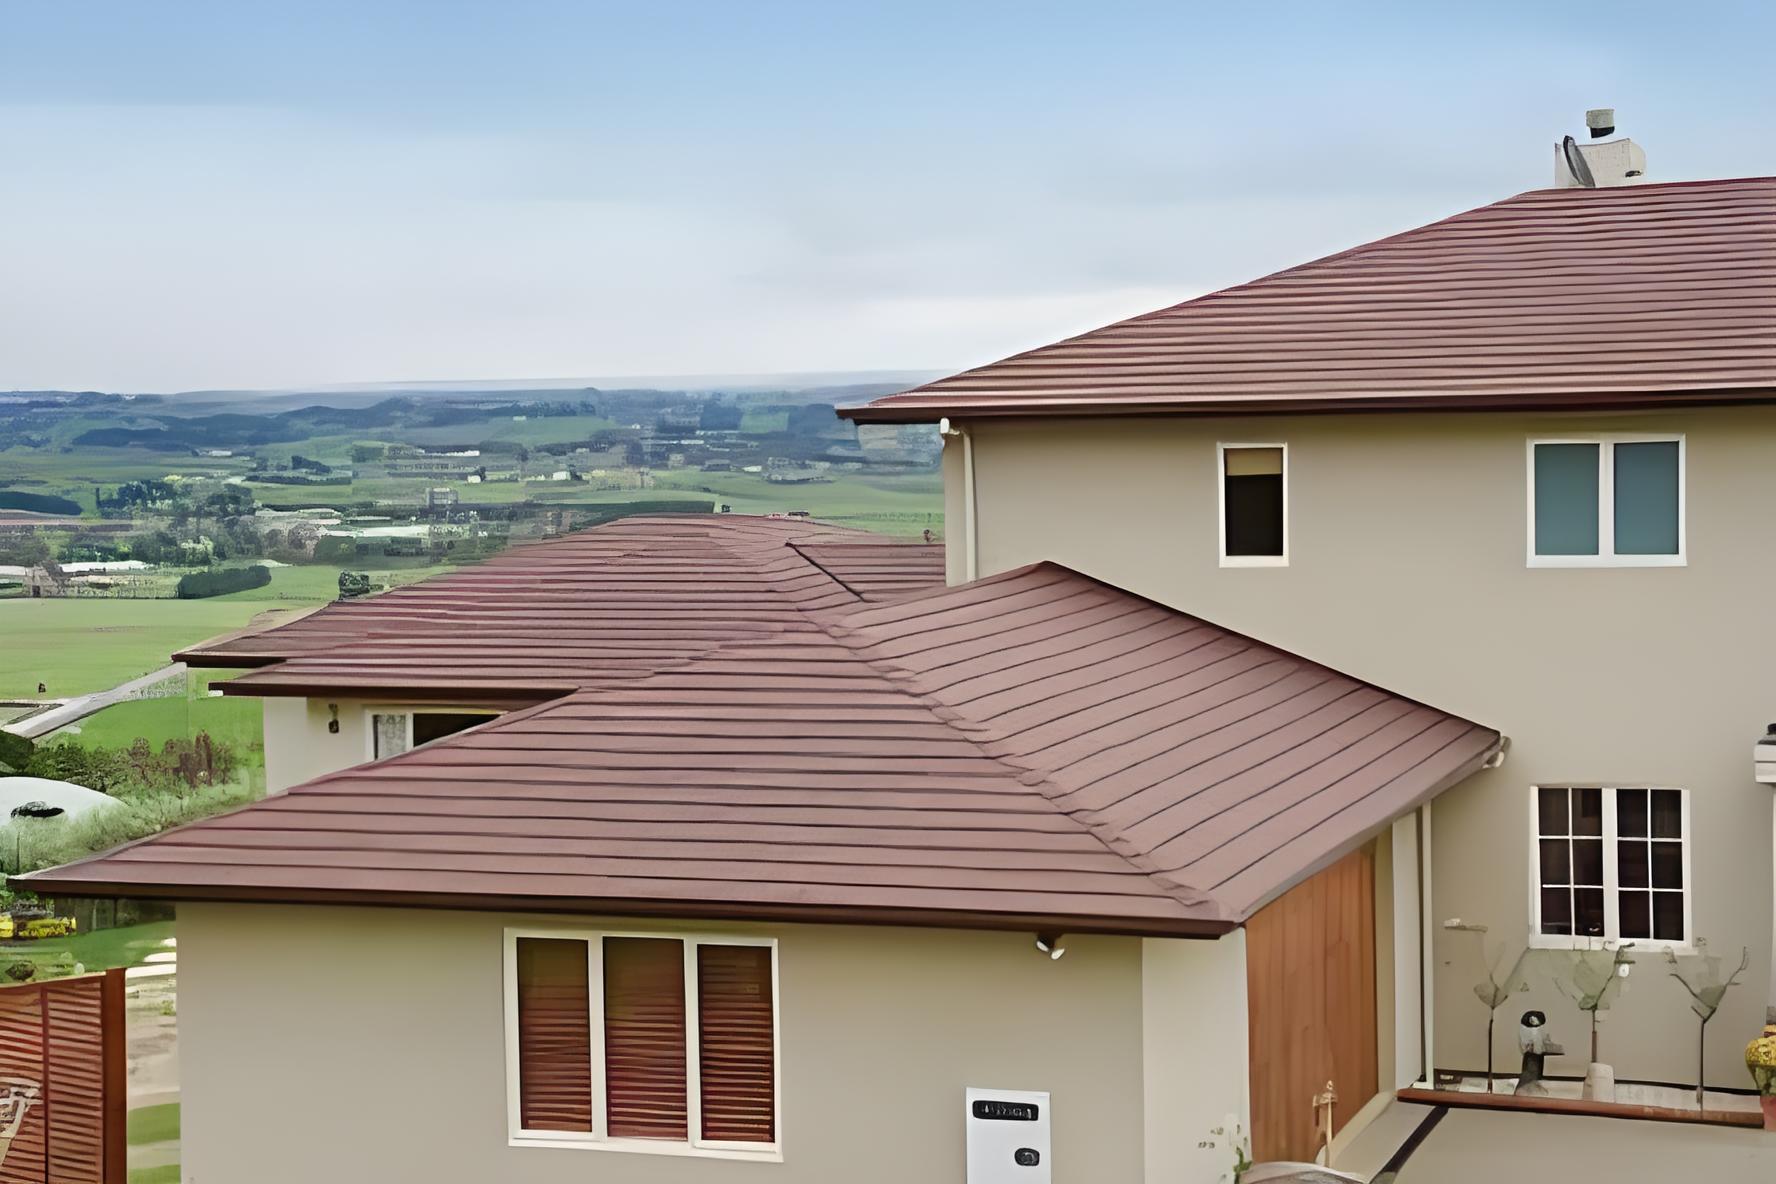

Stone coated shake ridge hip details should show how the specified panels, caps, supports, and closures meet. Request drawings for each ridge, hip, end, and junction on the roof plan. Match them to a parts schedule before asking suppliers to price the package.
A ridge is the upper line where two roof planes meet. A hip is the sloping outside line where two planes meet. A hip can end at an eave or join a ridge, so each end needs its own detail.
For buyers, the main task is to link each location to a current drawing and a clear supply scope. The project designer reviews the details for the roof. The supplier then confirms the parts it can offer against those details.
Match stone coated shake ridge hip details to the roof plan
Mark each run and its ends
Start with a roof plan that names each ridge and hip. Give each run a short ID that can appear on the quote and drawings. Mark the slope of the adjoining roof planes and show where each run begins and ends.
A straight ridge run may share one detail along most of its length. The point where hips meet that ridge may need a different drawing. If a roof has several junctions, mark each one before assuming the same part serves them all.
Ask the design team to show changes in pitch, unequal roof planes, and nearby walls. Also note any ridge ends next to a rake, the sloping edge of a roof. These conditions help the supplier identify the right detail to send.
If the roof plan changes after pricing, check which runs and ends the change affects. A shorter ridge may still need the same number of end pieces. A new hip can add a junction even when the main roof area stays similar.
Confirm the exact panel and method
Record the panel name, code, and finish beside the drawings. Ask the supplier to confirm the installation method and support arrangement those drawings cover. For example, request drawings for the exact version of Shake Tile.
Look for the manual title, revision, and detail number on the response. If a page covers more than one method, ask the supplier to mark the one it proposes. That step helps the installer find the right instructions when the order arrives.
Keep the junction drawings with the rest of the roof system documents. For the other records to request, see the stone coated metal shake roofing specification guide.
Read the drawings before selecting parts
Check what the cap sits on and covers
Ask for a section drawing that shows the cap, adjoining panels, and support beneath them. Look for the closure or other parts that fill or protect gaps where the system calls for them. Also check how the underlayment relates to the rest of the detail.
The drawing should show where the fasteners go and what they attach to. Ask for the matching fastener schedule and any product limits the designer needs to review. The schedule should describe the fasteners for each detail it covers.
Ask which panel edges need trimming or forming at the ridge and hip. If the system calls for treatment of cut edges, ask the supplier to list the required materials. Keep those items visible in the quote, especially when the installer must source them locally.
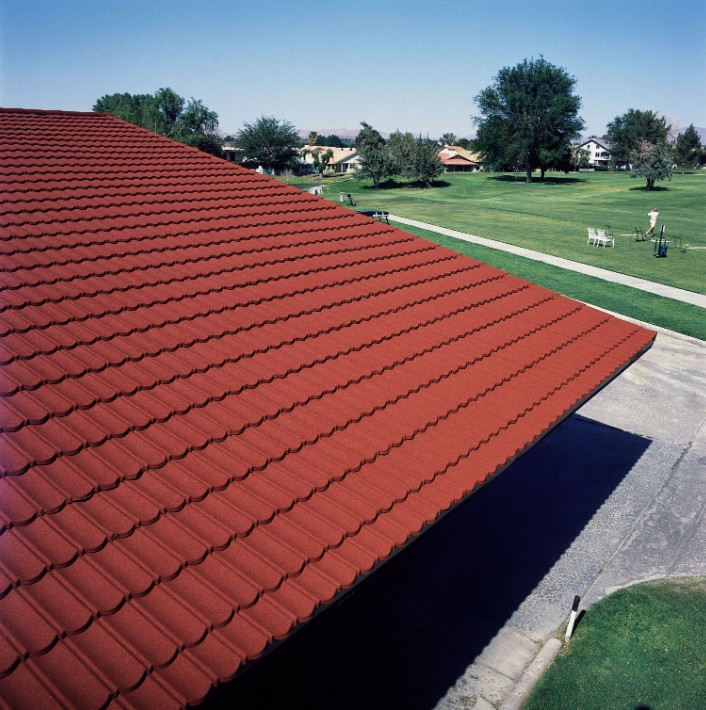
A cap photograph can help with appearance review. Use the section drawing and parts schedule to judge what needs to fit together. Then check that the part codes on the offer match the drawings.
Request details for ends and intersections
Look for the drawing where a hip ends at the eave. Ask whether the specified system uses a separate end part or a field-formed piece at that point. Then record who supplies it and who checks the fit.
At the top of the hip, request a drawing that shows how it meets the ridge. Ask whether the junction uses a named fitting or calls for work on site. Include a separate detail for a ridge end or rake junction where the plan shows one.
DECRA’s Tile and Shake guide has separate sections for hips, ridges, and ridge venting. Its details apply to the batten systems named in the guide. Use the section list to frame questions for the supplier of your chosen roof system. DECRA Tile and Shake installation guide
If the supplier offers an alternative cap, ask for a drawing that shows how it fits the named panel. Check the support, closures, and finish as part of that change. Then have the project team review the revised detail and record its decision.
Ask how the ridge vent fits the chosen system
Start with the roof’s vent design
Ask the designer which ridge runs need ventilation and which need a closed detail. Mark the two types on the plan so each run gets the right drawing. Then ask the supplier to show the parts for each type.
For a vented ridge, ask for the section that shows the air path, cap, vent, supports, and adjacent panels. It should also show where the vent run stops. An end or junction may need a separate detail even when the ridge has one cap style.
Ask the designer how the ridge vent fits the building’s full air path. Send the supplier the resulting design needs and ask which listed part meets them. Include any vent data the project team needs to check the response.
Set clear supply responsibilities
Some quotes include the cap and vent as separate items. Others may leave the vent or another part for the installer to buy. Ask each supplier to show what it includes, what someone else must supply, and the matching part references.
When requesting an offer from JCROOF, include the roof plan and mark which runs need vent or closure details. Ask for the proposed panel and parts list against that plan. Record questions that need a designer’s decision before the supplier confirms the scope.
If the vent choice changes, recheck the cap, support, and end detail together. Update the quote and drawing references after the team agrees on the change. That keeps the warehouse and installer working from the same parts list.
Turn the details into a quote and parts schedule
Count by run, end, and junction
Ask the supplier to list overall length and effective cover for each cap. Overall length is the full length of the part. Effective cover is the length it adds to a run under the stated overlap.
Use the agreed cover length when you check the count for straight runs. List ends and junctions separately so each has an allowance or a part. Ask who checks cuts, spares, and pack sizes before the quantities go onto the order.
For a hip, use the length along the roof as agreed with the takeoff team. A plan view may show its horizontal projection. Label the basis of each length so the buyer and supplier can reconcile their counts.
Add a row for each distinct part or supply responsibility. The same cap may appear in more than one detail. Keep the run IDs on the schedule so each team can check the count behind the total.
| Schedule item | What the buyer should request |
|---|---|
| Straight ridge or hip caps | Part code, effective cover, and the detail for each run |
| Ends and starts | Part code or forming detail for each marked location |
| Hip-to-ridge junctions | Junction drawing and any parts priced for that detail |
| Closures and vents | Exact type, compatible cap, and the runs they serve |
| Supports and fasteners | Drawing references and the name of the party supplying each item |
| Finish and packing | Color code, pack count, labels, and order quantity |
Compare offers on the same supply scope
One supplier may quote the cap per piece while another gives a total for the full run. Compare the number of parts, effective cover, and the same set of ends. Then check how each offer treats fasteners, closures, vents, and junction work.
Put local labor or site-made parts on their own lines when they affect the comparison. Ask suppliers to state which items they leave out. For more on matching quote scopes, see the stone coated roofing accessories cost guide.
Also ask for the finish code and a reference sample if the caps need to match the panels. Compare the pieces together under the agreed viewing conditions. Record the approved match so the receiving team has a reference if the shipment looks different.
Keep the approved details with the order
Check the drawings, parts, and labels together
Before release, compare the latest roof plan, detail set, parts schedule, and quote. Each marked junction should have a drawing or an open question with an owner. Ask the team to resolve the questions that affect parts or fit before placing the order.
For a complex junction, ask whether a mock-up would help the designer and installer review the fit. Use the specified panel and cap version if the team chooses to build one. Keep photos with the reviewed drawing and note the changes the team accepted.
Ask for a packing list that names cap codes, closure types, fasteners, and vent parts where supplied. Check the counts against the order when goods arrive. Also look for bent ends or finish damage that needs a decision before the installer uses the part.
Control changes after the team approves the detail
If someone proposes a new cap, vent, or fastener, record the exact change and the affected run IDs. Ask the supplier to update its part list and drawing references. Then have the project team check the fit and confirm which revision the installer should use.
Send the approved set to the teams that quote, pack, receive, and install the roof. The warehouse needs the codes and counts, while the installer needs the matching drawings. Save both in the order file so later shipments can use the same records.
Planning ridge and hip details for a shake roof? Send us an inquiry with your roof plan and proposed profile. Our team will help identify the drawings and parts to request.