Commercial real estate development demands flawless execution constantly. Therefore, general contractors must master advanced exterior cladding techniques completely. Proper installation secures the financial value of the entire property. Stone Coated Roof Tiles provide unprecedented structural longevity globally. However, this massive return on investment depends entirely on precise mechanical installation. Poor workmanship destroys the fifty-year structural warranty instantly. Consequently, procurement officers and project managers must understand these engineering protocols. This step-by-step guide outlines the professional installation sequence comprehensively. As a result, B2B buyers can audit their roofing contractors highly effectively. Thus, developers guarantee a completely watertight, indestructible commercial building envelope. This rigorous technical knowledge prevents catastrophic financial losses during extreme weather events. Furthermore, it ensures that massive commercial projects finish on schedule and strictly within budget.
Preparing the Commercial Roof Deck for Advanced Cladding
The structural foundation dictates the ultimate success of the entire roofing system. Therefore, framing crews must prepare the roof deck with absolute mathematical precision. A compromised wooden substrate will transfer structural flaws directly to the exterior metal panels. Consequently, facility managers must enforce strict inspection protocols before allowing any metal placement. This rigorous preliminary preparation prevents devastating moisture failures and expensive corporate callbacks later. Thus, the successful installation begins long before the actual steel panels arrive at the active job site.
Structural Deck Inspection and Sheathing Validation
Inspecting the wooden sheathing is the absolute mandatory first step. Contractors must identify and replace any rotting or warped plywood boards immediately. Furthermore, the commercial deck must be swept completely clean of all abrasive construction debris. Even a small stray roofing nail can puncture the protective synthetic underlayment over time. As a result, the building envelope becomes highly vulnerable to hidden, destructive water leaks. Therefore, a pristine, perfectly flat wooden roof deck is absolutely essential. Carpenters must secure any loose OSB panels with heavy-duty decking screws. Consequently, the substrate provides a rigid, silent foundation for the advanced metal cladding above.
Applying High-Performance Synthetic Underlayment
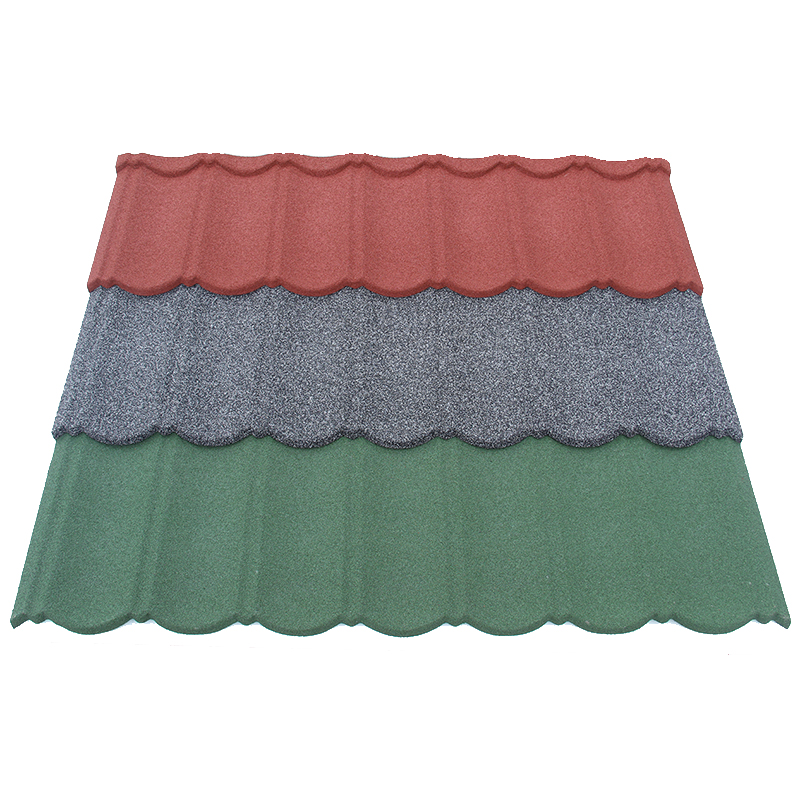
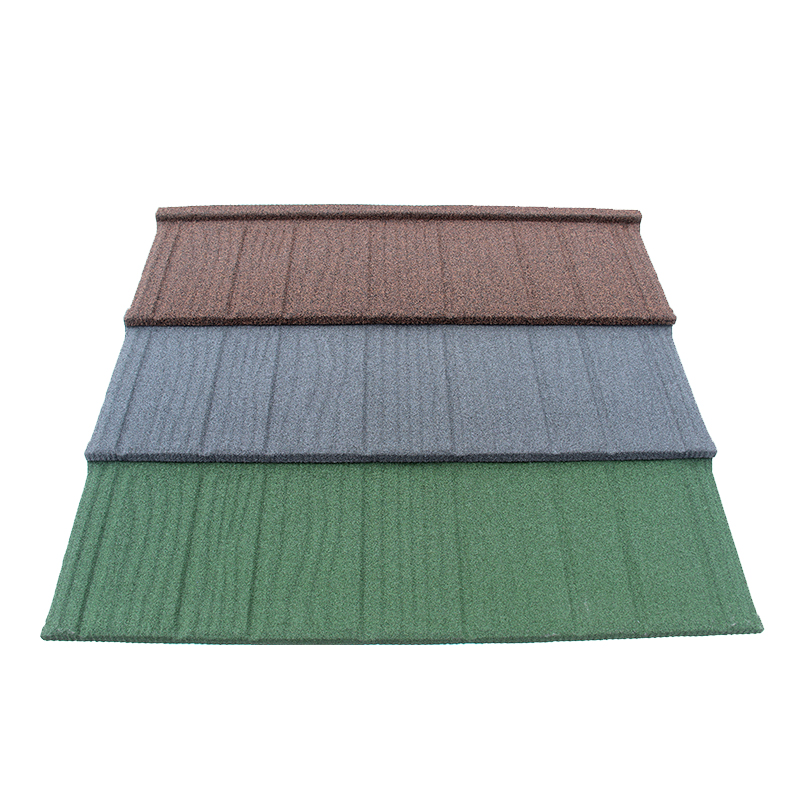
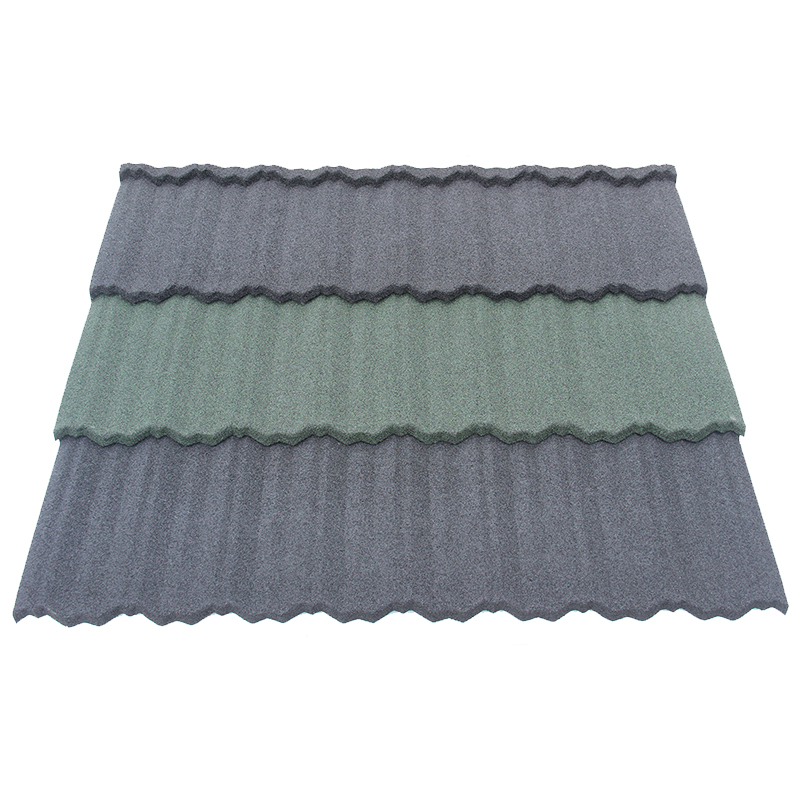
Modern metal roofing systems require advanced synthetic underlayment materials exclusively. Traditional asphalt felt paper degrades rapidly under intense, trapped solar heat. Consequently, installation contractors must roll out a heavy-duty, highly breathable synthetic moisture barrier. This specialized membrane manages internal attic condensation while blocking exterior driving rain effectively. Furthermore, developers specifying a heavily textured Shake Tile rely entirely on this critical barrier. This specific architectural profile demands a flawless waterproof base to support its rugged, overlapping timber aesthetic securely. Therefore, workers must overlap the horizontal underlayment seams by at least six inches strictly. Thus, the commercial facility achieves total secondary water protection effortlessly.
Engineering the Raised Batten Grid Infrastructure
Creating a precise batten grid is the most critical structural phase entirely. This raised timber framework provides massive thermodynamic cooling benefits for the commercial building. Furthermore, it creates the exact mechanical anchor points for the interlocking metal sheets. Therefore, incorrect batten measurements will ruin the entire architectural alignment instantly. Consequently, site foremen must supervise this extensive carpentry phase with extreme technical prejudice. Precision here guarantees absolute perfection in the final exterior aesthetic.
Calculating Precise Batten Spacing Measurements
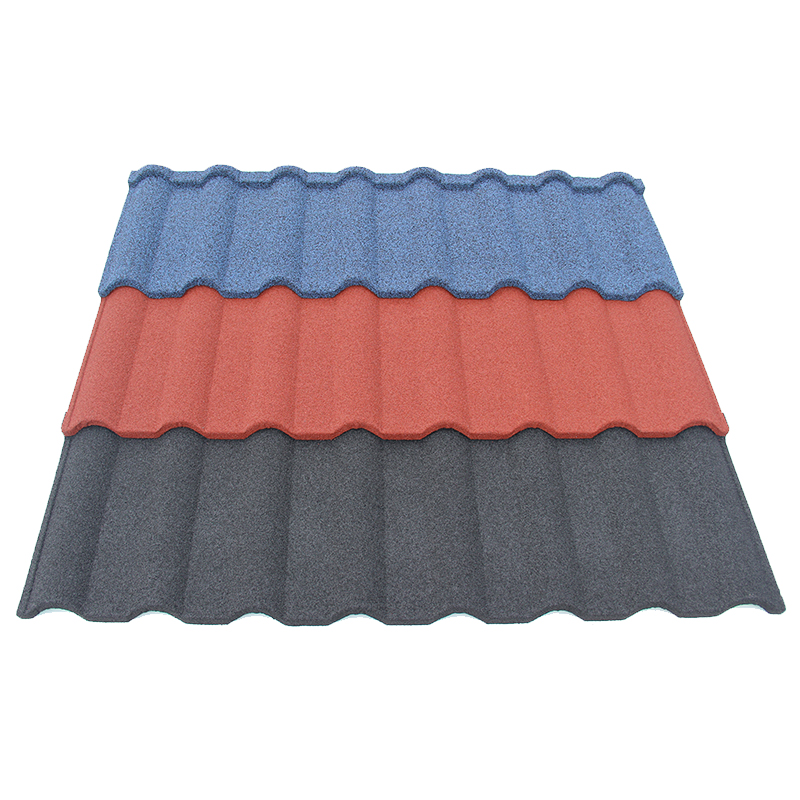
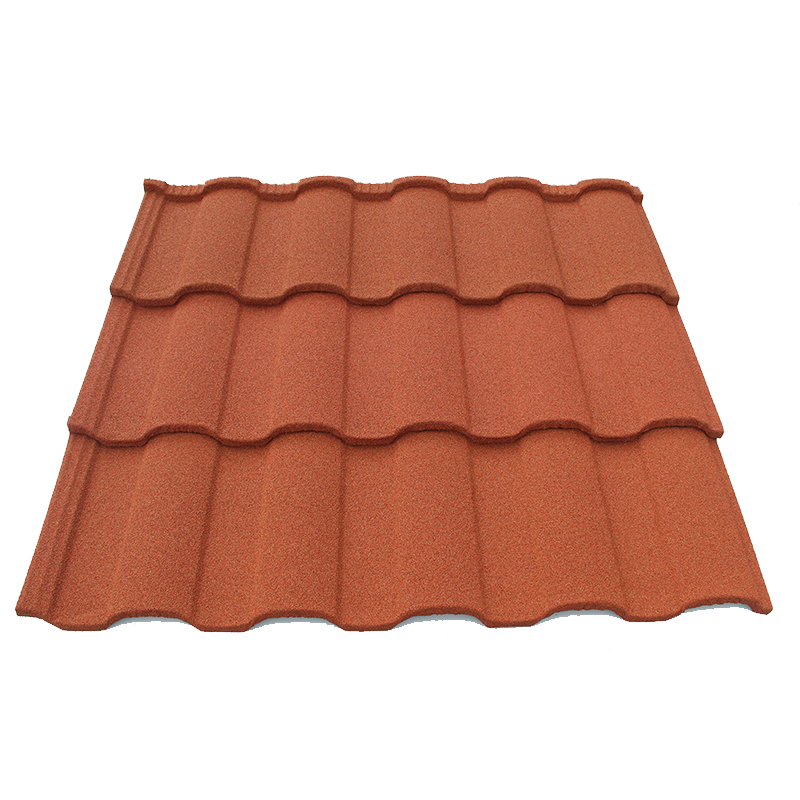
The chosen architectural profile dictates the exact required distance between the horizontal battens. Installers must consult the official factory technical manual to find this specific engineering measurement. For example, a deeply channeled Roman Tile requires highly specific horizontal wooden support. The steep hydraulic valleys must align perfectly with the wooden purlins underneath. Therefore, carpenters use specialized, custom-cut spacing templates to eliminate dangerous human measuring errors completely. If the spacing is off by merely half an inch, the steel panels simply will not interlock. As a result, the entire roof grid must be measured and marked meticulously with precision chalk lines. Thus, contractors avoid tearing down and rebuilding failed structural framework.
Fastening the Wooden or Steel Purlins Securely
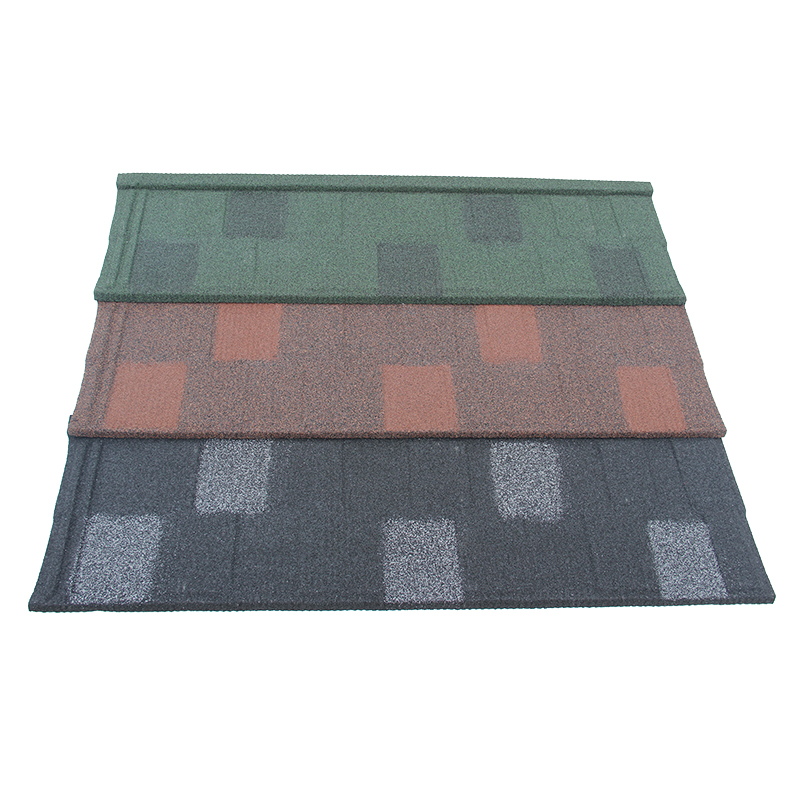
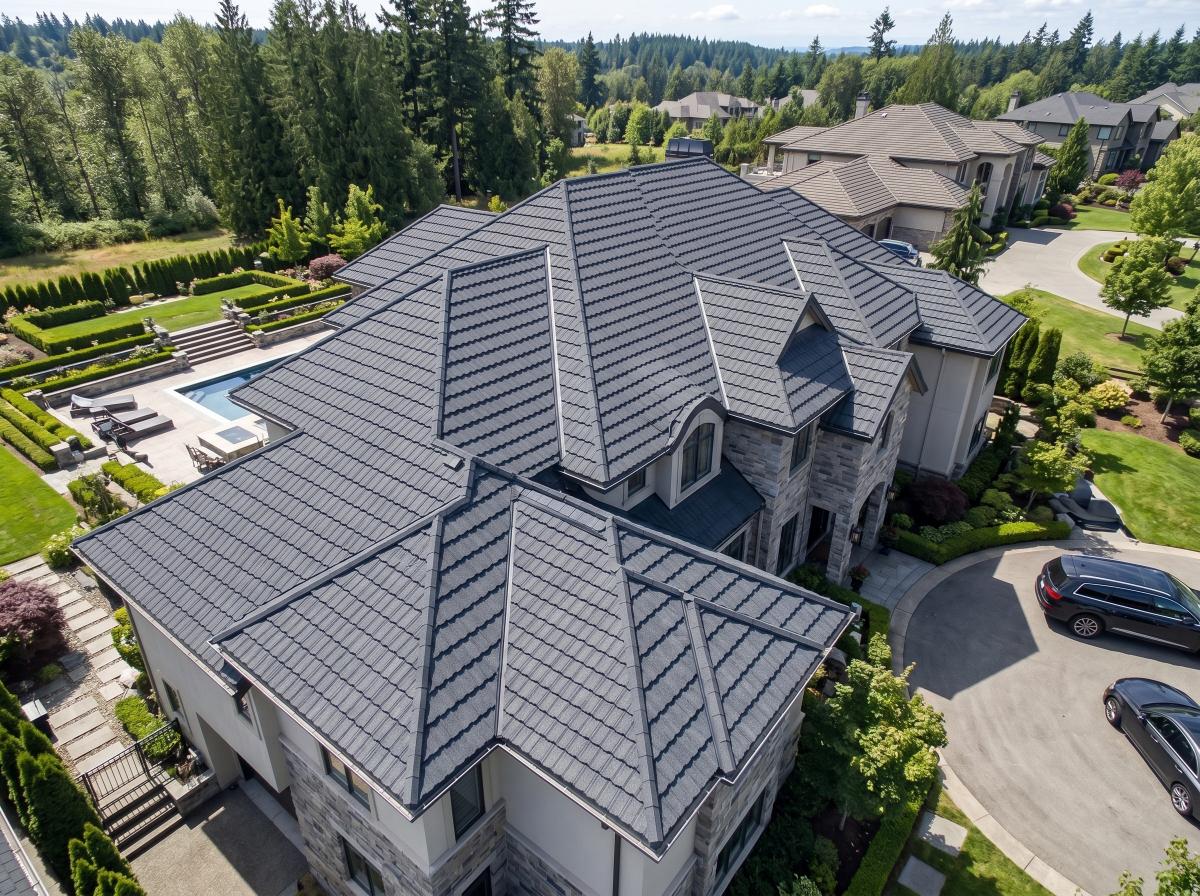
Fastening the battens requires heavy-duty galvanized framing nails or long structural screws. Contractors must secure these wooden purlins directly into the heavy vertical roof trusses underneath. Consequently, the thin plywood deck does not bear the massive structural load alone. Furthermore, a sleek Shingle Tile utilizes a very tight, perfectly flat interlocking geometric design. Therefore, the horizontal battens must remain perfectly flush and level across the entire massive roof plane. Any subtle warping in the batten wood will distort the final flat corporate aesthetic visibly. Thus, sourcing premium, high-grade, kiln-dried timber for the batten grid is absolutely mandatory. This strict material standard prevents the timber from twisting as it ages.
Executing the Panel Placement and Mechanical Fastening
Placing the metal panels requires a systematic, highly disciplined workflow consistently. Installers must always work from the bottom fascia board upwards toward the top ridge cap. This strict directional logic ensures that water sheds naturally over the overlapping horizontal steel joints. Consequently, gravity works alongside the advanced mechanical interlocking design to repel heavy rainfall completely. Therefore, deviating from this established sequence guarantees catastrophic water ingress during severe seasonal storms. Furthermore, organized placement maximizes daily labor efficiency massively.
The Eave Flashing and Starter Course Alignment
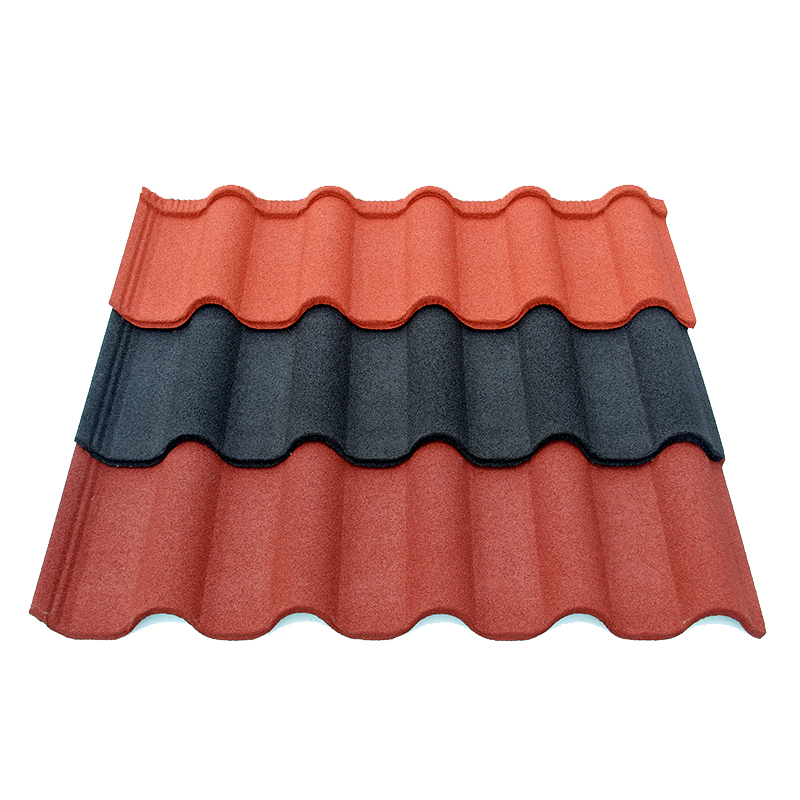
The very first row of panels dictates the horizontal alignment for the entire commercial roof. Workers must secure the specialized eave flashing tightly against the bottom fascia board first. Subsequently, they install the initial row of metal sheets perfectly parallel to the rigid gutter line. A classic heavy-duty Bond Tile is frequently used for massive institutional building projects globally. This durable profile features a distinct single line groove directly in the middle of the arc. Therefore, installers must align these specific grooves perfectly vertically to maintain the correct visual aesthetic. Thus, the delicate starter course requires extreme patience and laser-guided framing precision. Rushing this initial phase ruins the entire visual grid permanently.
Side-Nailing Techniques for Maximum Wind Resistance
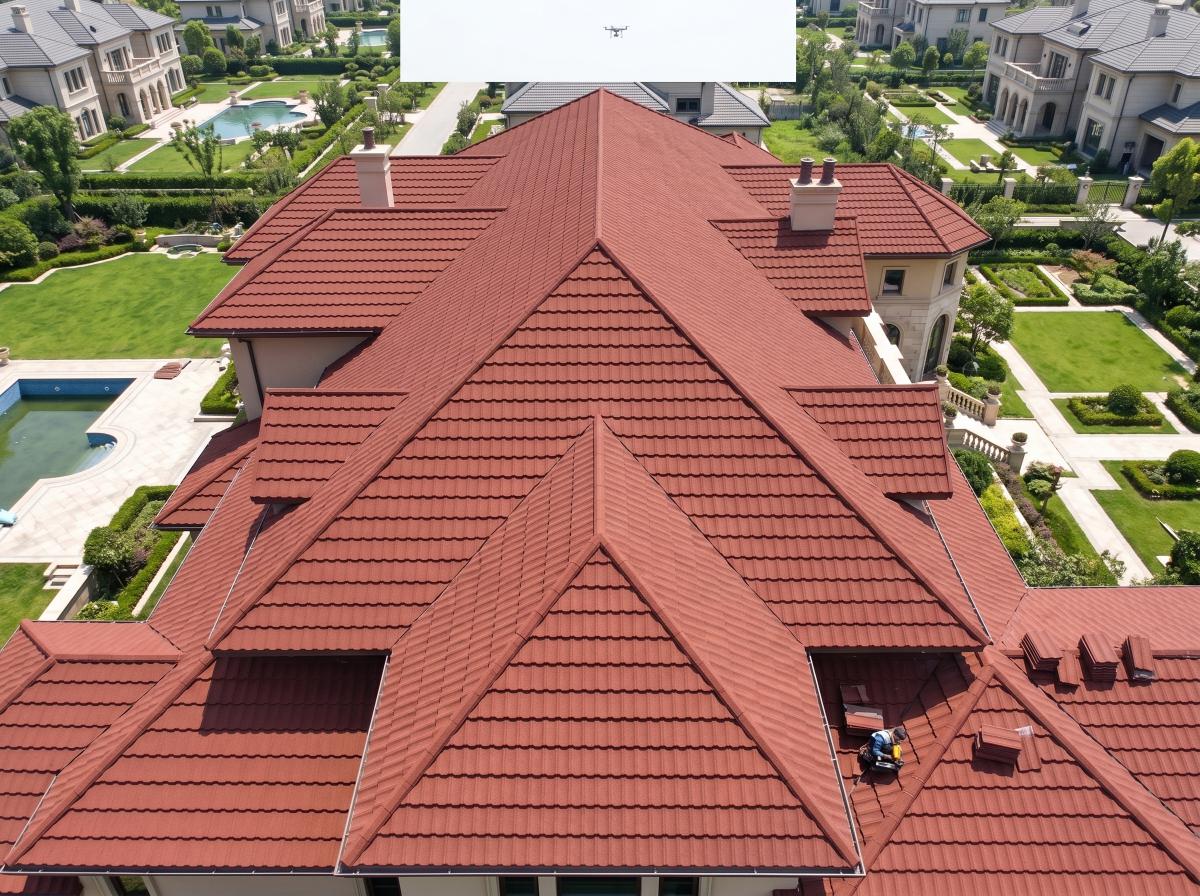
High-velocity hurricane winds destroy poorly fastened commercial roofs completely and effortlessly. Therefore, premium metal roofing relies entirely on a highly concealed side-nailing technique. Installers drive strong pneumatic nails horizontally through the downturned nose of the overlapping steel panel. Consequently, the heavy fastener penetrates directly into the side of the wooden batten underneath. This specific method hides the nail head completely from the harsh sun and corrosive driving rain. Furthermore, elite factory-direct industrial suppliers like JCROOF provide exact, color-matched installation accessories. Utilizing these authorized, premium fasteners protects the massive 50-year B2B commercial warranty entirely. Thus, the building achieves an impenetrable, aerodynamic structural shield against severe weather events.
Securing Architectural Details and Complex Flashing
Commercial roof failures rarely happen directly in the middle of a continuous metal panel. Instead, devastating leaks occur almost exclusively at the structural joints and complex architectural transitions. Therefore, securing the valleys, ridges, and heavy chimney flashings requires elite sheet metal expertise. Consequently, procurement officers must ensure that all matching factory accessories are strictly purchased upfront. Utilizing cheap, generic local flashings will destroy the integrity of the entire system immediately. Proper flashing guarantees total, uncompromising waterproof security.
Valley Fluid Dynamics and High-Volume Water Evacuation
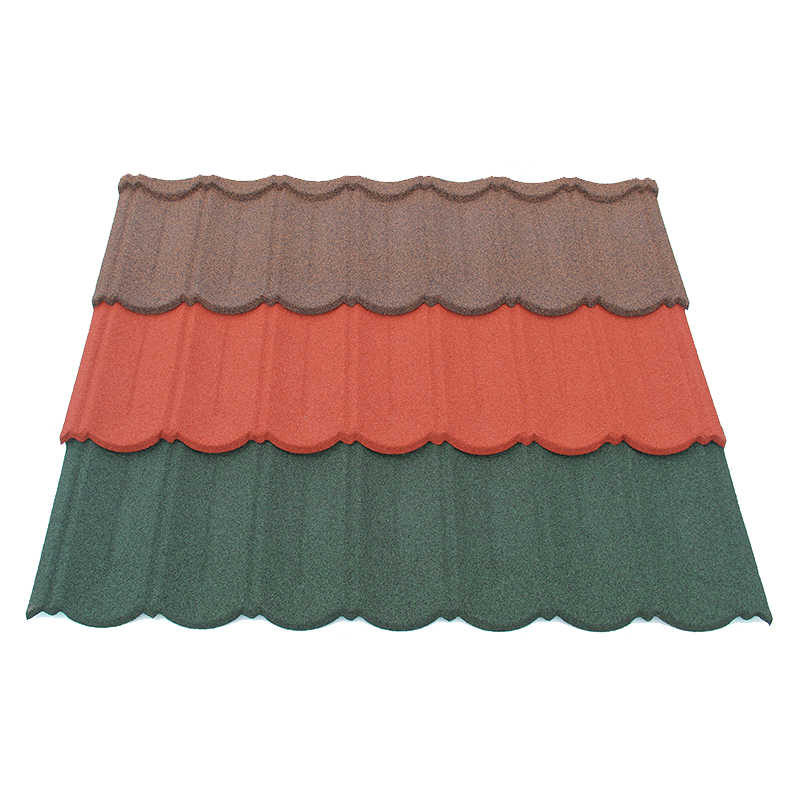
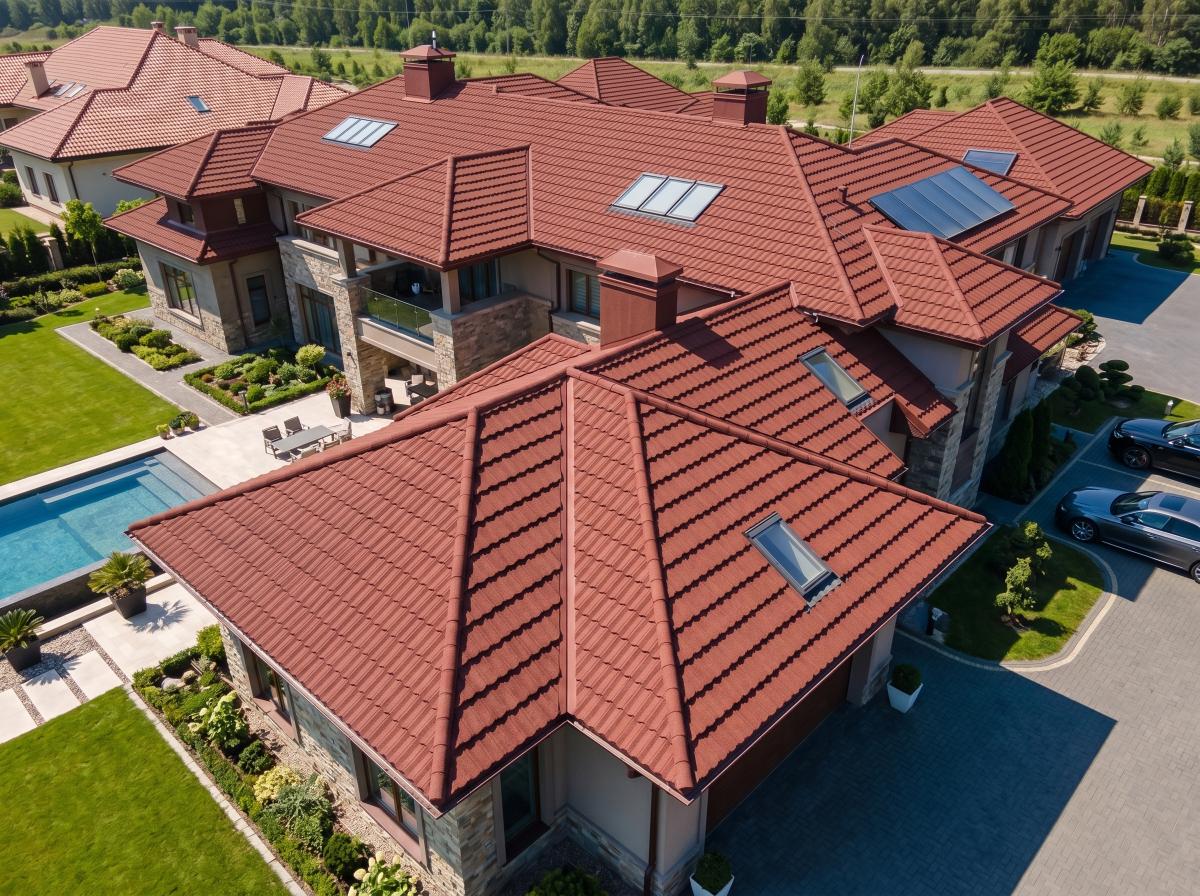
Roof valleys act as massive hydraulic funnels during heavy seasonal rainstorms constantly. Contractors must install wide, heavy-gauge steel valley pans before placing the primary exterior tiles. Furthermore, they must cut the interlocking panels precisely to overlap the valley pan safely. The sweeping, elevated Mediterranean curves of a Milano Tile direct high volumes of water downward rapidly. Therefore, the steel valley flashing must be exceptionally wide to handle this concentrated hydraulic load. Installers must manually bend the cut edges of the tile downward to prevent water from splashing sideways. Thus, the internal commercial attic remains perfectly dry during the most violent, sustained tropical monsoons.
Capping the Ridges and Structural Hips
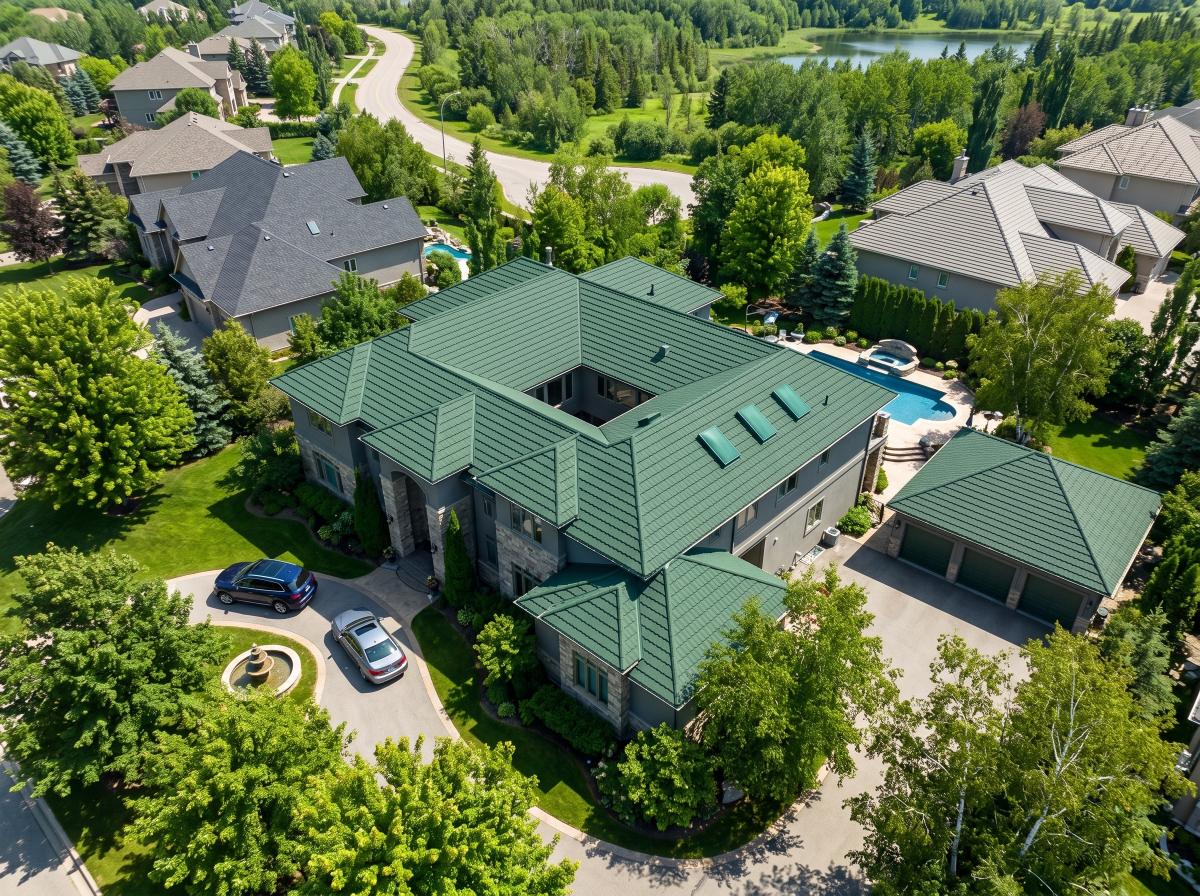
The horizontal ridge caps serve as the final watertight seal at the highest structural points. Workers must manually bend the top row of panels upward against the final ridge batten securely. Subsequently, they carefully install the color-matched ridge caps over this joint using horizontal weather-sealed fasteners. This creates a highly ventilated yet completely waterproof exhaust point for the hot attic airspace. Consequently, trapped solar heat escapes freely, lowering the monthly commercial HVAC operating costs significantly. Therefore, meticulous ridge capping finishes the massive project with both architectural grace and thermal efficiency. Proper capping provides a perfectly tailored, professional finish to the building.
Post-Installation Auditing and Quality Assurance
The massive roofing project is not complete until a rigorous final engineering inspection occurs. B2B developers must demand a comprehensive quality assurance audit before authorizing any final contractor payments. Consequently, this formal technical review protects the massive capital investment from hidden, catastrophic workmanship defects. Furthermore, it activates the official manufacturer warranty protocols legally and securely. Therefore, a highly structured sign-off procedure is absolutely vital for managing commercial real estate portfolios. Strict auditing prevents future liability claims entirely.
Verifying Fastener Placement and Weather Concealment
Professional inspectors must walk the entire roof deck meticulously to check the underlying fastening grid. They must ensure that every single pneumatic nail is completely hidden from vertical weather exposure. Furthermore, they must verify the exact pneumatic air pressure used during the rapid installation process. If the air pressure was too high, the nail heads might tear directly through the metal core. Conversely, low air pressure leaves loose panels that rattle dangerously and annoyingly during high winds. Therefore, spot-checking these mechanical connections guarantees absolute long-term aerodynamic stability. Thus, the commercial building is officially prepared for severe, unpredictable seasonal storms.
Clearing Metallic Debris and Safe Surface Cleaning
Construction crews generate significant amounts of sharp metallic dust during routine panel cutting. This raw steel dust will rust rapidly if left sitting on the finished roof surface. Consequently, workers must sweep and blow the entire roof deck completely clean before leaving. They must absolutely never use harsh industrial chemicals to wash the protective stone coating. Furthermore, heavy foot traffic must strictly follow the structural batten lines to avoid denting the panels. Therefore, strict post-installation site management preserves the pristine, luxurious factory aesthetic flawlessly. Proper cleaning prevents ugly rust stains from ruining the corporate property value.
| Installation Phase | Common Contractor Error (Avoid) | Professional B2B Standard (Enforce) |
|---|---|---|
| Deck Preparation | Using cheap asphalt felt paper. | Applying heavy-duty breathable synthetic underlayment. |
| Batten Grid Layout | Guessing spacing measurements manually. | Using exact, custom-cut factory spacing templates. |
| Panel Fastening | Driving screws vertically through the face. | Utilizing horizontal side-nailing into the battens. |
| Valley Integration | Leaving raw cut metal edges exposed. | Bending cut edges downward into the steel pan. |
| Post-Installation | Leaving steel cutting dust on the roof. | Blowing the entire roof deck completely clean. |